The first time I tried cheesecake was at a school bake sale where a very sophisticated fellow student (we were aged 14 at the time) brought in a no-bake cheesecake. The base was made of crushed digestive biscuits and its whipped filling was flecked with pieces of chopped tinned pineapple. This was Kuala Lumpur in the early 1980s, where few households had ovens and foreign foods (Philadelphia cream cheese, for one) were available only in some niche supermarkets.
In the over four decades since then I have enjoyed all manner of cheesecakes: a small rectangle of cheesecake from London’s Brick Lane Beigel Bake, a large wedge of Junior’s Cheesecake from the basement food hall of Shinsegae in Seoul, multiple versions from Cheesecake Factory whilst on holiday in Boston with Kepong Auntie and Hong Kong Cousin (now Melbourne Cousin) and sharing some classic La Maritxu after lunch at Imad’s in Carnaby Street with Junior 3 and Brasenose Girl.
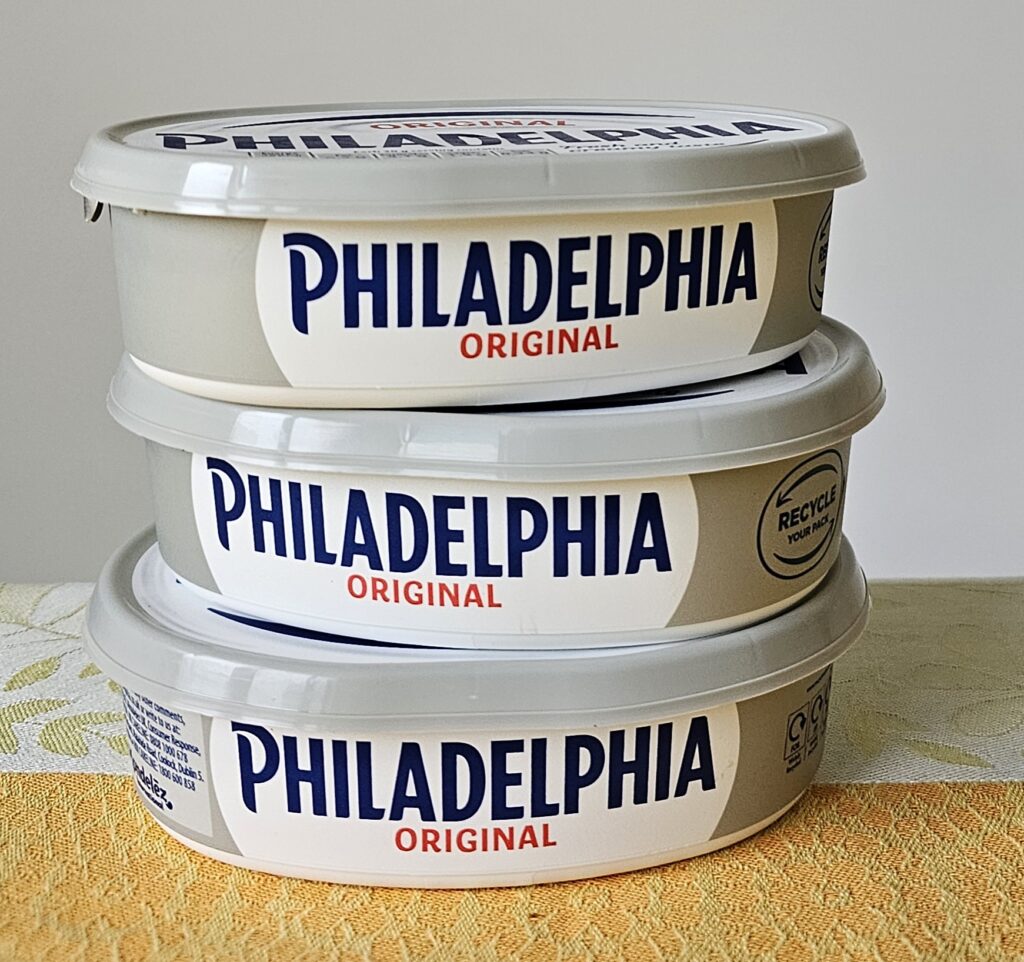
My dad loved cheesecake, so we always shared some when we met up, wherever it was in the world. We tried cheesecake from all sorts of places, even frozen ones from Waitrose. The strangest cheesecake I ever ate was the one from Cova in Hong Kong where the cheese was salty, like cheddar cheese. I think it is best to stick to Philadelphia cream cheese.
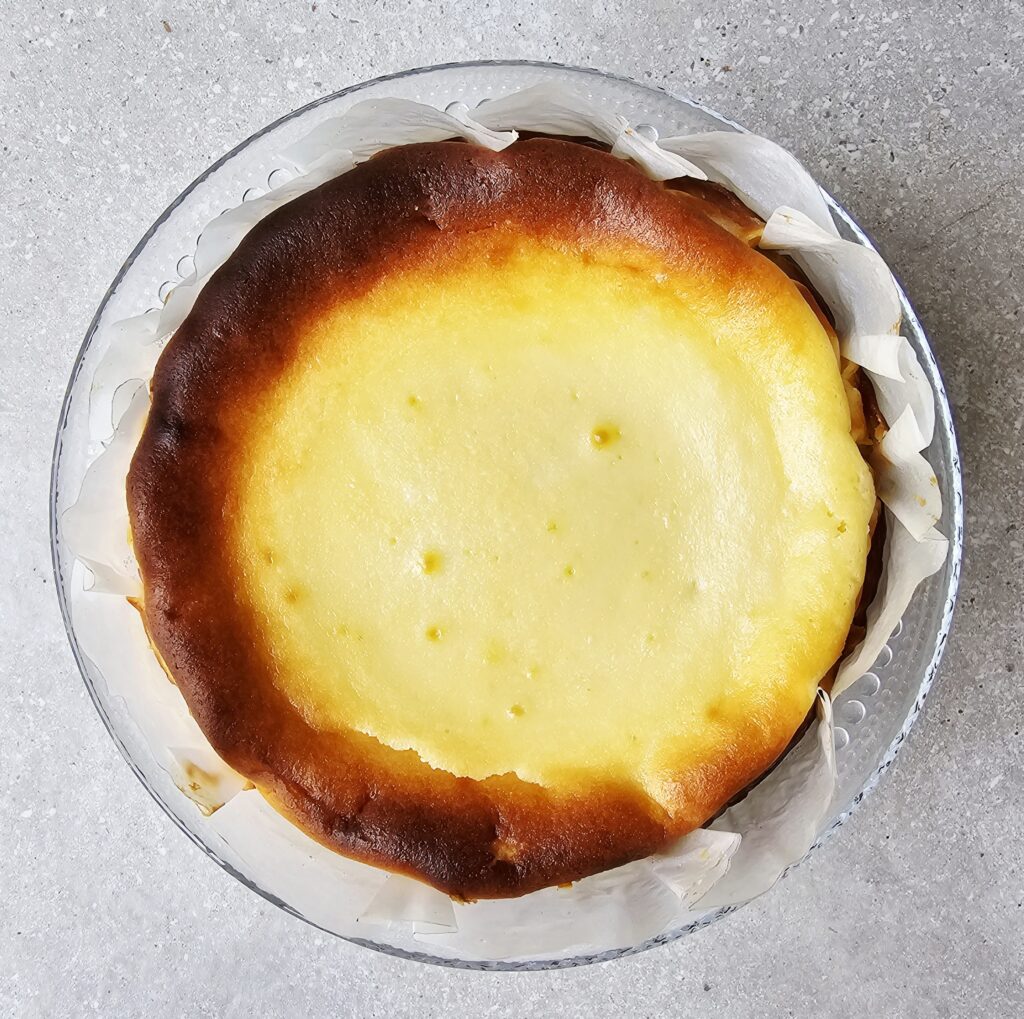
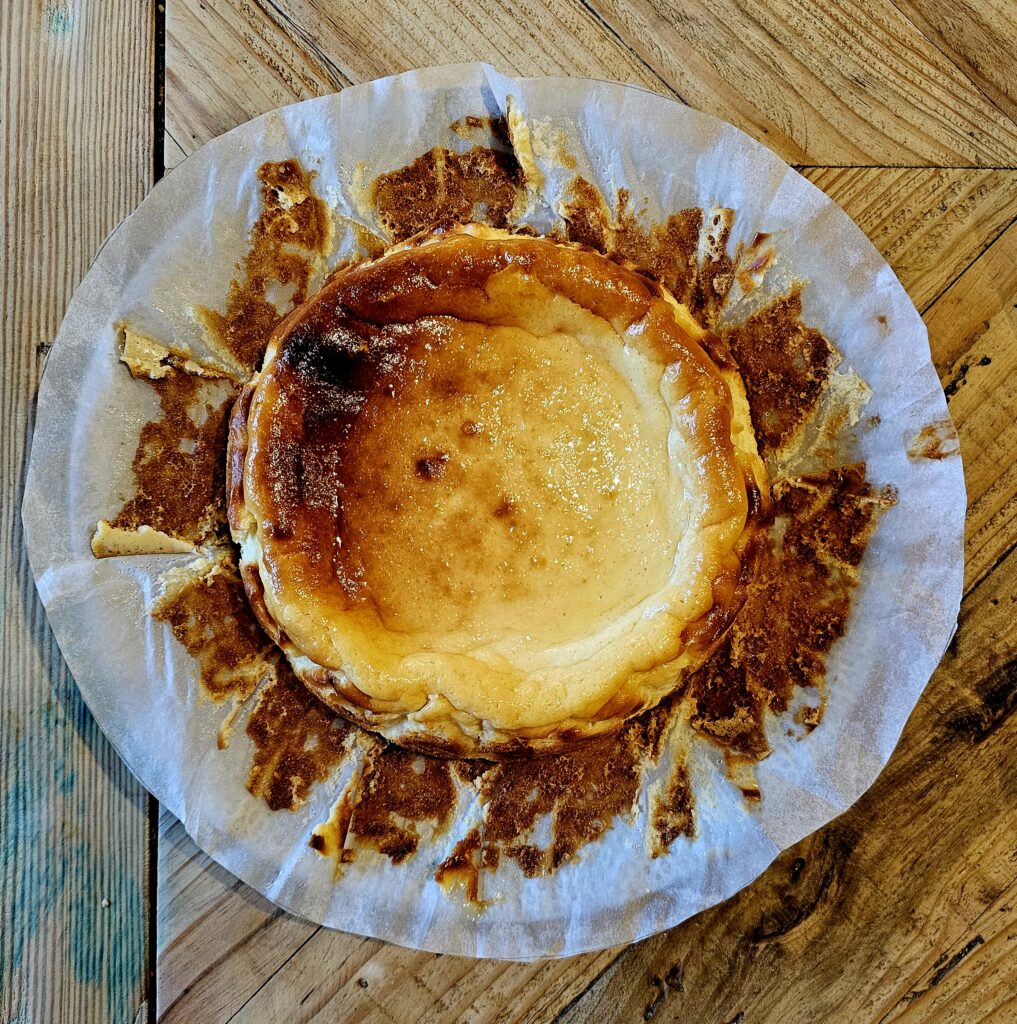
Recipes on this blog include Gordon Ramsay’s Pear and Amaretti Cheesecake, New York Cheesecake and Amarena Cherry Cheesecake. They are all rich and fattening, challenging your inner rebel to say ‘and so what?’ The holy grail for me is Japanese chiffon cheesecake. I once made the perfect one, after several attempts, but misplaced the recipe. That re-creation will have to wait, and in the meantime I have a recipe for a Basque Cheesecake. As I did not achieve the burnt look I am leaving out this adjective.
What started me on this current quest was an article I read about the cheesecake’s origins in La Viña restaurant, San Sebastián/ Spain. I then followed recipes from NY Times Cooking and Bon Appetit. Indeed it was this recipe that made me subscribe to the latter, and I am glad I did so. If you read all three articles you will have a firm grasp on what this cheesecake is and how to execute it, hopefully to perfection.
My recipe is below, with more explanatory notes than usual as I made the cheesecake three times before achieving satisfactory (not perfect) results. At the moment, because of the way the cheesecake is wrapped using a single piece of parchment paper in its baking tin, I have given measurements for three sizes of cake tin: 6 inch/ 15 cm, 7 inch/ 18 cm and 10 inch/ 23 cm. The height of each baking tin is 8 cm/ 3 inches. Use either a springform cake tin or a loose-bottomed one (mine are from Silverwood).
All ingredients should be at room temperature before you start
| Ingredient/ Pan size | 6 inch/ 15 cm | 7 inch/ 18 cm | 9 inch/ 23 cm |
| Cream cheese (full-fat, Philadelphia brand) | 300 g | 450 g | 900 g |
| Caster Sugar | 100 g | 150 g | 300 g |
| Eggs (weight without shell) | 2 = 110 g | 3 = 165 g | 6 = 330 g |
| Whipping cream (36% fat) | 160 g | 240 g | 480 g |
| Vanilla extract | ½ teaspoon | 1 teaspoon | 2 teaspoons |
| Plain flour | 14 g | 21 g | 42 g |
| Fine sea salt | Pinch | ¼ teaspoon | ½ teaspoon |
| Baking Time (170 C fan/ 190 C electric) | 35 minutes | 40 minutes | 50 minutes |
How to Make:
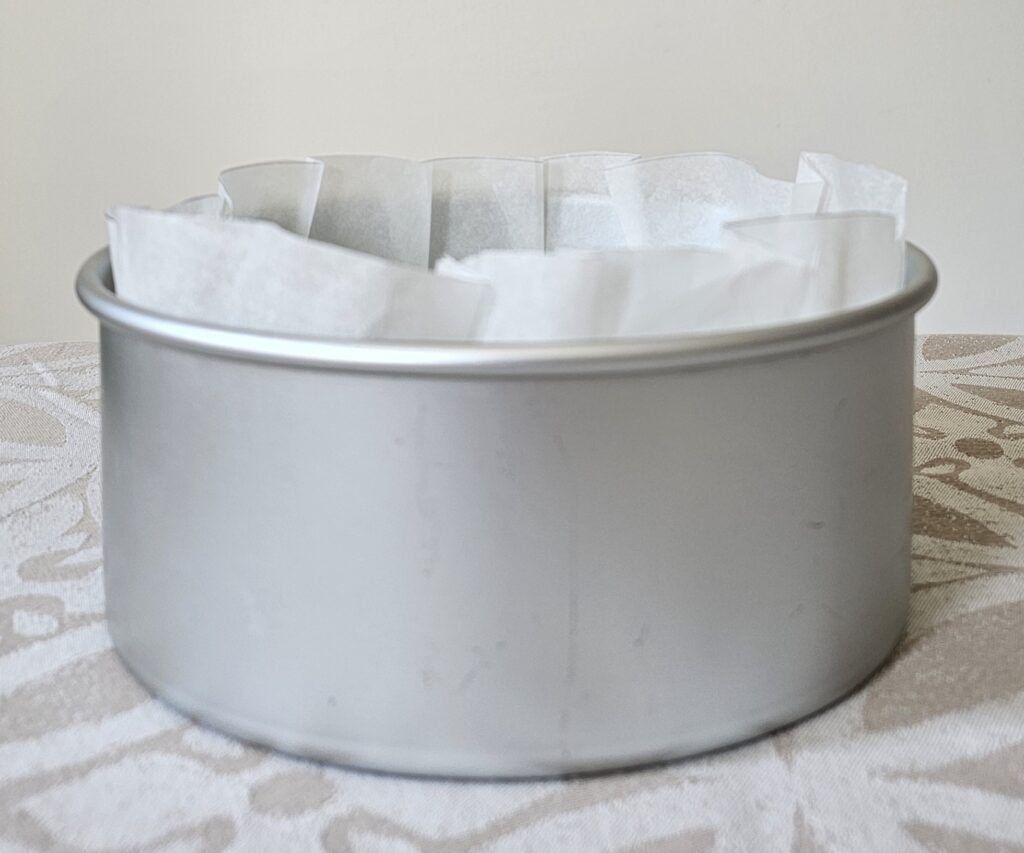
Line the tin
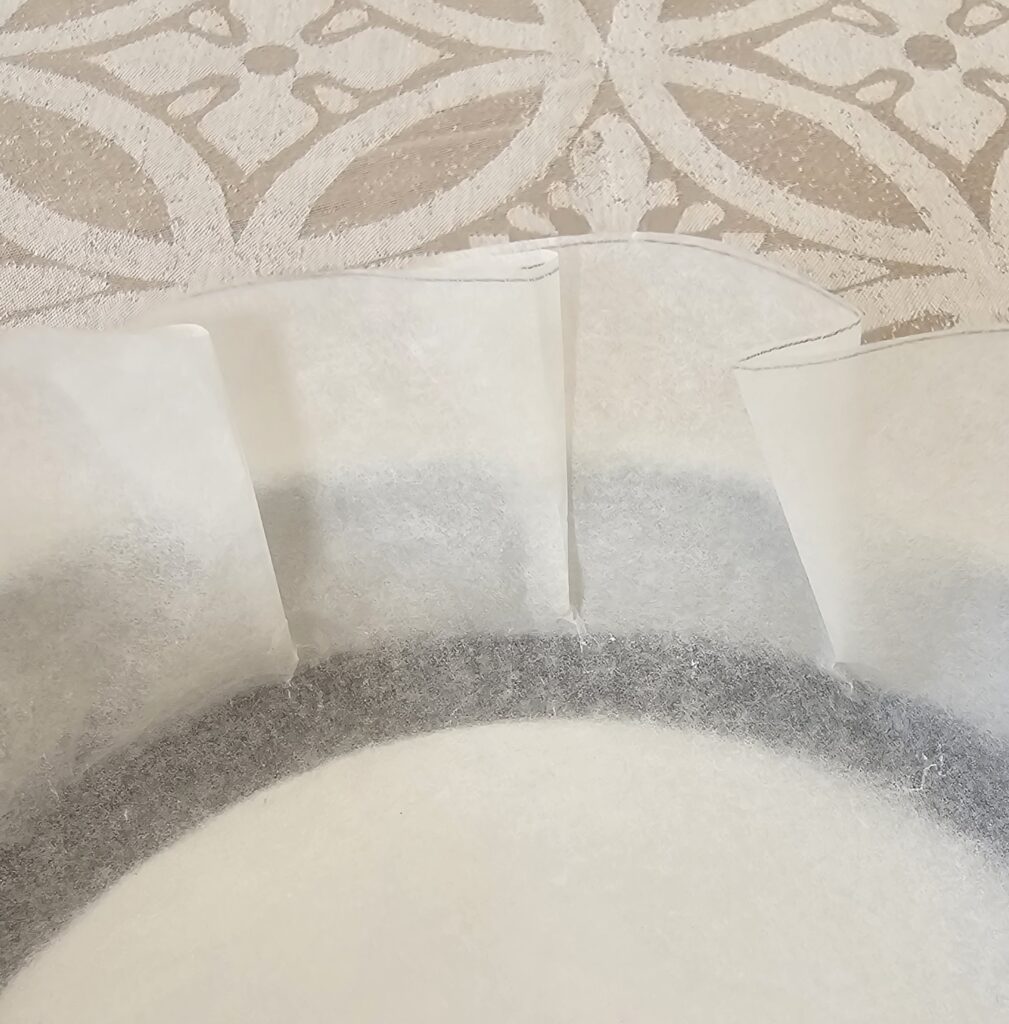
Line the springform/ loose-bottom cake tin with a single large circular disc of baking parchment. The size of this has to fit the base as well as the sides of the tin, as the cheesecake is usually served whole and simply lifted out of the baking tin. There is no need to grease the baking parchment. I tried it both ways and greasing it did not achieve any better results.
Standard supermarket baking parchment usually comes in a width of 38 cm. This will cover all tins up to a maximum width of 9 inches/ 23 cm. Cut the biggest circle you need to fit the tin, then press it into the cake tin – forming the base first then folding the paper flat against the sides.
Make the cheesecake
Preheat the oven to 190° C fan/ 210° C electric.
Place the cream cheese and sugar in the bowl of a stand mixer fitted with the paddle attachment (I use a KitchenAid). Beat on a low speed for around 2 minutes, until the cheese and sugar have blended into a smooth lump-free ‘batter’.
Increase the speed to medium-low and add the eggs one at a time. Beat until each egg is incorporated, about 15 seconds, before adding the next.
Scrape down sides of bowl, then add in the cream, vanilla and salt. Beat on a medium-low speed until combined, about 30 seconds.
Turn off mixer. Using a fine-mesh sieve, sift in the flour evenly over the cream cheese mixture. Beat on low speed until incorporated, about 15 seconds. Scrape down sides of the bowl if necessary, and continue to beat until batter is very smooth and no lumps remain. This takes around 10 to 20 seconds.

Bake the cheesecake
Pour the cheesecake mixture into the prepared tin, and bake for the required time (see above). There is no need to dispel any bubbles before baking as it adds to the charm when baked. I did not get either a completely burnt top or a sunken middle, but did succeed on the third attempt to get achieve a soft centre. This was very well received.
Serve the cheesecake
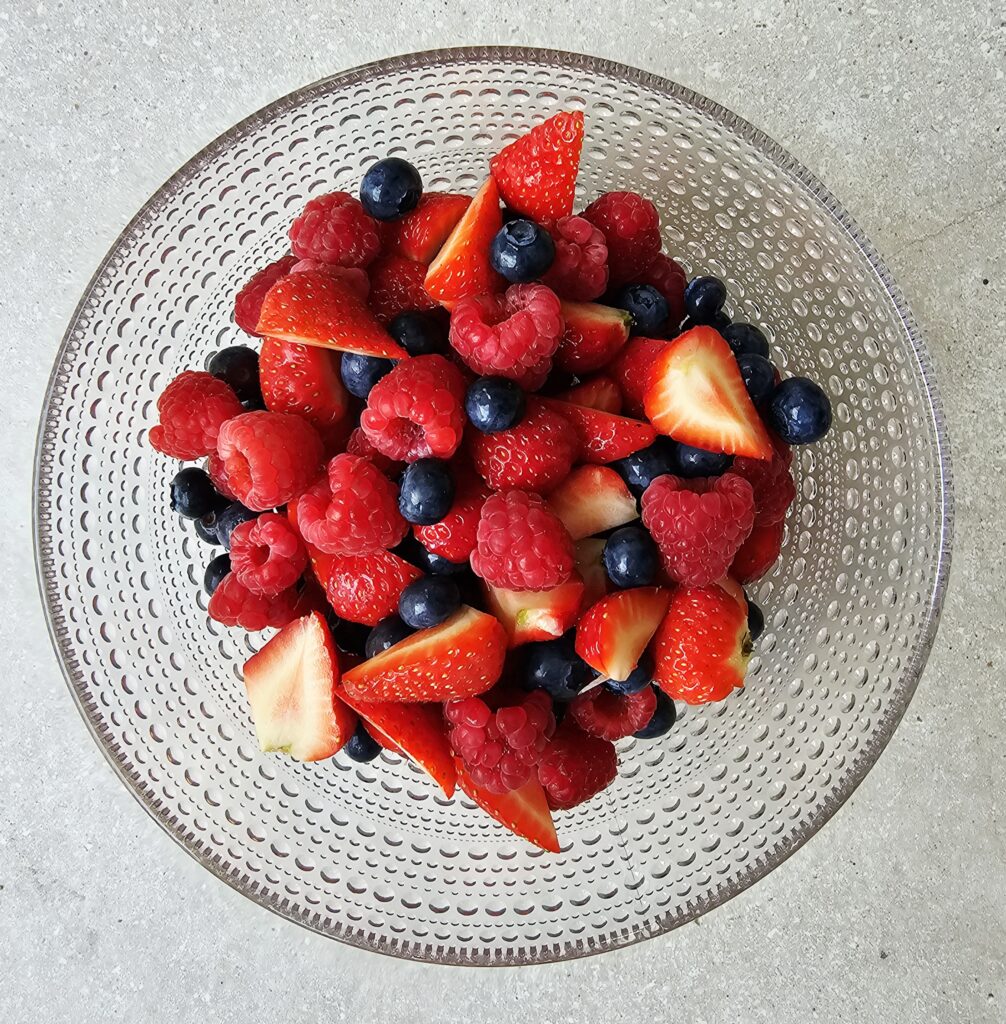
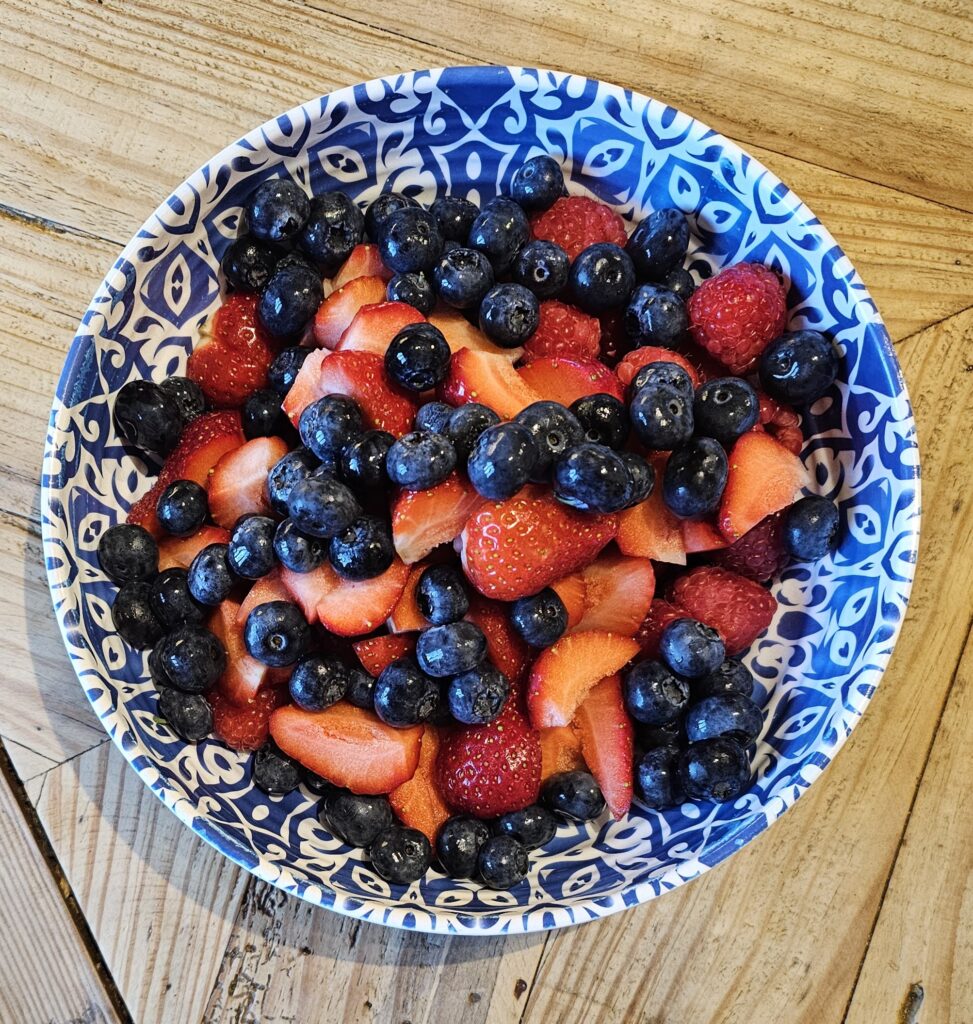
Each time I made the cheesecake, it was for a communal dinner so I did not have much time to take any photos of the cheesecake plated up. I am going to make it again soon and will post a photo of it then. I served the cheesecake with a mixture of Summer berries: strawberries, blueberries and raspberries.
The second attempt was for our trip to Dorset the week before, and I simply carried the entire cheesecake in the tin to our rental cottage. If you do this/ store in the fridge overnight, leave the top uncovered, otherwise a layer of condensation settles on the top of the cheesecake. Once the cake is cut, any leftovers should be kept in a sealed tupperware.
Variations, if you must
For me, the cheesecake is perfect as it is. Instead of making chocolate, coffee or other flavoured cheesecake, I would prefer to ring the changes by serving different fruits on the side e.g. cherries, peaches and apricots in Summer, poached pears or plums in Autumn. Perhaps ripe mango, pineapple or dragonfruit if you want something tropical.
The only variation I might attempt is a matcha cheesecake, as I love the bitterness+grassiness of green tea powder. However the price of matcha, compared to plain flour, makes it a special occasion bake. I get my matcha from Matchaeologist.
Finally, the cheesecake can be made gluten-free by using gluten-free plain flour. You cannot taste the difference.