In our kitchen, the only device that displays the time is our oven! :D Looking at it was always a bit annoying.
So I recently built a wall clock from a circular LCD screen! It’s really great because it can display any clock face you want, even ones you code yourself!
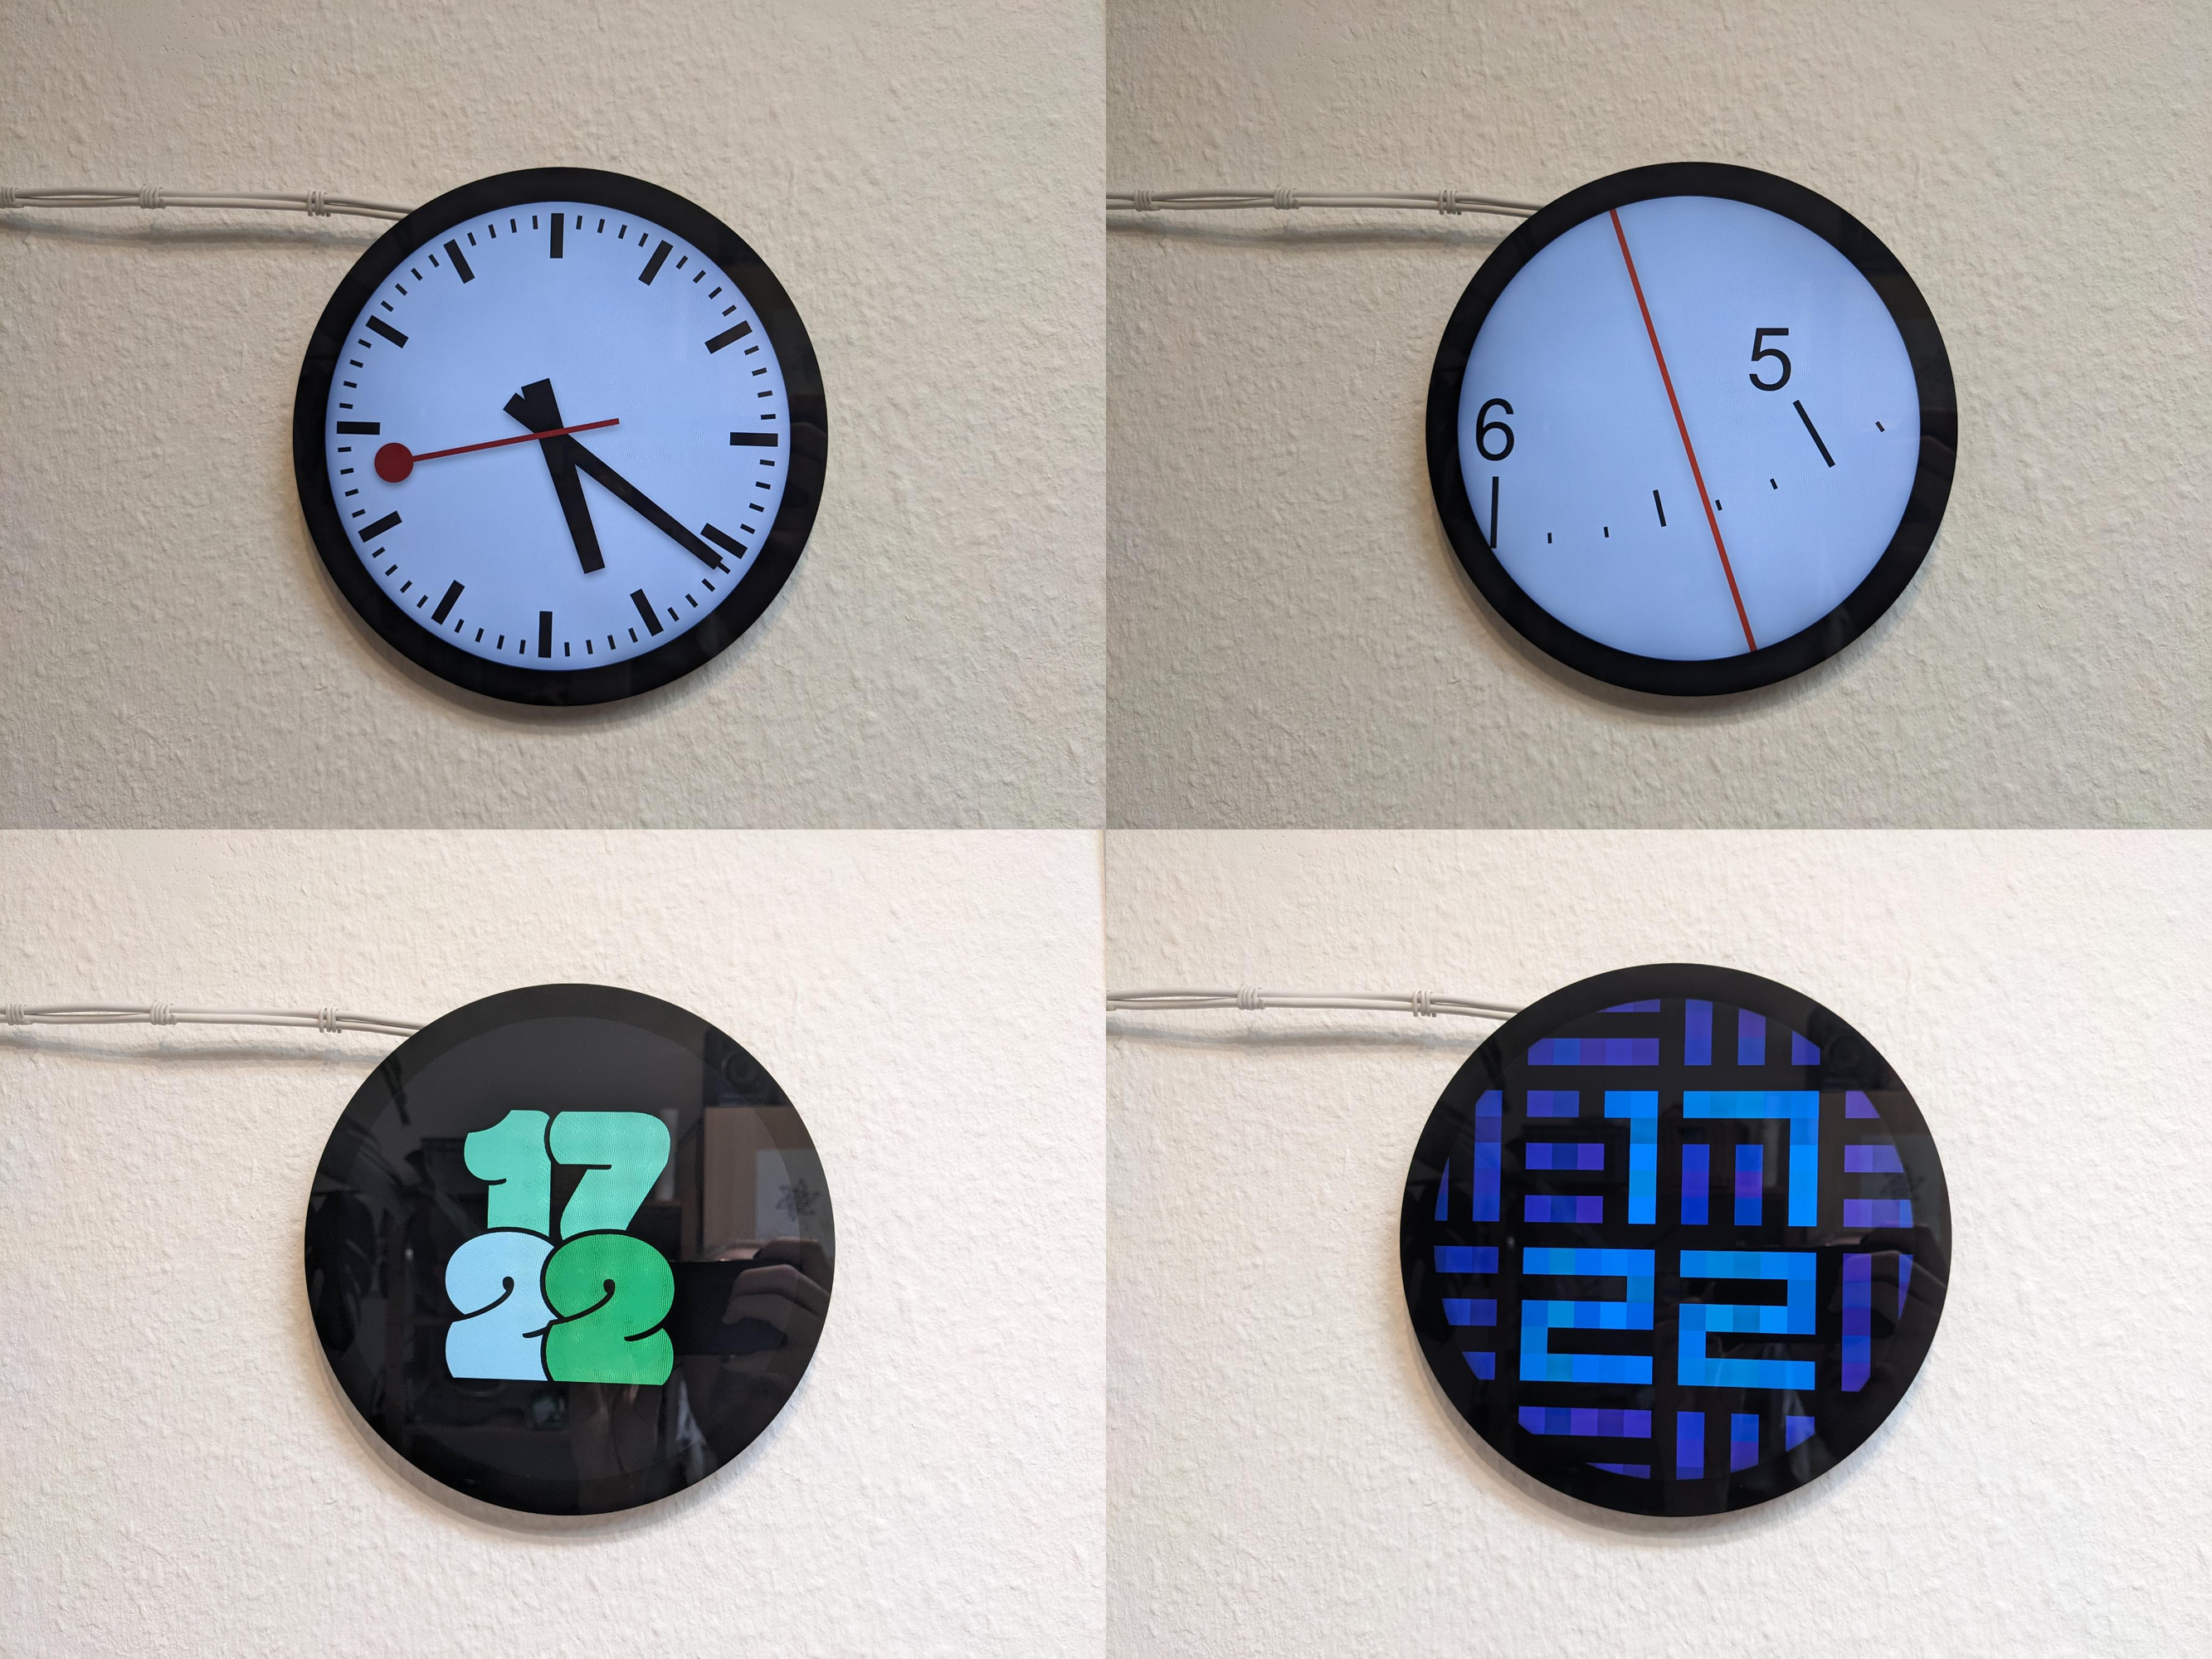
If you want one too, here’s how to do it!
Hardware
You’ll need:
-
Waveshare’s 7 inch circular LCD
It’s 1080 x 1080 pixels, and the display area is 7 inches (~18 cm) across. Contrast and brightness are good, and even has multi-touch, which allows some fun interactivity!
Originally, I thought I wanted a circular screen that’s a bit larger. But those are really expensive, and I’m perfectly happy with this size.
-
Raspberry Pi 3-5
This minicomputer will power the clock. The Pi 3B+ seems just enough to render some simple animations.
I also tried with a Raspberry Pi Zero 2, but 512 MB of RAM were too little to run a modern browser, sadly. I think a Pi 4 might be a good sweet spot between processing power and price, currently.
-
A microSD card as your storage, at least 16 GB.
-
A microSD card reader, to be able to flash the OS on it.
-
Good USB-C power supply
At first, I used some random phone chargers, but the Pis would always complain about undervoltage, and throttle their CPU. I learned that you can check the output of
vcgencmd get_throttled, and use this site to learn what the bits of the resulting bit pattern mean.So I got an official Raspberry Pi power supply, and haven’t had problems since.
-
White USB-A to USB-C cable
This will connect the Pi to the screen, and transfer power and touch information, and you can also set the brightness via this, see below.
I picked white cables to let the black screen stand out more, in front of a white wall.
-
White HDMI to micro HDMI cable
I found a random one on Ebay where you can pop off the overly big part behind the HDMI plug, so the screen with the cable plugged in would be a bit closer to the wall.
-
A mouse you can plug into USB-A, for the initial setup
Operating System
I just used Raspberry Pi OS as the operating system. There’a a handy Raspberry Pi Imager that will flash it on the SD card for you.
Assembly
The screen comes with screws and connectors to attach the Pi to the back of the screen, but it makes the whole stack ~4 cm thick, which I found too much. So I just put the Pi on a shelf, and run the USB-C and HDMI cables from it to the screen.
Connect the Pi to the screen using the USB port labelled “Touch” – you can leave the USB port labelled “Power” disconnected. The “Touch” port will still power the screen.
Remote control
When Raspberry Pi OS is booted, you can activate the built-in VNC server under Preferences → Control Centre → Interfaces → VNC, and then connect to it using (for example) TigerVNC. This makes it easier to remote-control the screen without having to connect a mouse/keyboard.
I wrote a Bash script called clock that I can run to quickly open a VNC connection. clock is also the hostname I set on the Pi:
#!/usr/bin/env bash

set -eu -o pipefail

export VNC_USERNAME=<username>
export VNC_PASSWORD=<password>

vncviewer clock.local
Touch gestures
If multi-touch seems off on a Raspberry Pi 3 (if you’re selecting text with your finger instead of scrolling the page), open Preferences → Control Centre → Screen, right click the screen, and check if the touch input is configured as multi-touch (instead of emulating a mouse).
As the screen on its own doesn’t have “back” or “menu” buttons like a smartphone does, I found it useful to control the browser using gestures. Touchscreen Swipe Navigation has worked well for me in Firefox: You can swipe right and left to navigate back/forward in history, and pull down to refresh.
The “Touch” button on the back of the screen will rotate the touch input by 90 degrees. You might need to press it a couple of times to rotate it properly.
Controlling the brightness
The “ON/OFF” button on the backside doubles as a brightness control: If you hold it, the screen will cycle through 5 brightness modes. For our kitchen, I found that the darkest mode is usually perfectly sufficient.
But I soon found that I wanted to dim the screen at night. How you do that depends on your Pi:
Raspberry Pi 3
On a Raspberry Pi 3, I was able to use the program gammastep (which is a redshift fork that supports Wayland).
I used a command like gammastep -b 1:0.3 -l <my lat>:<my lon>, so that the screen would be dimmed to 30% brightness at night, and 100% during the day.
Note that this is a software-side dimming – the backlight stays the same.
Raspberry Pi 3-5
On a Raspberry Pi 4 and 5 though, it seems that the firmware doesn’t support gammastep (see Max’ blogpost about this for details), so we need a different approach there.
Once again, I asked the Waveshare support for help (because their product site advocates that the screen’s brightness can be controlled via software). And they sent me back a Python script that directly talks to the USB interface of the screen so set the brightness to a value between 0 and 100! I polished that script a bit, added some automatic dimming over the day, and published the result here.
Clock faces
The easiest way to display a clock face might be to open a browser on the Pi and put it into fullscreen.
I built a couple of clock faces myself. You can find an overview at clocks.blinry.org. This page also acts as my “home screen” – I can tap on clock faces to activate them, and navigate back using the swipe gesture described above.
Swiss railway clock
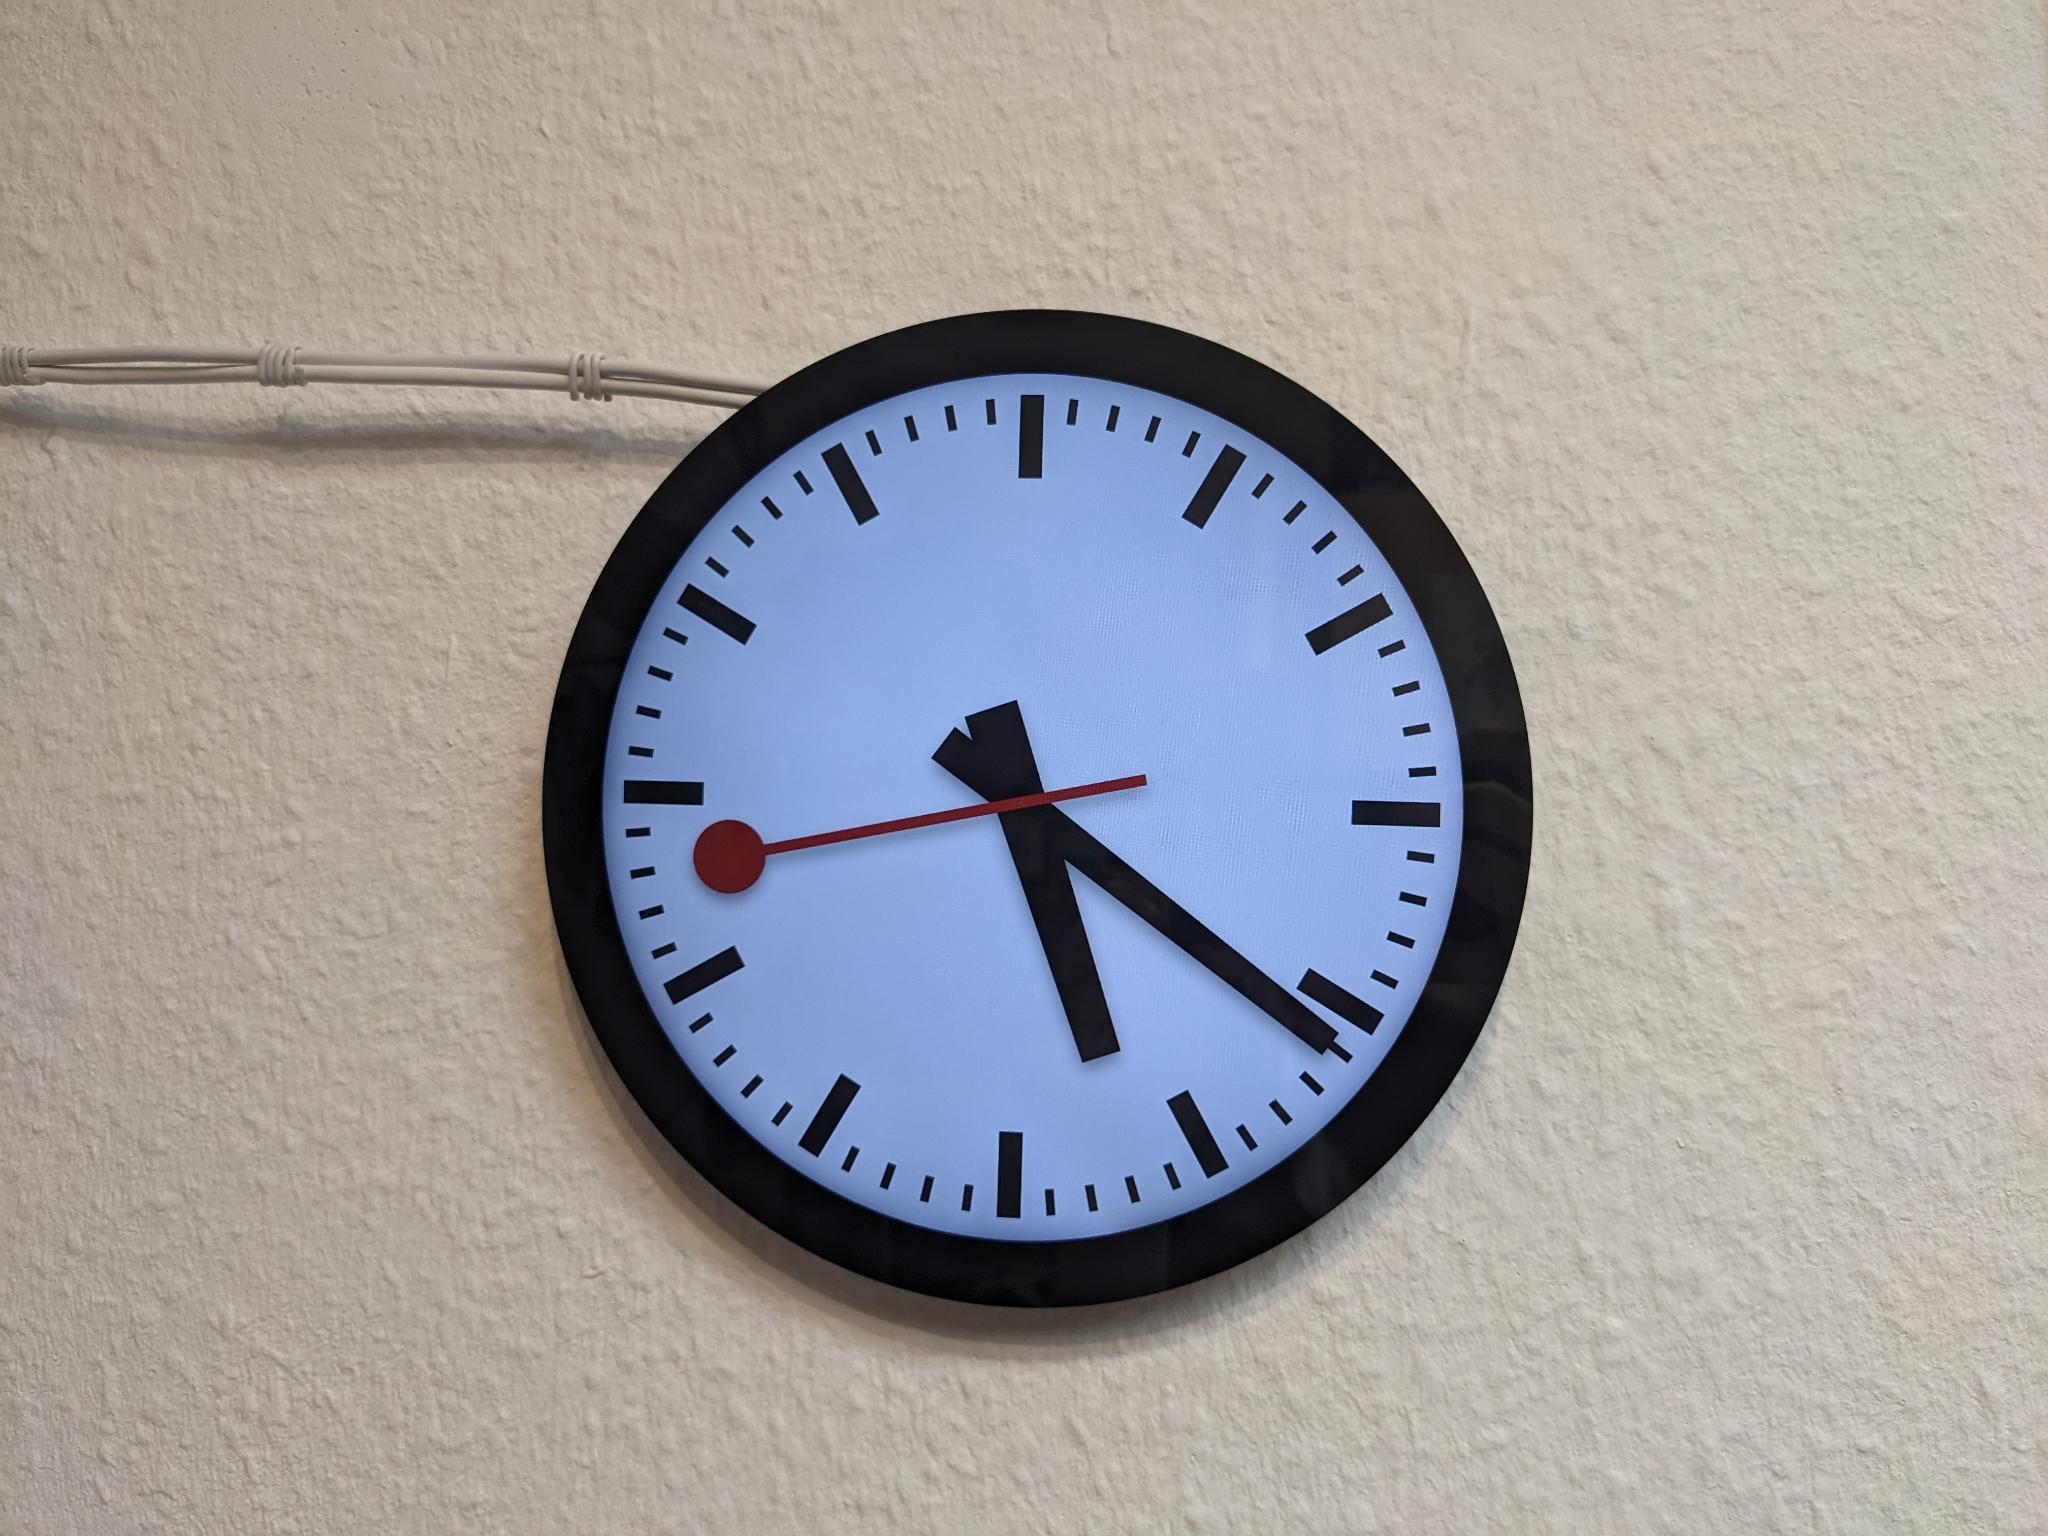
Implemented the minute pause of the Swiss railway clocks, thanks to @Fluyar for the hint!
You can find another implementation (by Draemmli) here, which animates the handles very satisfyingly!
Minimalist Time Scale
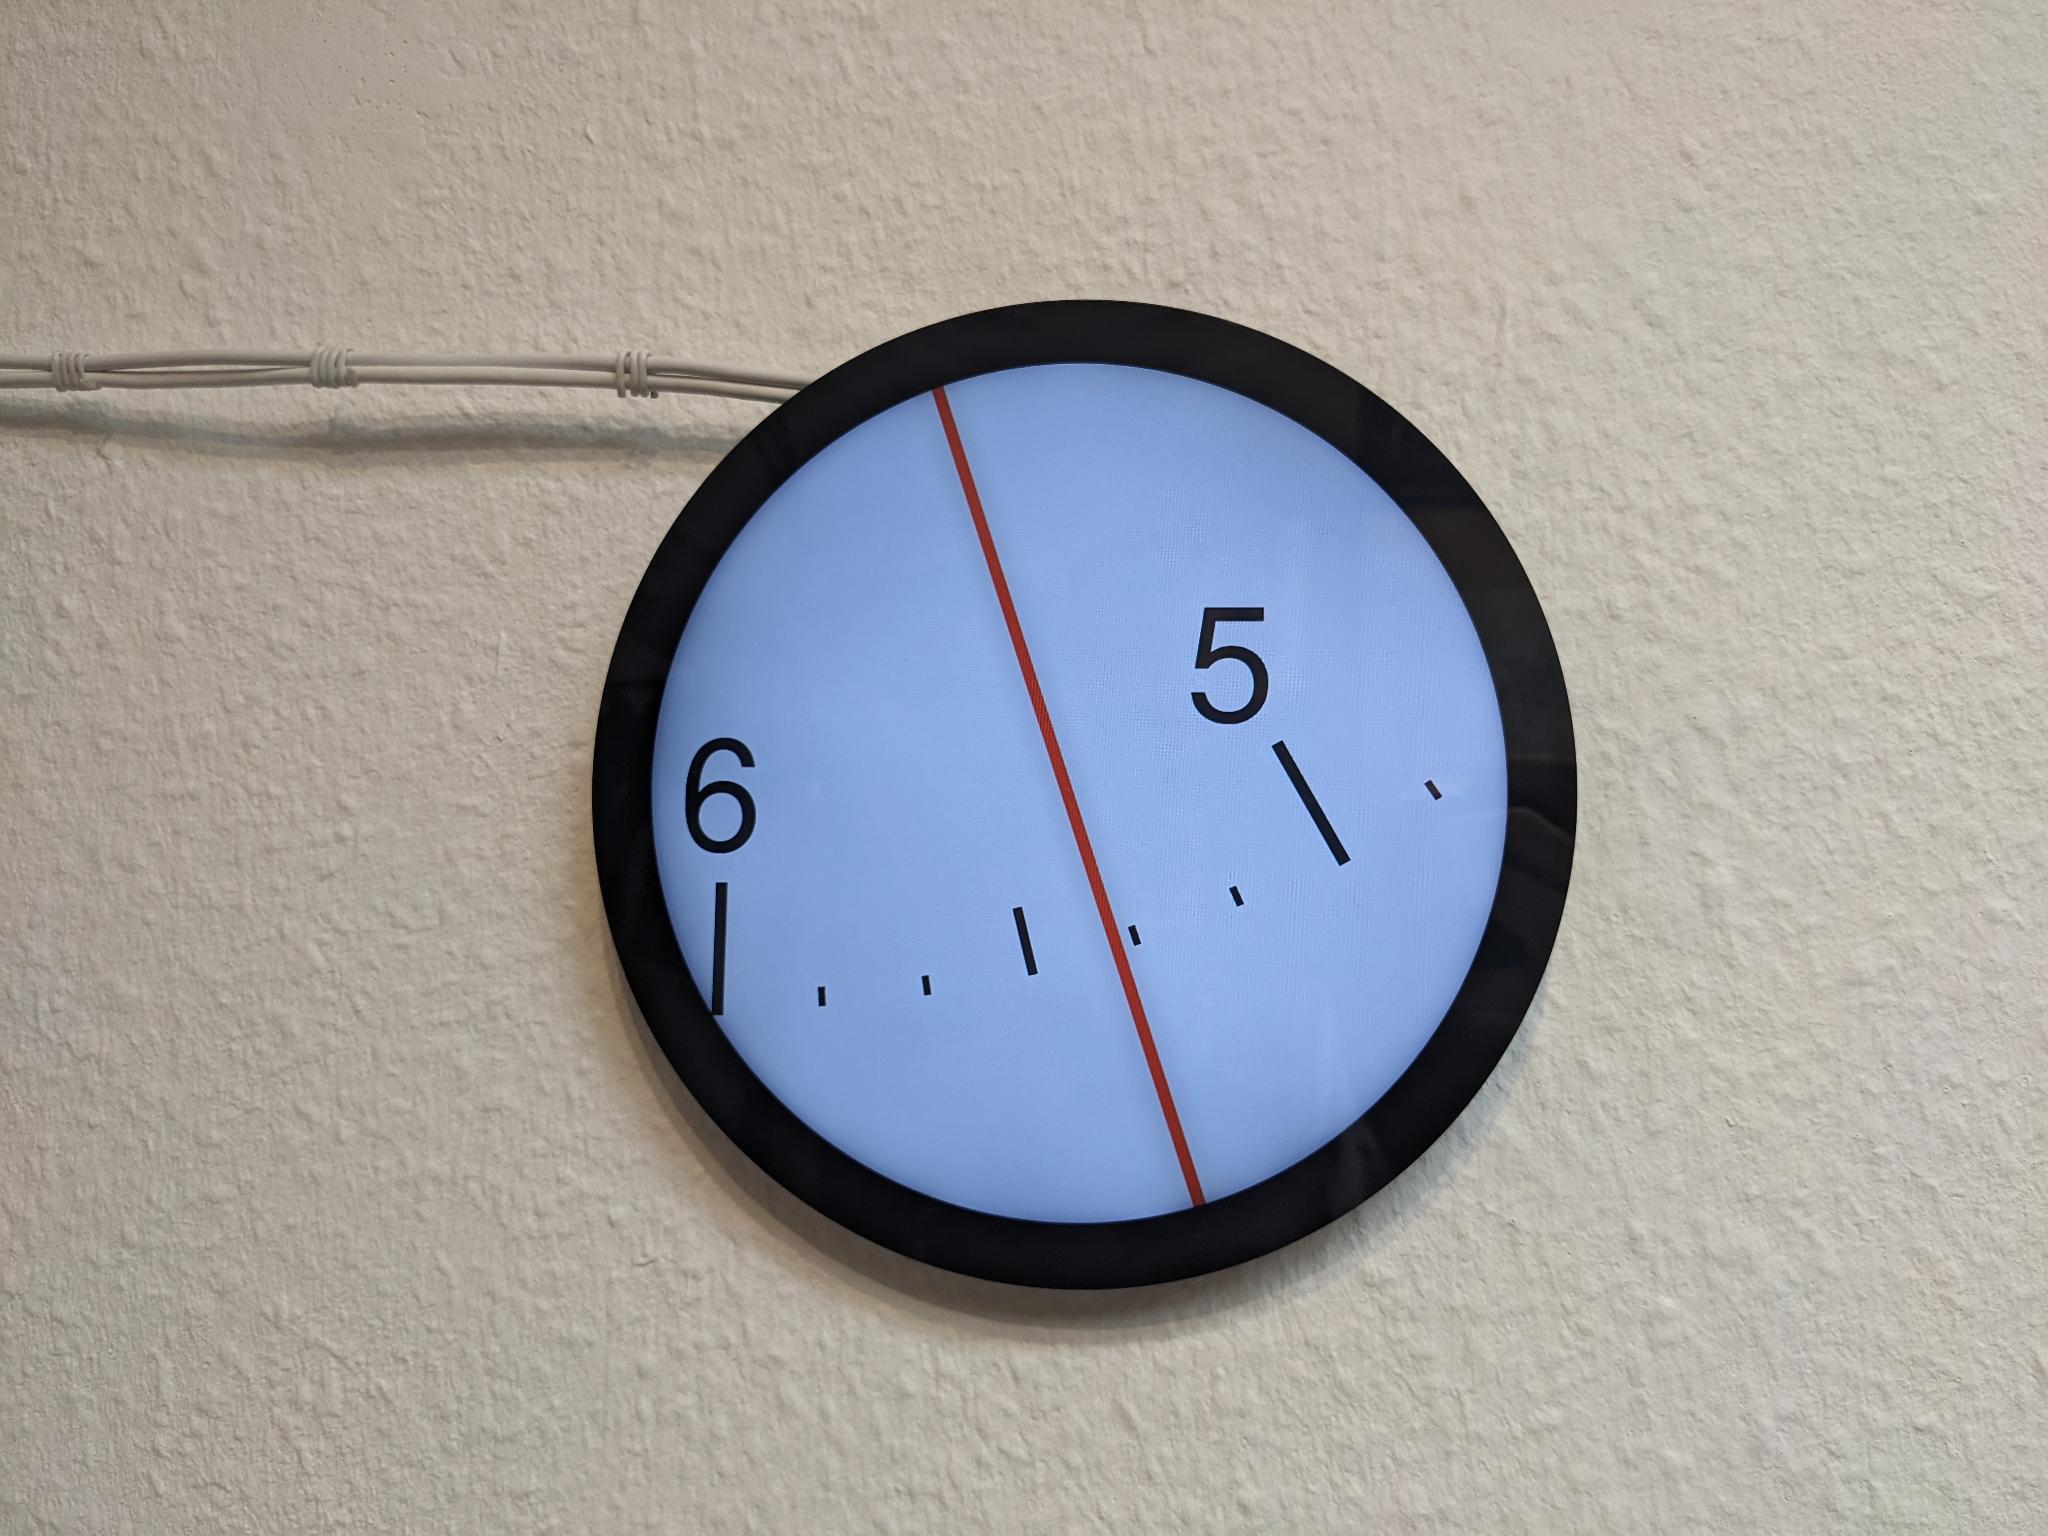
Jürgen showed me this blog post, and I just had to implement my own version! It renders all 12-hour marks, but it’s zoomed in, so that a single handle already gives you a lot of precision! It’s 10 minutes between two “ticks”.
Cartoony
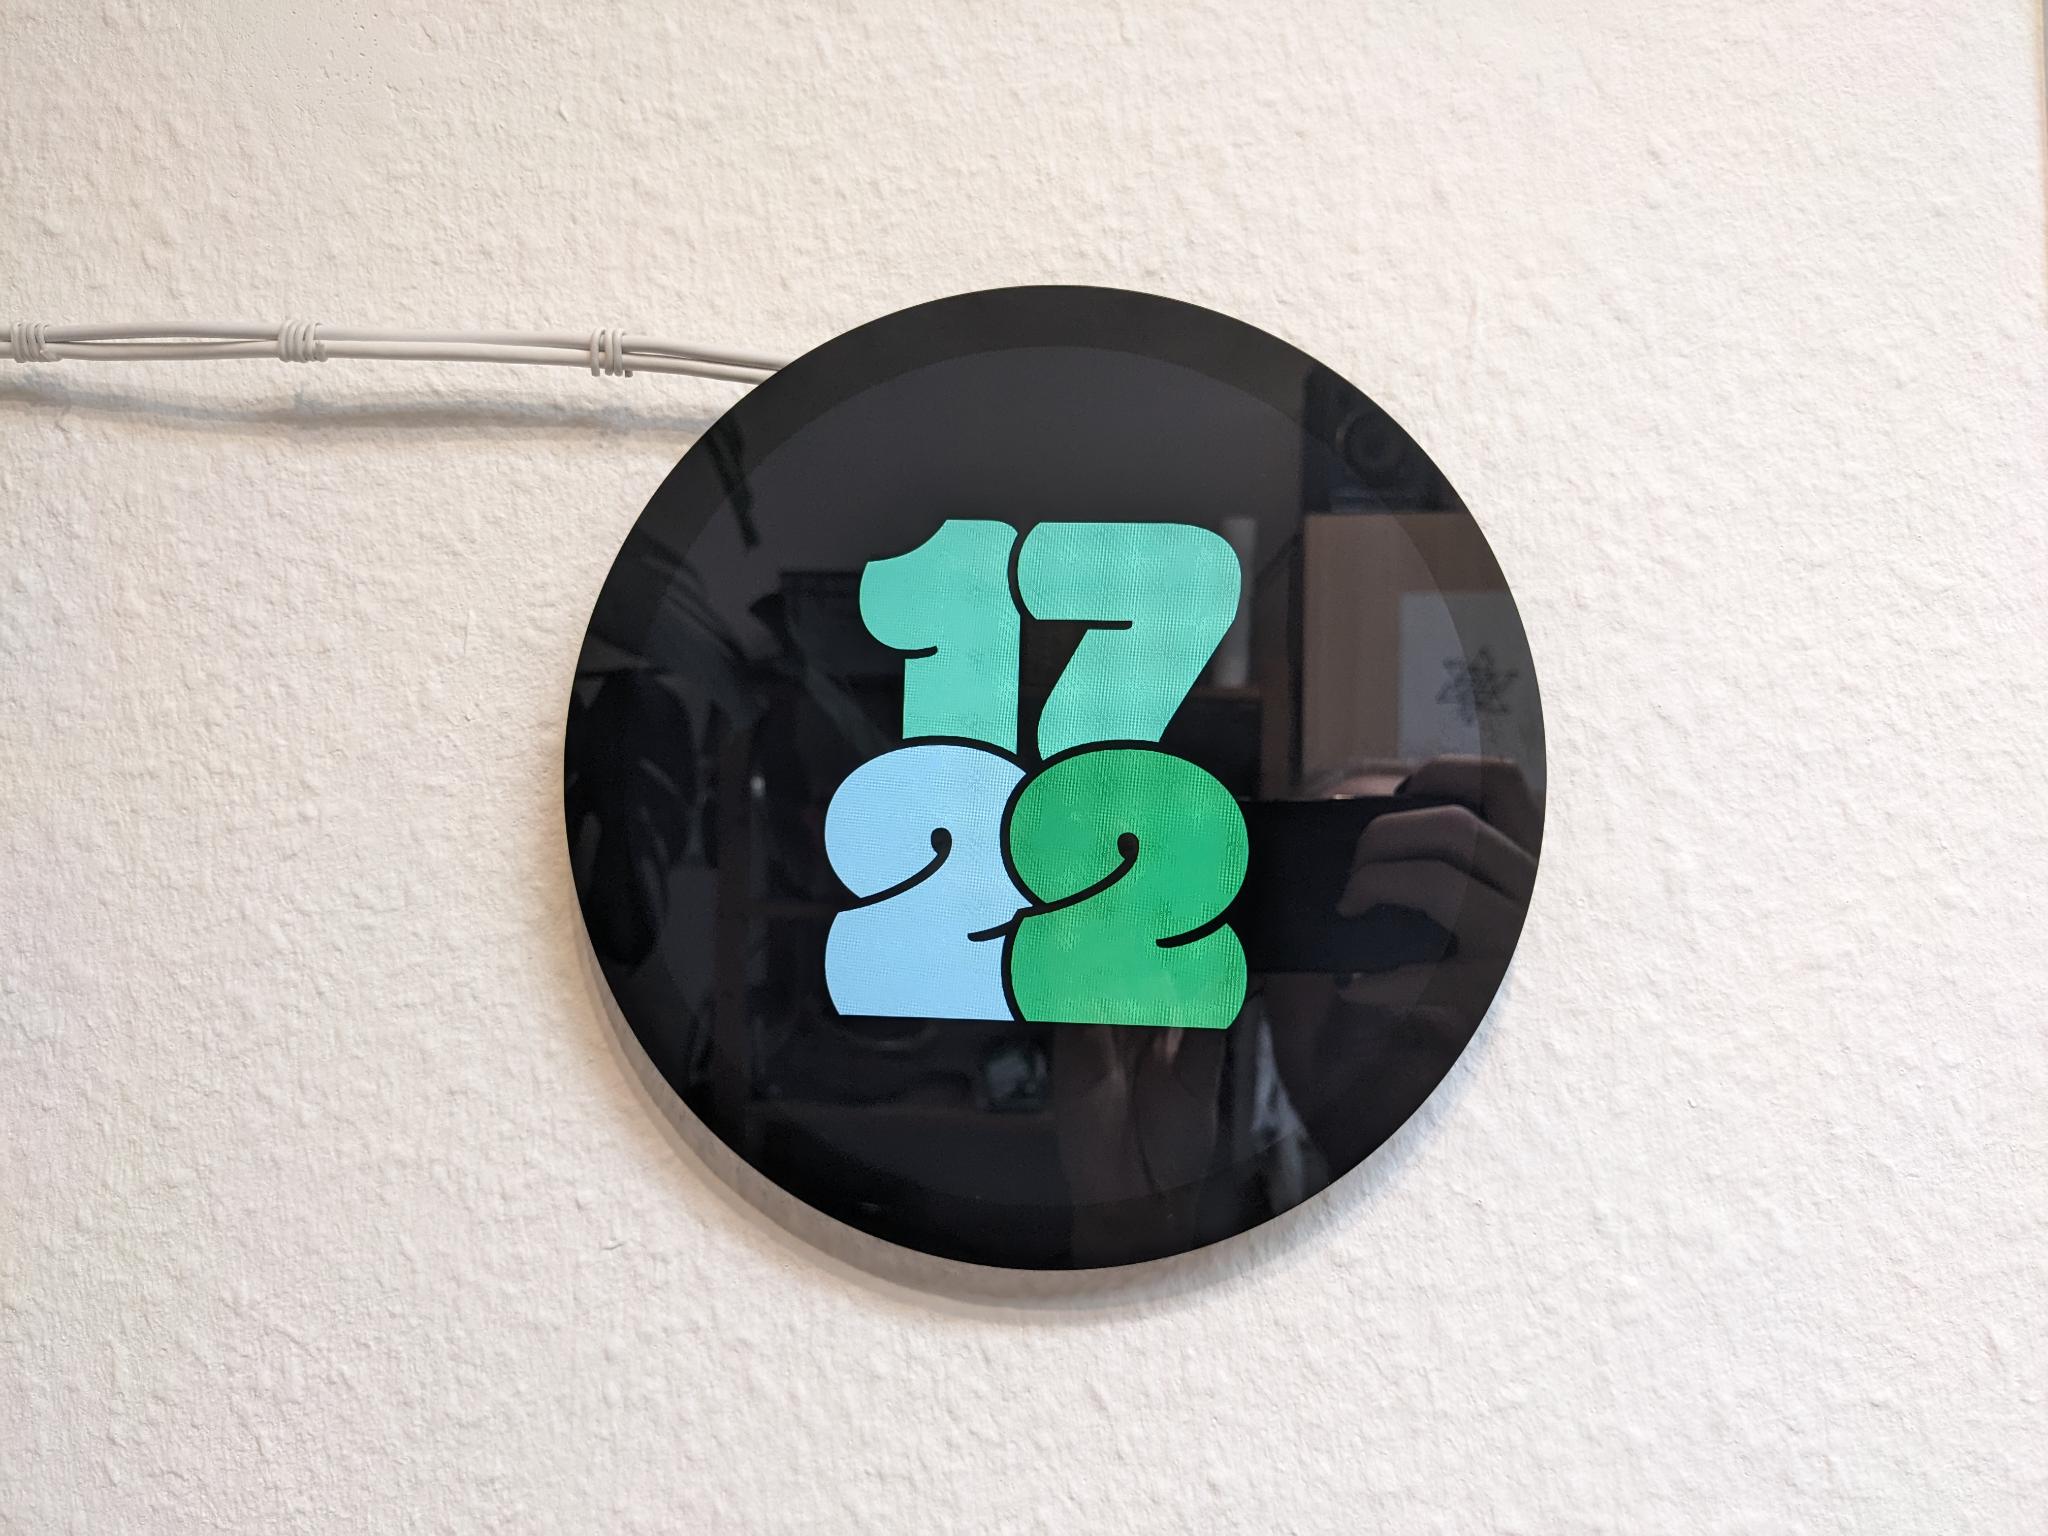
Inpsired by a smartwatch watchface I liked. The Modak font is doing some of the heavy lifting, I really like it!
Squared
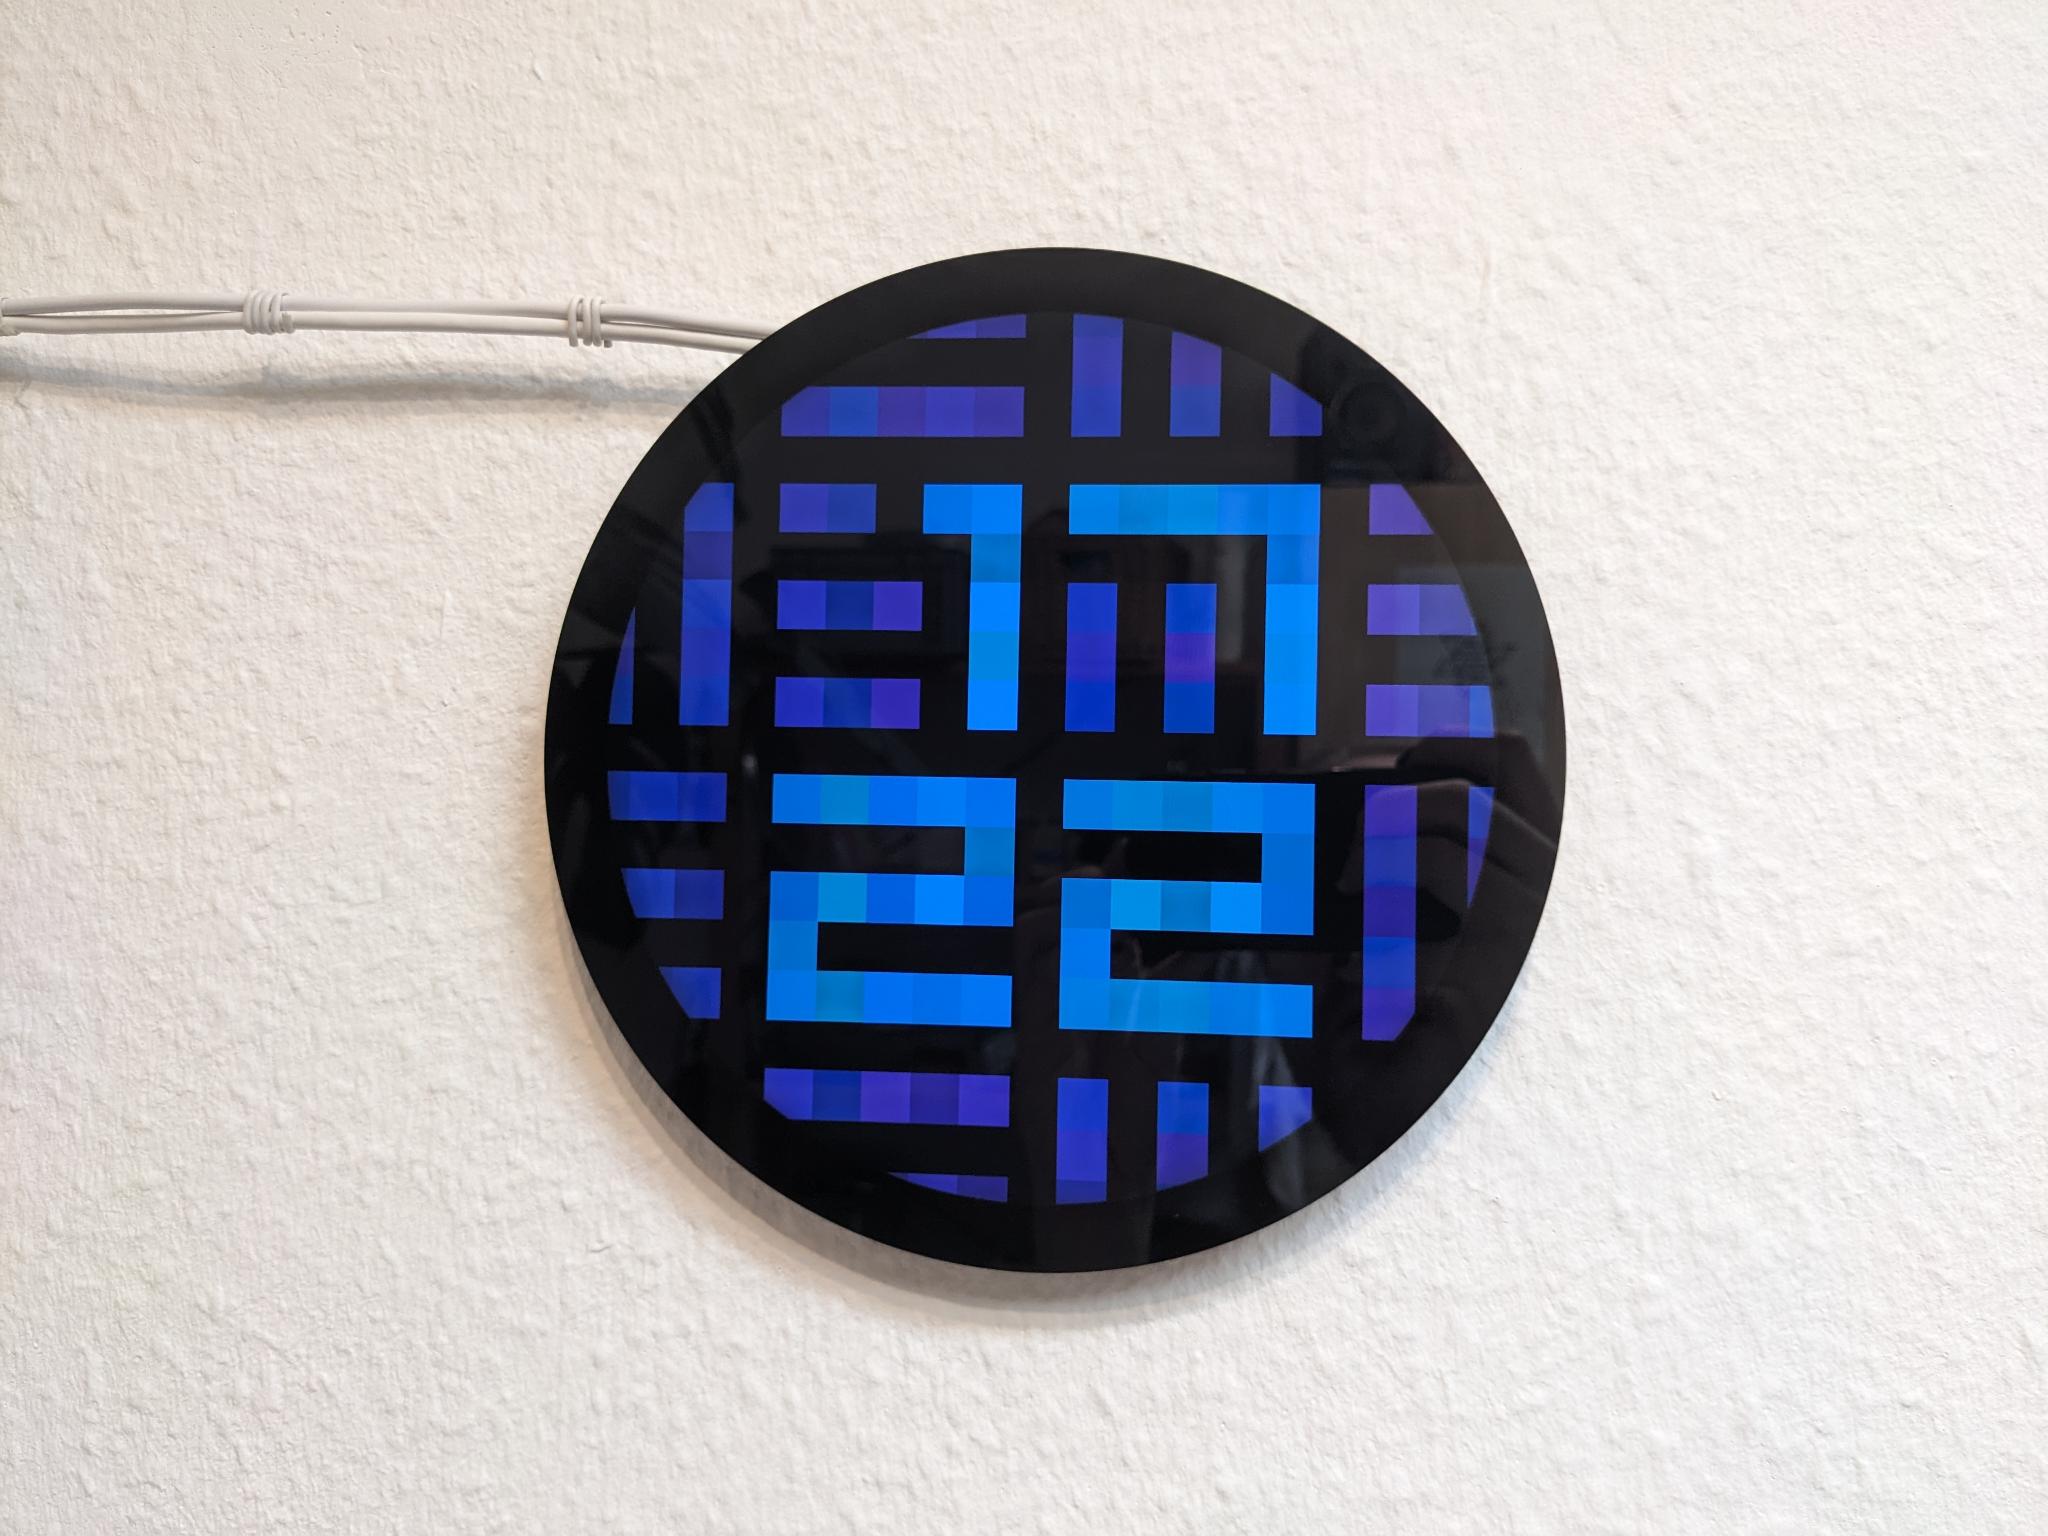
Based on Alina’s Squared 4.0 for Pebble devices, but reimplemented from scratch. The code contains a couple of different transition types, and even a mode that displays the seconds!