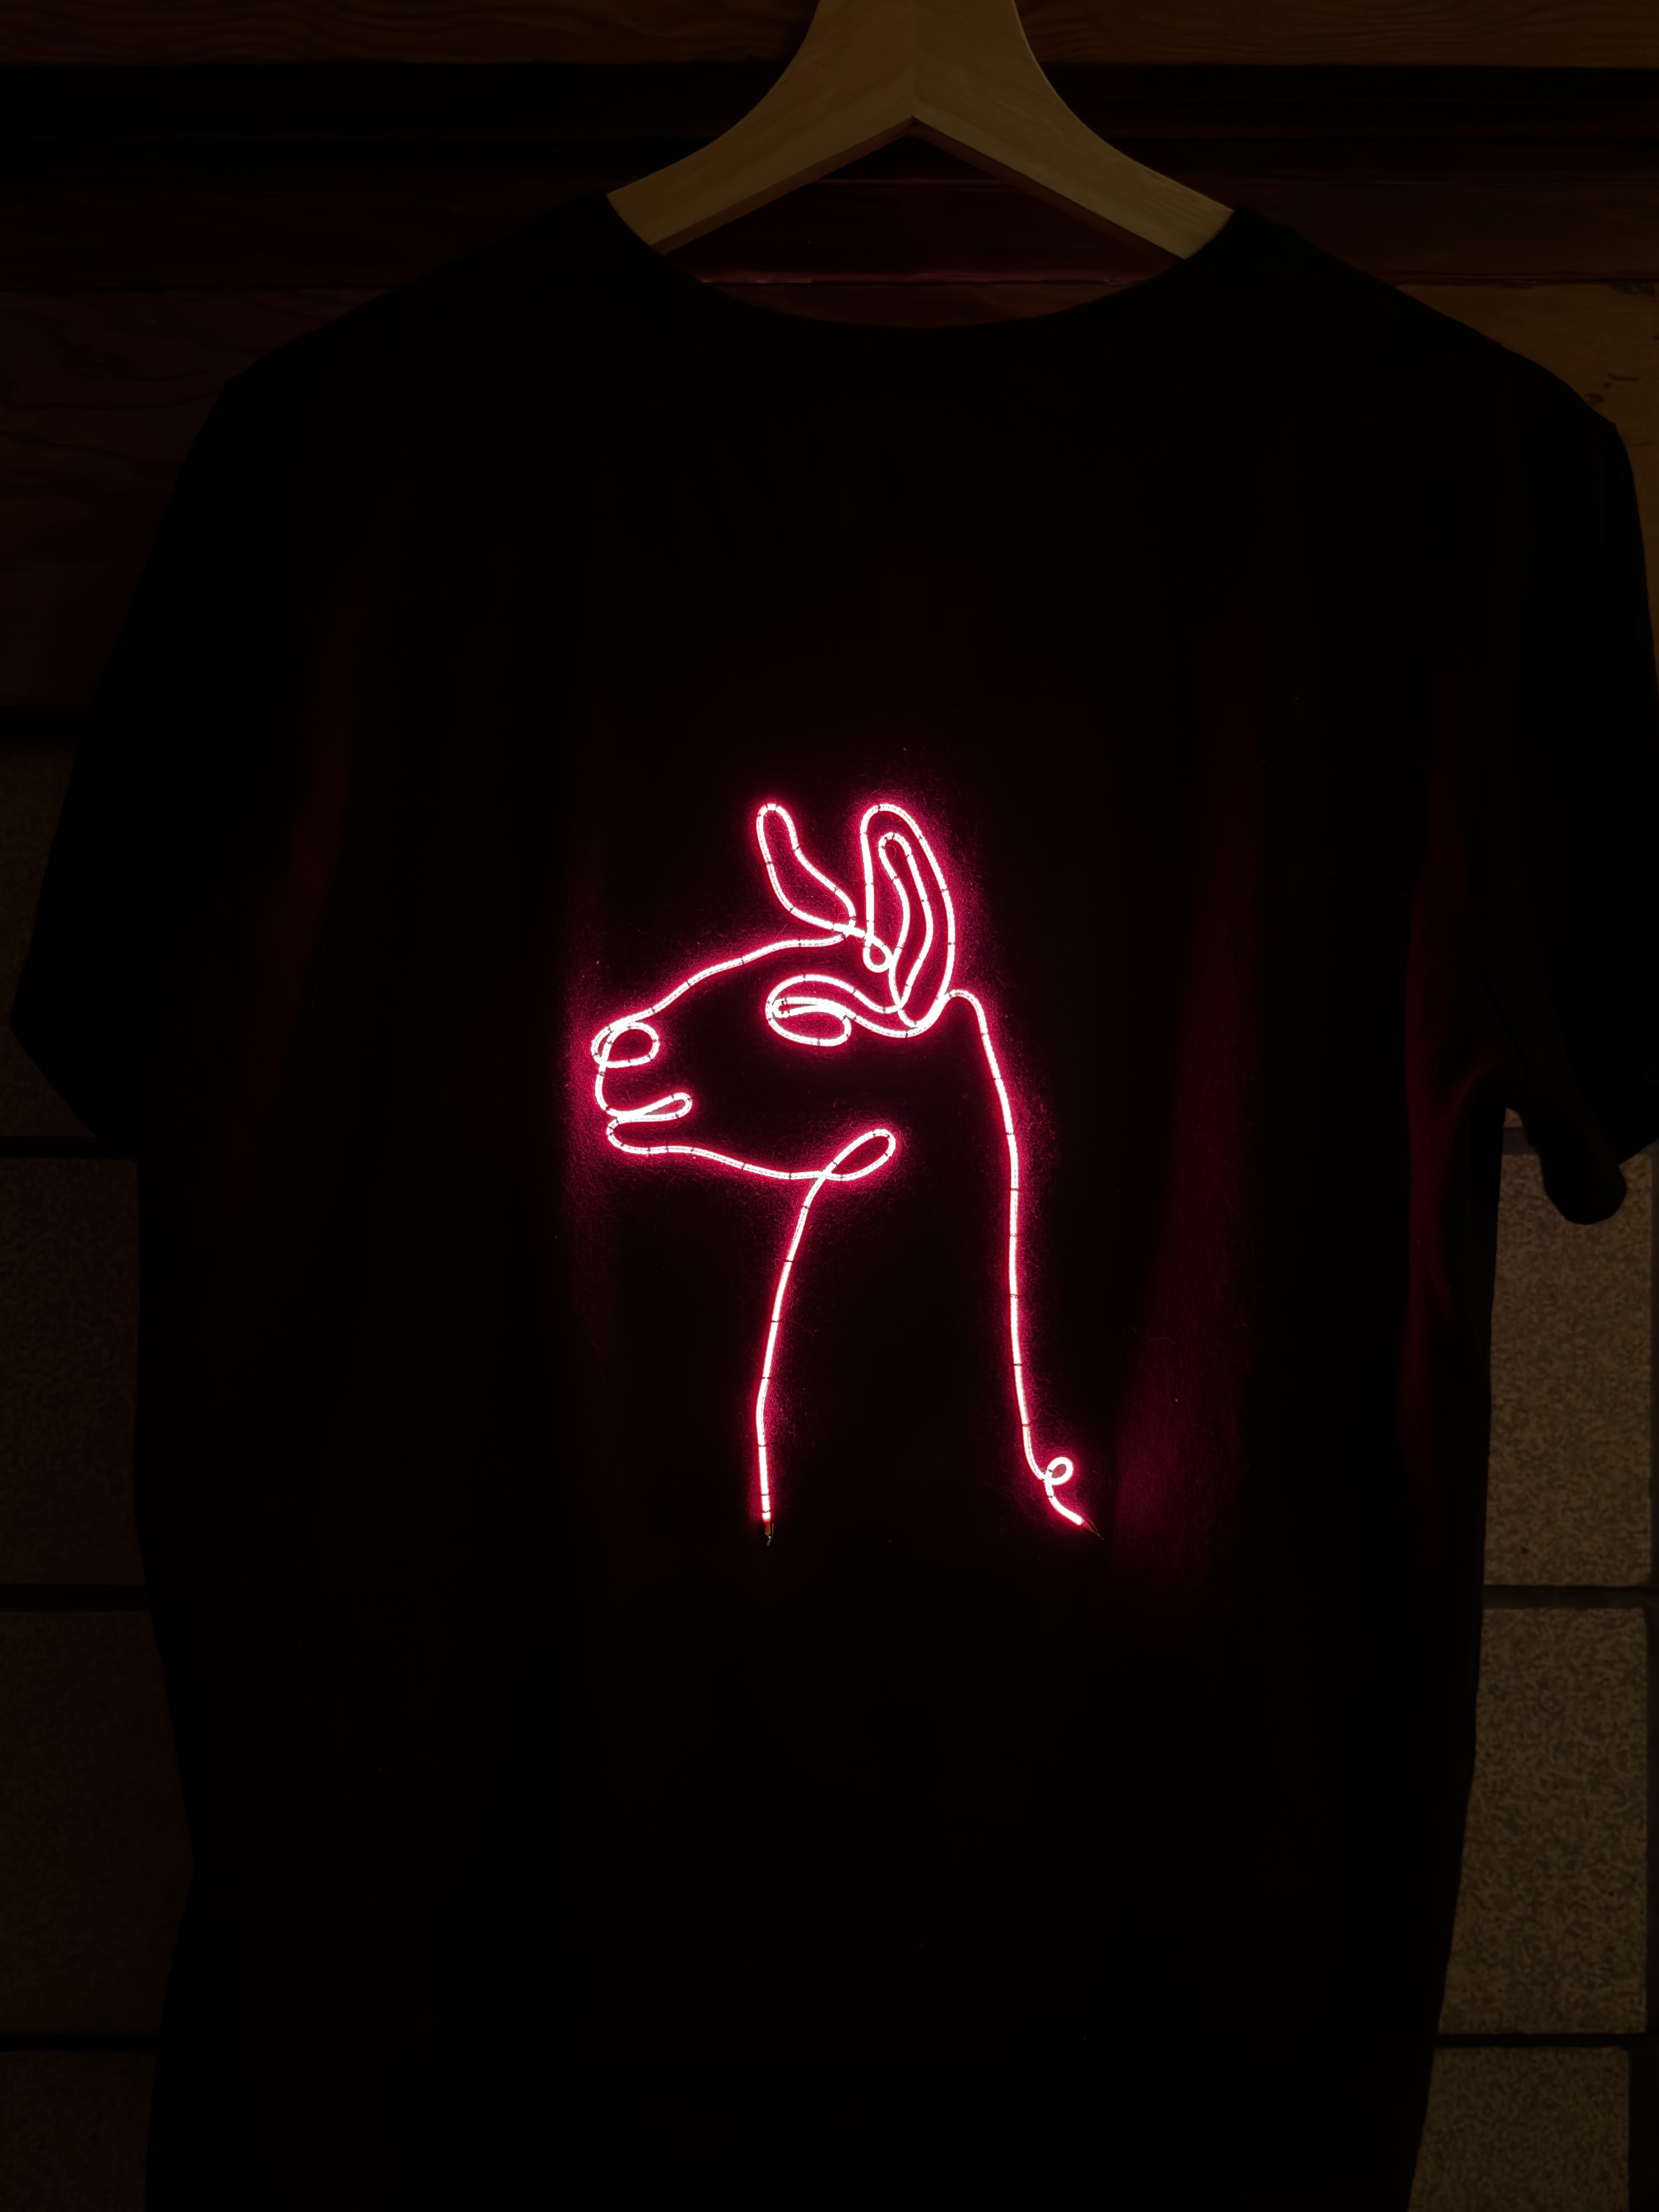
Making a flexible “neon” t-shirt with LED filaments

Earlier this year I had the perfect excuse to experiment with some flexible LED filaments that had been sitting in my “interesting parts” bin for years -- the company I work for was putting on a neon-themed event, so obviously I had to custom-build some LED neon attire! The only problem was this was announced less than a week in advance.... This is how I designed and assembled a wearable neon shirt in just a few days.

 

Popular posts from this blog

This is my fourth post in a series about the open source split-flap display I’ve been designing in my free time. Check out a video of the prototype . Posts in the series: Scripting KiCad Pcbnew exports Automated KiCad, OpenSCAD rendering using Travis CI Using UI automation to export KiCad schematics OpenSCAD Rendering Tricks, Part 1: Animated GIF OpenSCAD Rendering Tricks, Part 2: Laser Cutting OpenSCAD Rendering Tricks, Part 3: Web viewer Early when designing the split flap 3D model using OpenSCAD I wanted to include a visualization in the project’s README so others could see what it looked like. It’s possible to capture an image manually (File→Export→Export as Image), but that’s an extra thing to remember to do after every change and it’s also not very consistent. The image that’s exported is basically a snapshot of the current preview window, so the image dimensions and camera angle would be different each time. Plus, a single static image doesn’t fully convey the 3D mo...

This is my sixth post in a series about the  open source split-flap display  I’ve been designing in my free time. Check out a  video of the prototype . Posts in the series: Scripting KiCad Pcbnew exports Automated KiCad, OpenSCAD rendering using Travis CI Using UI automation to export KiCad schematics OpenSCAD Rendering Tricks, Part 1: Animated GIF OpenSCAD Rendering Tricks, Part 2: Laser Cutting OpenSCAD Rendering Tricks, Part 3: Web viewer One of my goals when building the split-flap display was to make sure it was easy to visualize the end product and look at the design in detail without having to download the full source or install any programs. It’s hard to get excited about a project you find online if you need to invest time and effort before you even know how it works or what it looks like. I’ve previously blogged about automatically exporting the schematics, PCB layout , and even an animated gif of the 3D model to make it easier to understand the proj...

This is my first post in a series about the  open source split-flap display  I’ve been designing in my free time. Check out a  video of the prototype . Posts in the series: Scripting KiCad Pcbnew exports Automated KiCad, OpenSCAD rendering using Travis CI Using UI automation to export KiCad schematics OpenSCAD Rendering Tricks, Part 1: Animated GIF OpenSCAD Rendering Tricks, Part 2: Laser Cutting OpenSCAD Rendering Tricks, Part 3: Web viewer For the past few months I’ve been designing an open source split-flap display in my free time — the kind of retro electromechanical display that used to be in airports and train stations before LEDs and LCDs took over and makes that distinctive “tick tick tick tick” sound as the letters and numbers flip into place. I designed the electronics in KiCad, and one of the things I wanted to do was include a nice picture of the current state of the custom PCB design in the project’s README file. Of course, I could generate a sn...