This is a quick post because a) I am removing skirting boards and b) I have yet to finish the task at hand. It is entitled Skirting The Issue because Mr Gochugaru and I couldn’t come to an agreement about the skirting boards i.e. who would remove them. In a moment of bravado I challenged myself to take on what is traditionally a man’s job.
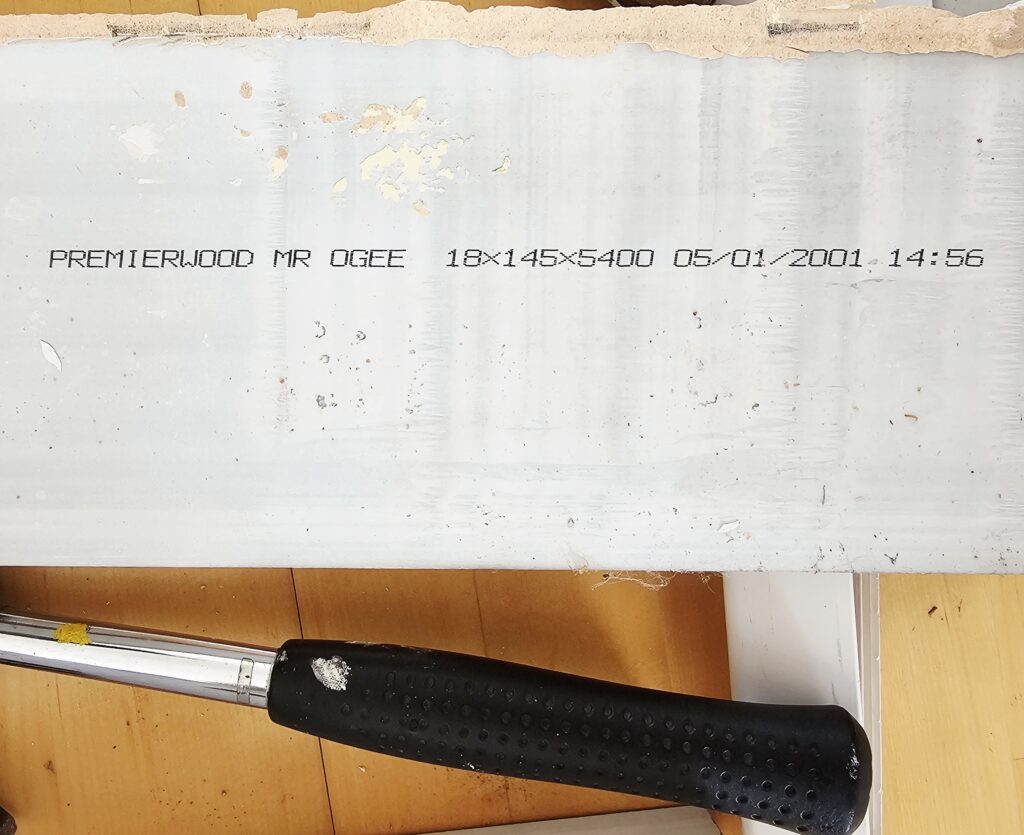
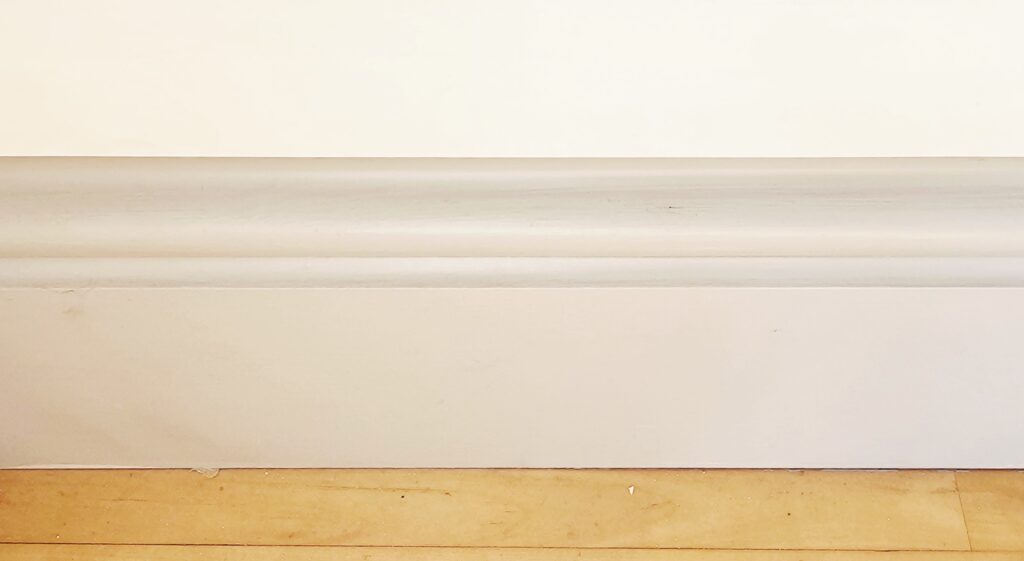
The skirting board in question runs round the whole of our living room. Made from MDF, it is 18 mm deep and 145 mm high. In the past few days I have read up all about skirting boards and my hunch is right – this skirting board is too high for our small living room.
25 years ago I had a wooden floor installed and after years of good service, with children playing, daily living and numerous big parties, it is time for a new wooden floor. Sanding and revarnishing was not an option because of historic water damage and also, I wanted a different type of wood.
For a clean finish and neat edges, it is necessary to remove the existing skirting board before installing the new flooring. The new skirting boards sit above the new planks.
After three weeks of having a painter-decorator in the house, I dreaded another round of mess to clear up after the worker has checked-out for the day. I felt that I was working as hard and maybe even harder, as there was waiting, thinking, supervising, procurement of materials, furniture moving, rubbish clearance and cleaning. It was the cleaning afterwards that got to me most because normally I am a very tidy worker. I may make a mess, but I always clear up afterwards.
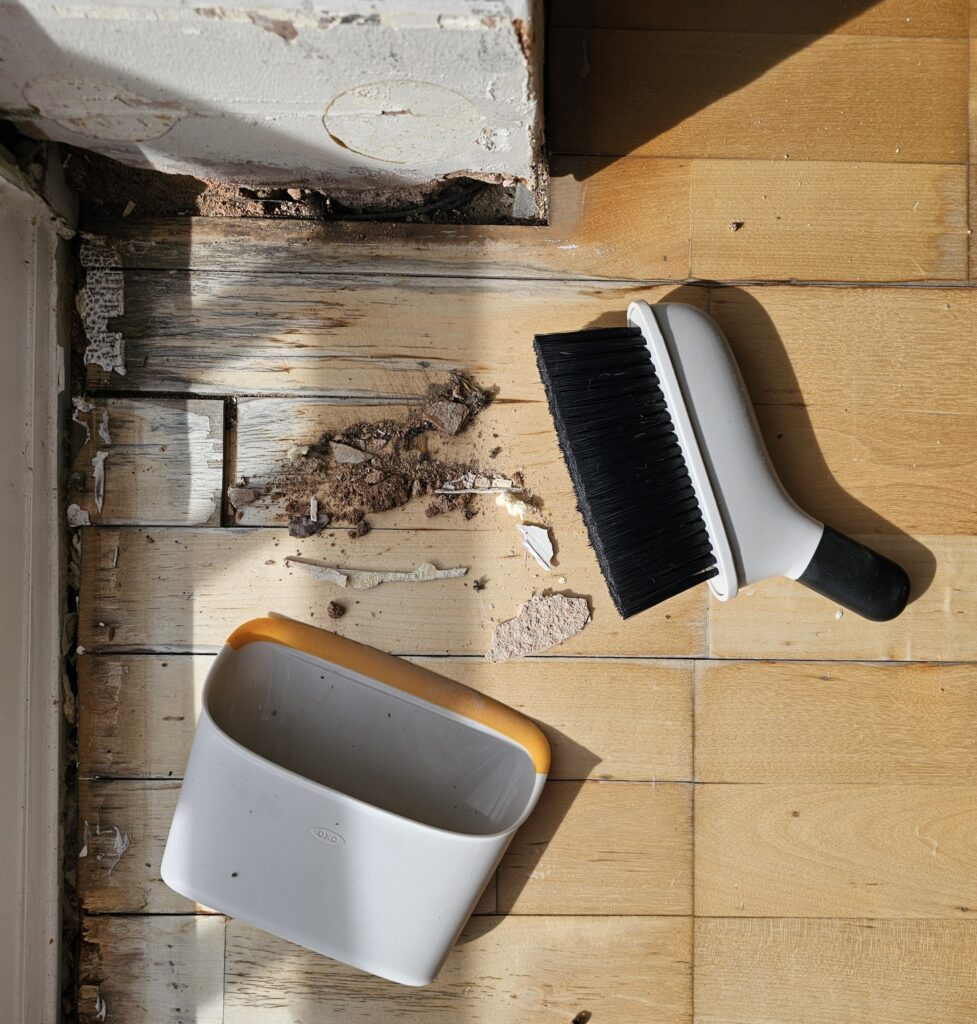
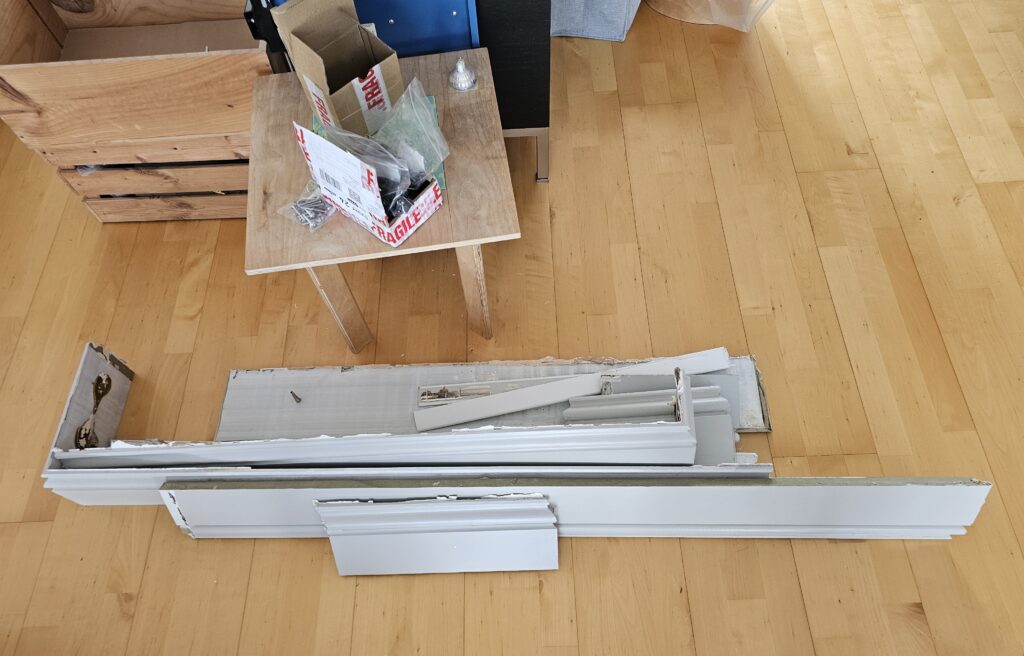
Using a small dustpan and brush to sweep up before running through again with a vacuum cleaner (top) and putting the used boards in a pile before bringing to the recycling yard (below)
Here then is an amateur’s guide to skirting board removal.
THE RIGHT TOOLS
I was very perturbed when I saw the copious amount of plaster and big gaps on the wall when the skirting board was removed from the bedrooms during the recent renovation work. I did not want this to happen in the living room because the remedial work would also take time and money.
Here is the way I see it. Maybe a worker using force to rip out strips of skirting is thinking it’s ok. If plaster is ripped out then it’s only a case of replastering the wall. To me, this is akin to those pharmaceutical companies getting their patients hooked on opioids then selling them the anti-addiction treatment. It’s best not to start anything destructive in the first place.
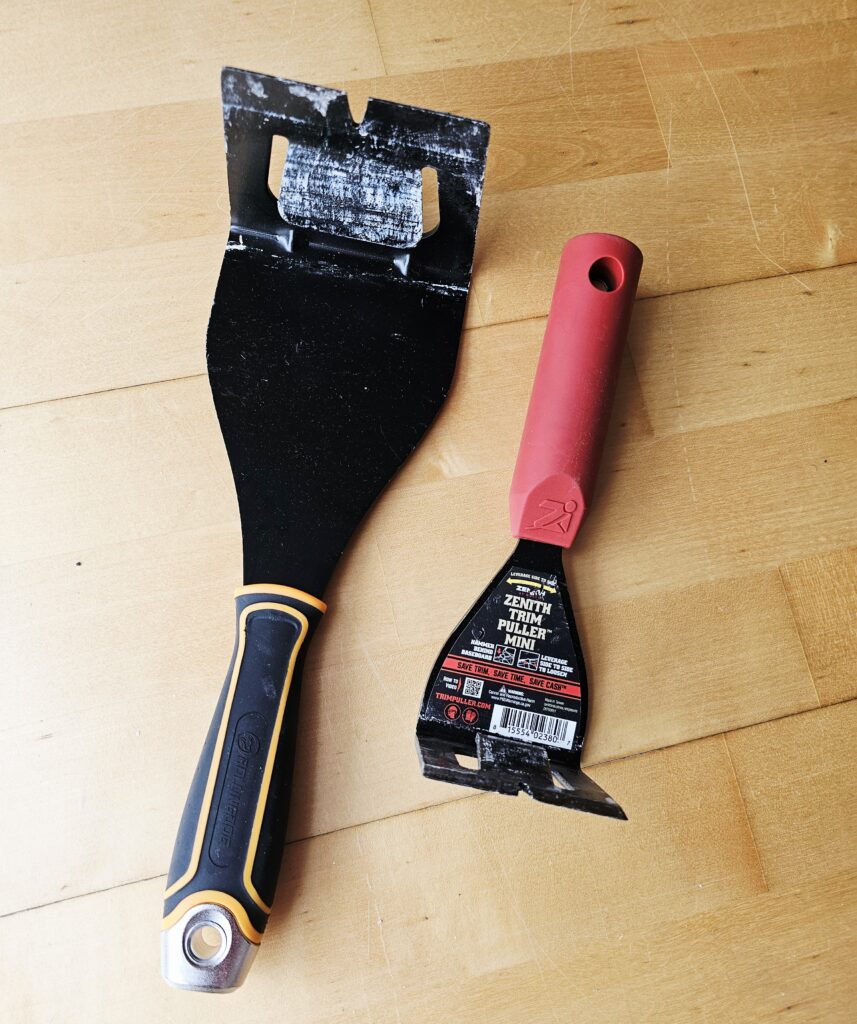
I did some reading on how to remove skirting boards, watched a fascinating YouTube video (the only one I have watched to the end and then re-watched) and bought the recommended tool. It is called a trim puller and made by Zenith Industries. To me, as a first-timer, this seemed to be the right tool for the job.
I could only get a mini Zenith trim puller and bought a larger one by a company called Rollingdog. However the Zenith made a sharper and cleaner incision. I have now ordered the regular sized Zenith from the US because I might need it for another task in future. If not, I will keep it as a souvenir. Like the Opinel oyster knife, I think every household needs one.
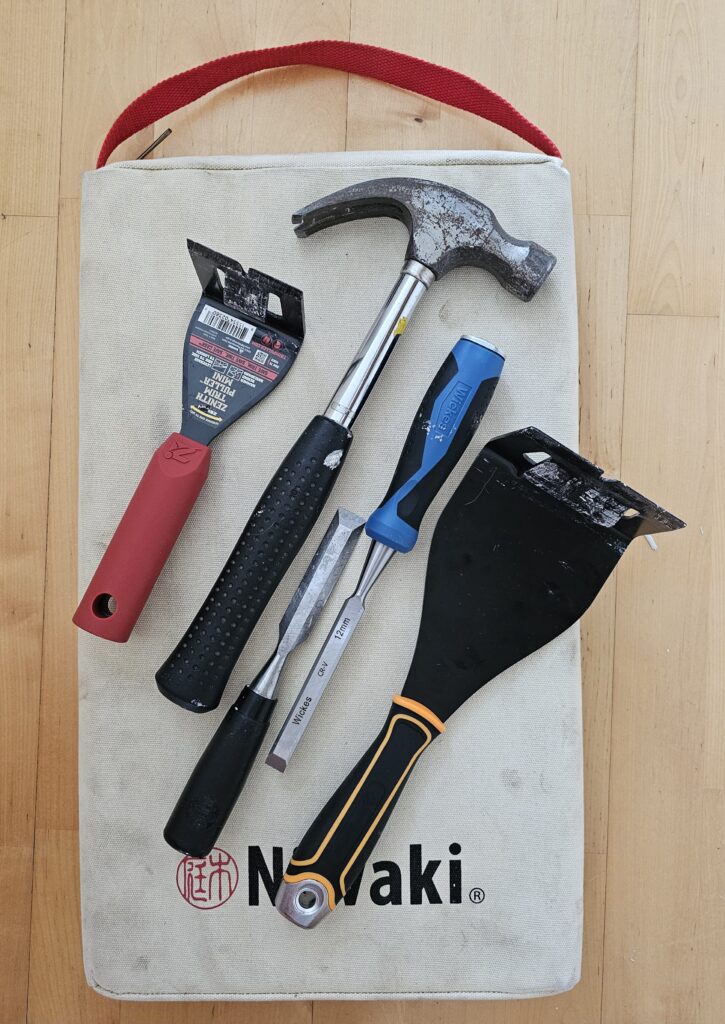
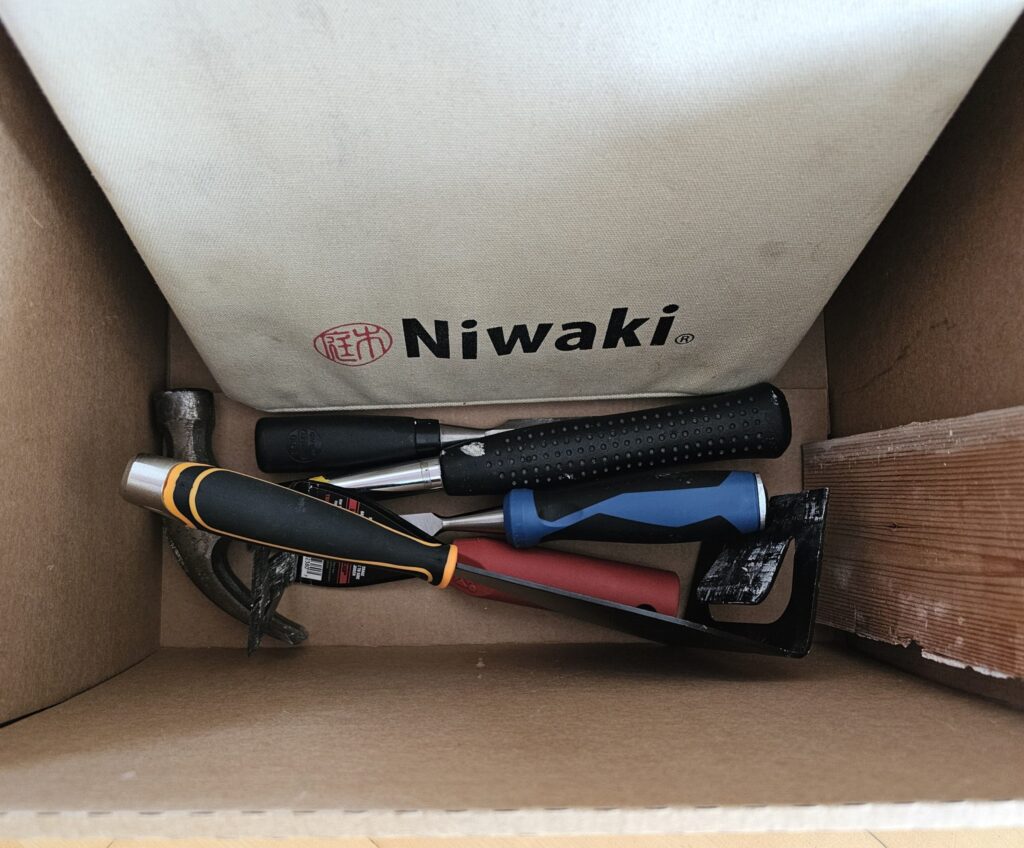
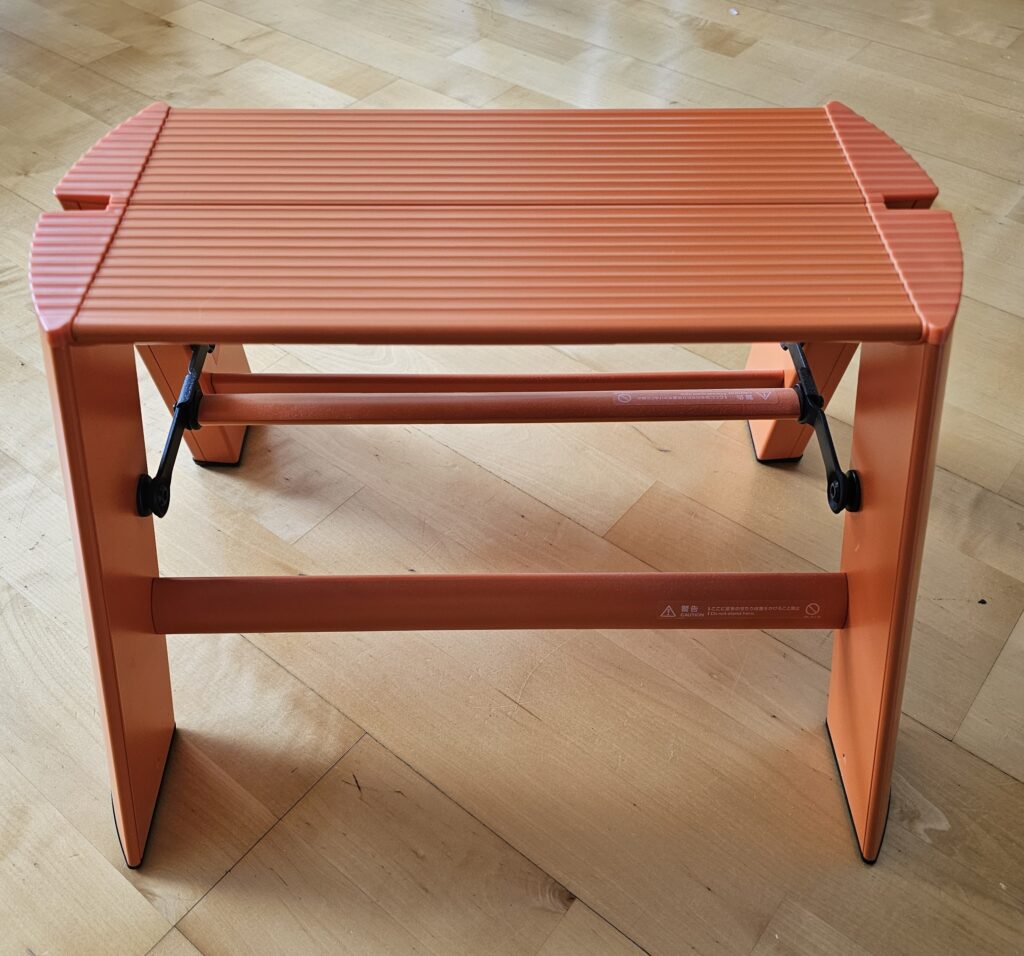
I also had other tools which I placed in a box. A Niwaki kneeler and a Lucano 1 Step were useful for kneeling and sitting on whilst removing the skirting board. No point killing your knees.
ENCOURAGEMENTS
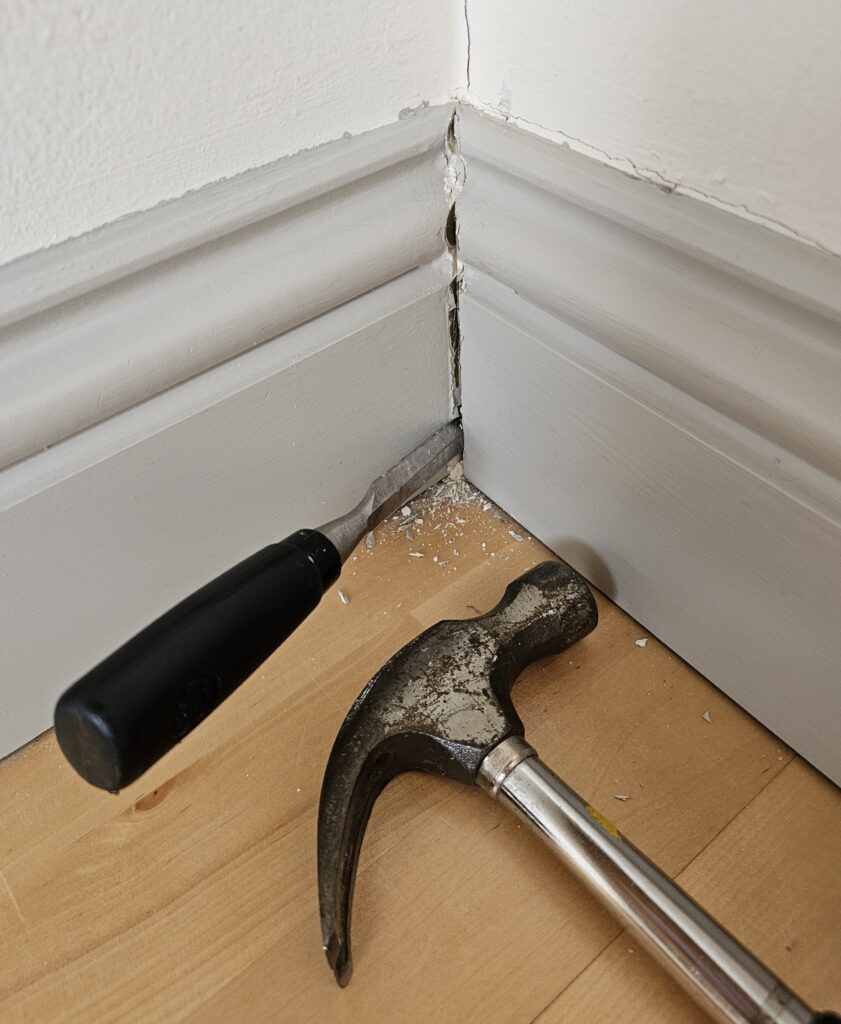
I didn’t do too bad a job with the skirting board removal. I was quite careful not to use too much force when initially prising the wood off the wall, but in the end there were times when only brute force would do when hammering the trim puller straight down to slice through the adhesive. I was pleased that chunks of plaster did not fall off.
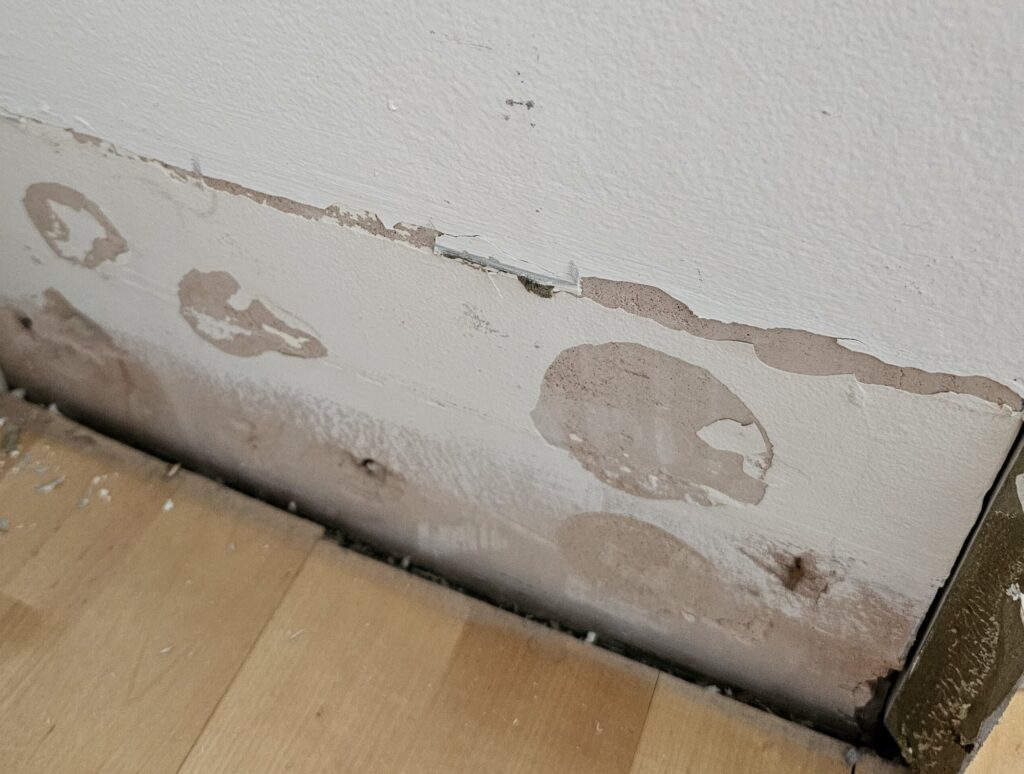
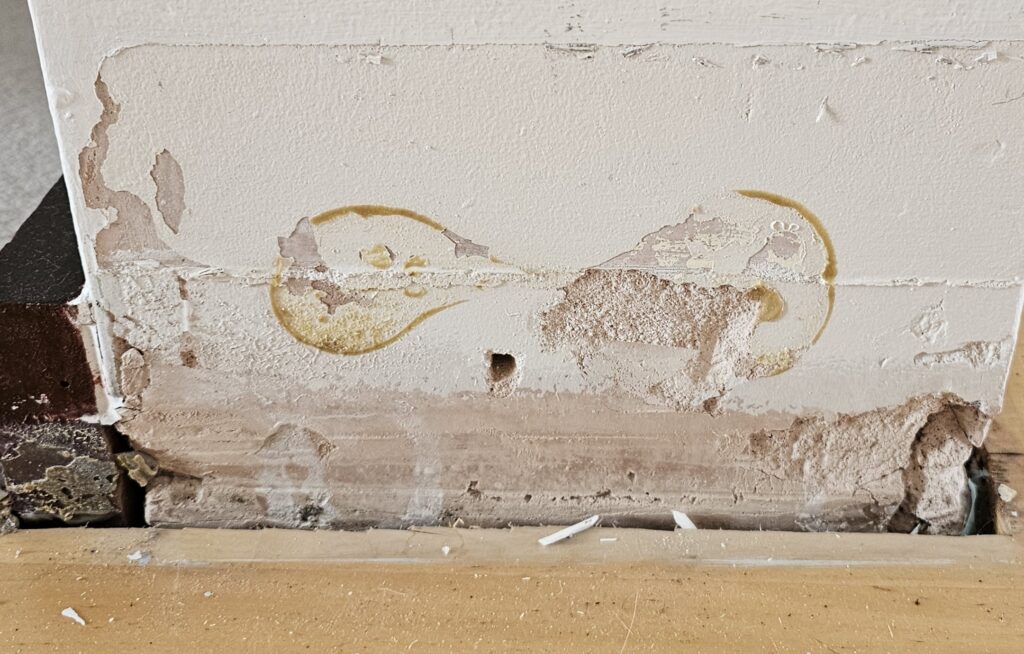
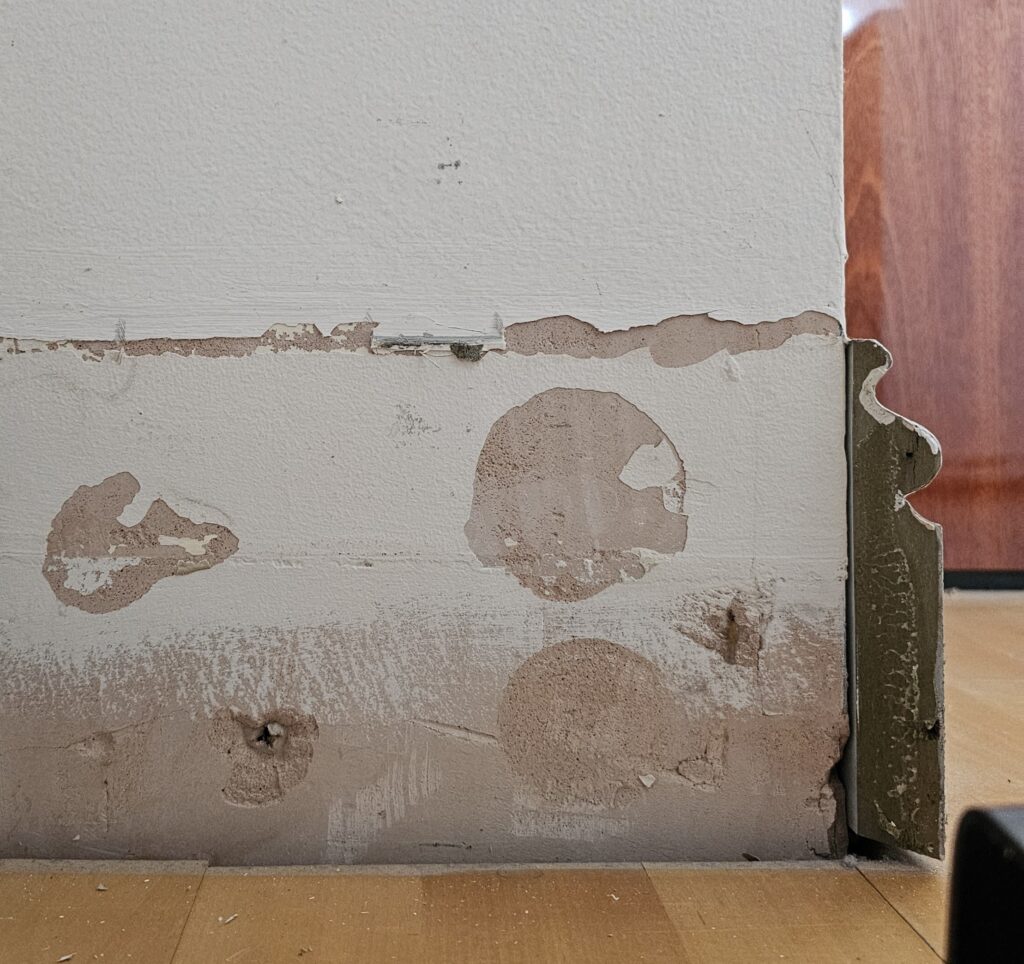
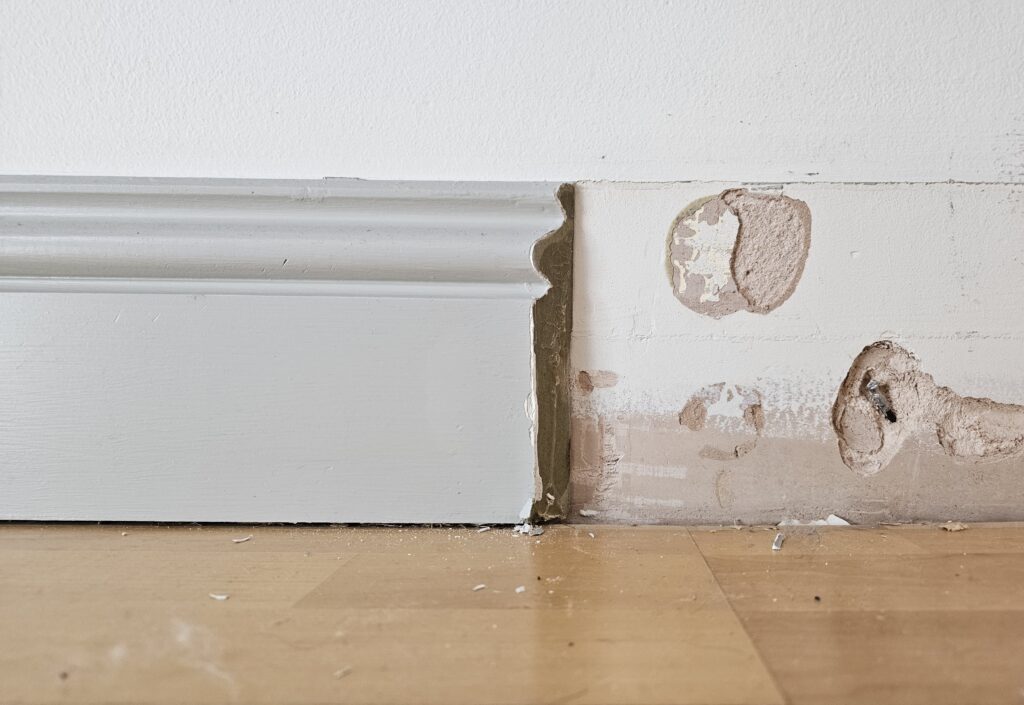
Where there were joints I used a chisel to drive a wedge between the two pieces of wood before attempting to remove the individual pieces
CHALLENGES
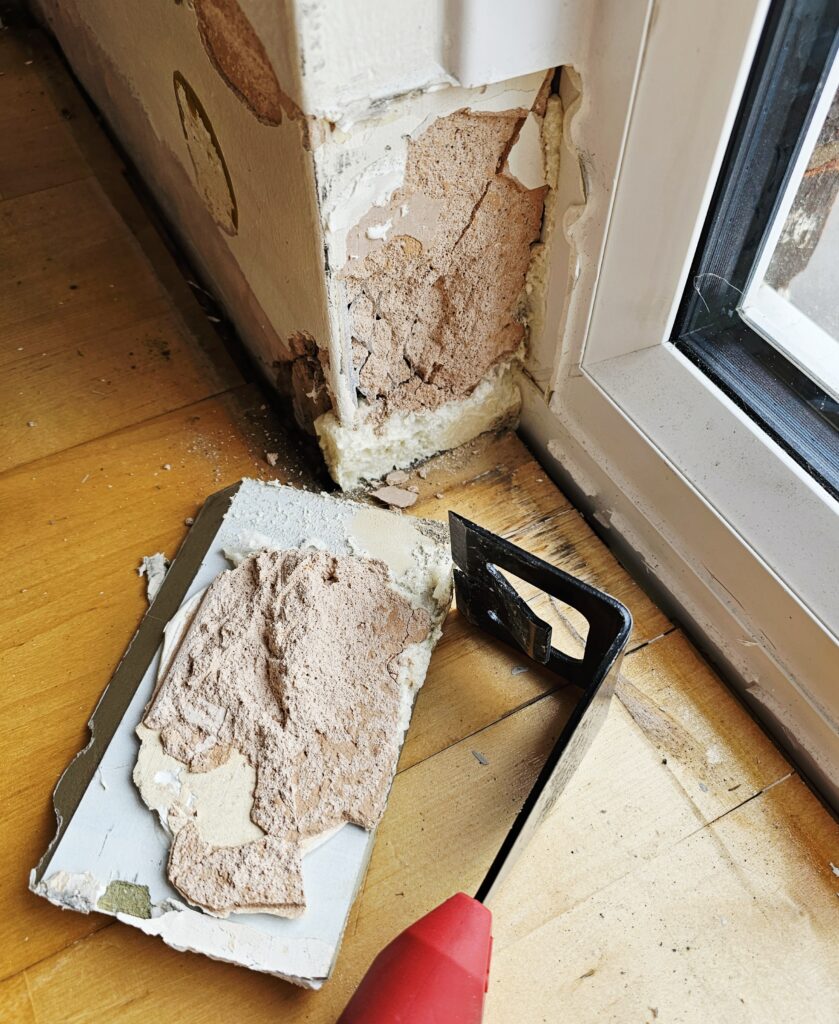
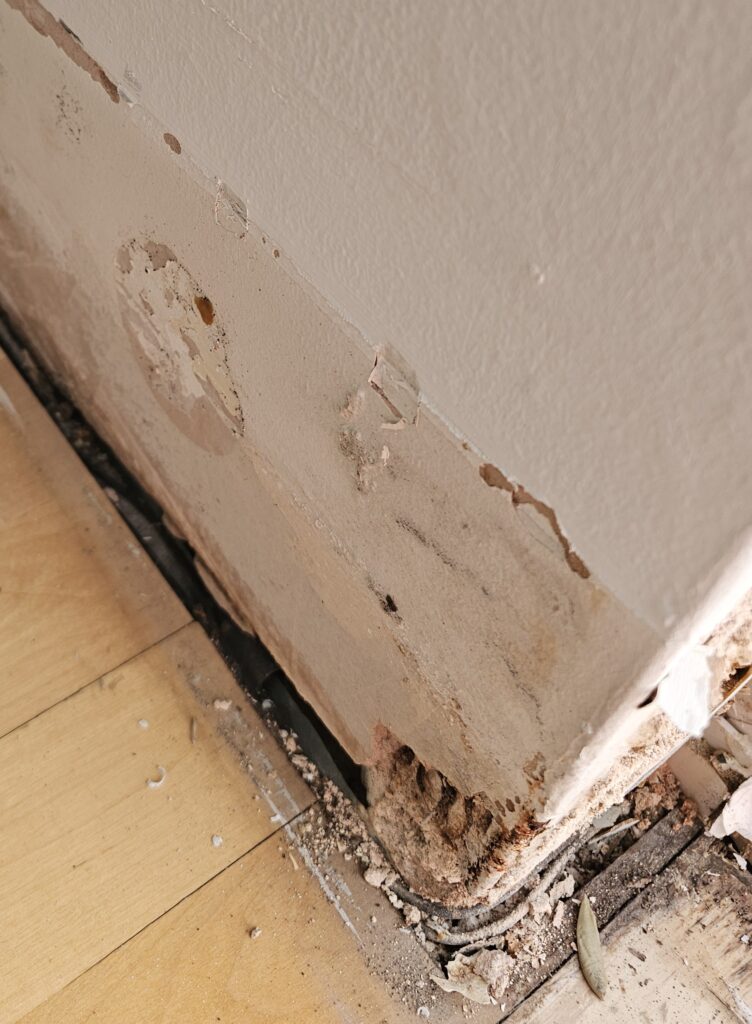
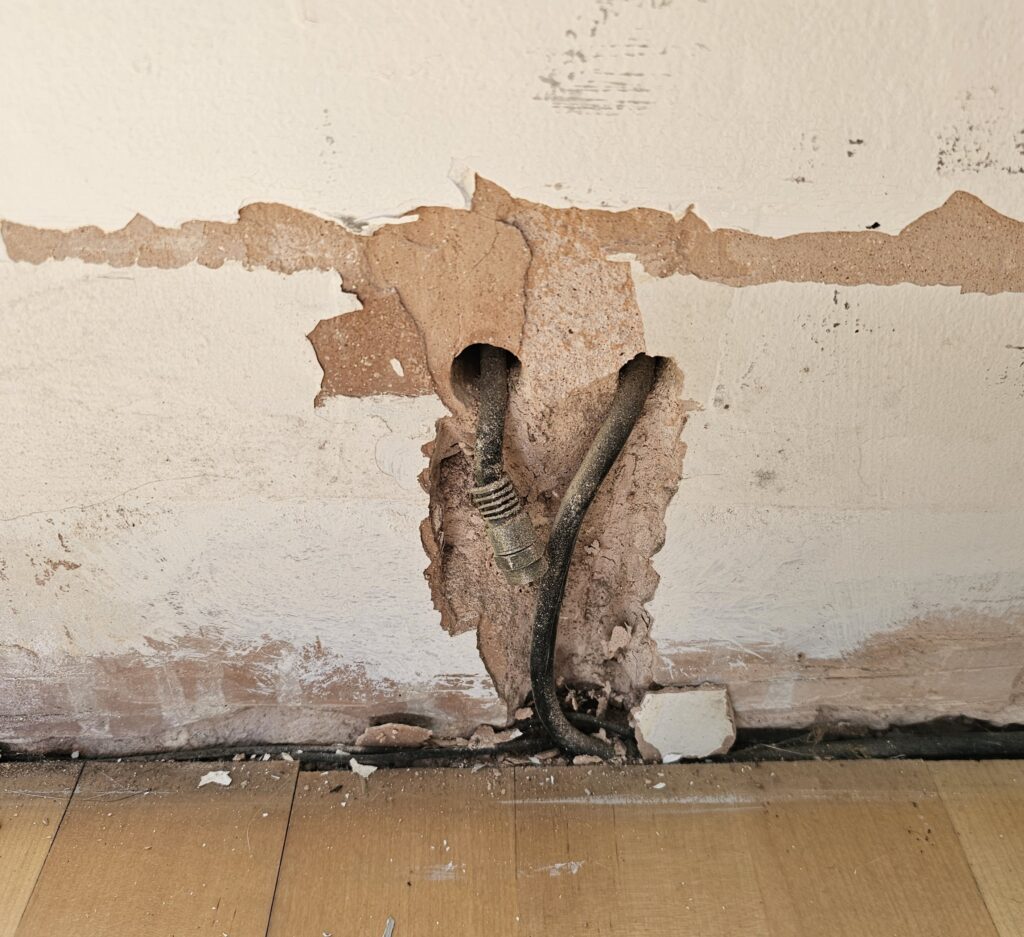
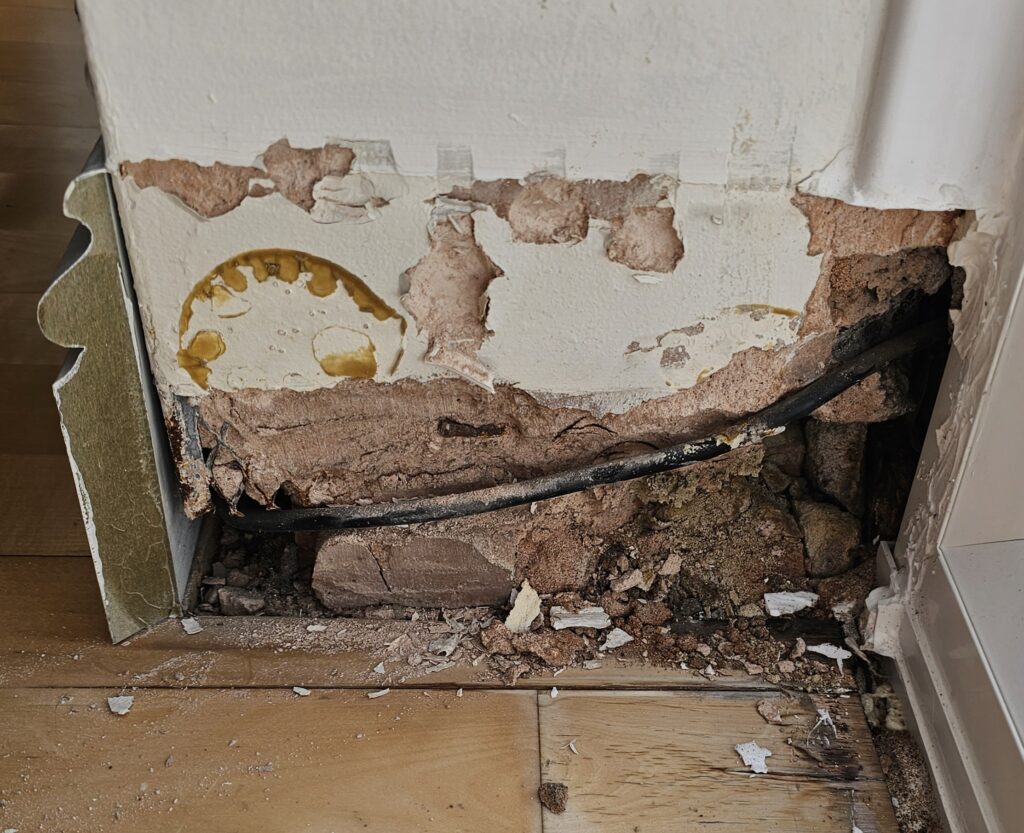
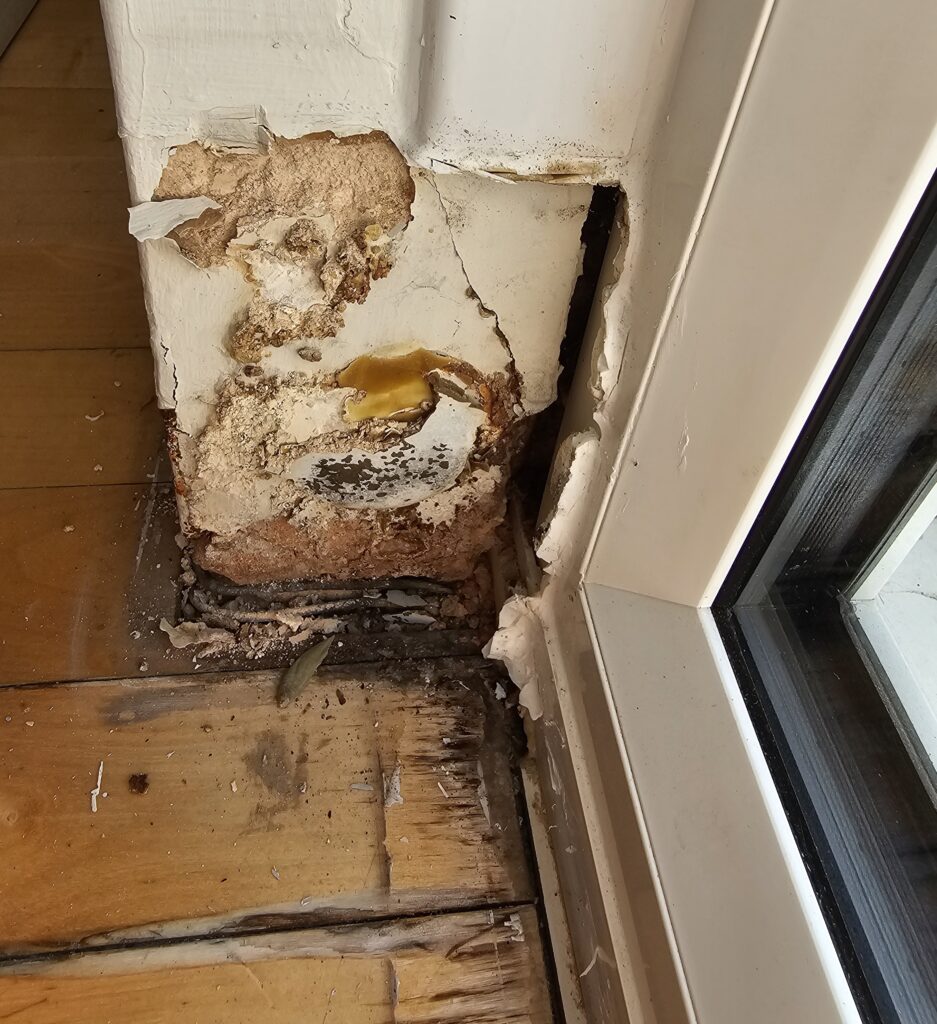
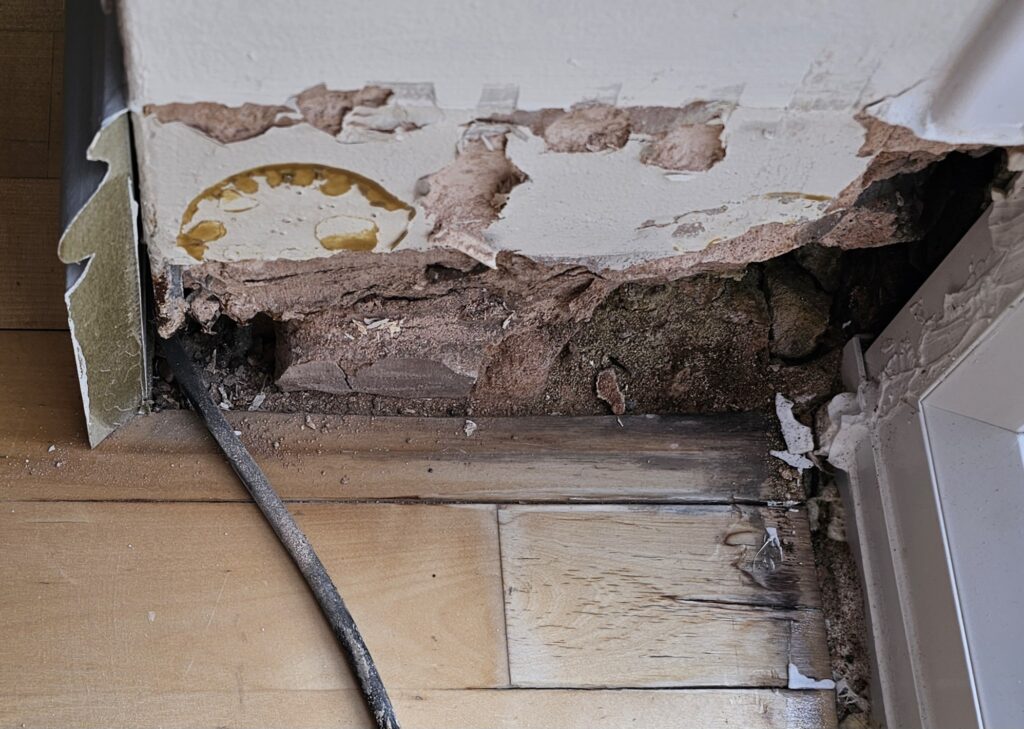
Despite my best efforts, because of too much adhesive on one piece and water damage/ channelling for wiring around the window area, chunks of plaster did fall out. Thankfully these are small areas and I will find a way to replaster these sections. I did think to myself that since I can ice cakes to a very neat finish, I will just have to imagine plastering a wall as putting a lot of icing on a large cake surface. I might even put the plaster in an icing bag and squeeze out that way in order not to spill any.
THE NEXT STEPS
The exposed wall now needs sanding for which I will use an electric sander. Then the plastering/ restoration begins before painting. I have a week before the wooden floor arrives. We also have to order some new skirting boards. Skirting boards are a minefield. There are more types of skirting boards than colours of lipstick. In the end I told Mr Gochugaru to keep it simple: 15 mm depth, 95 mm height, bullnose design. I don’t know why the previous builder suggested the complicated skirting board design – I think he said he could get it cheap or it was extra from another job and I could have it for no cost. This time I am taking charge because I am 25 years older and 25 years wiser.
Bye-bye: the manufacturing date of the skirting board in January 2001