Wolfenstein 3D – Gameboy Color
On custom cartridge with co-processor
Source code and hardware schematics are available on Github: https://github.com/agranlund/wolf
Cartridge Rev.D
The new cartridge revision is fully working and runs Wolfenstein just as good as the previous revision.

Red board is Rev.C and the black one is the latest Rev.D.
Implementing MBC1 on a CPLD
Boards with the new design arrived and after much debugging I finally managed to get ROM bank switching to working correctly. Getting RAM banks working should be pretty much the same thing so I’m pleased with the progress so far.
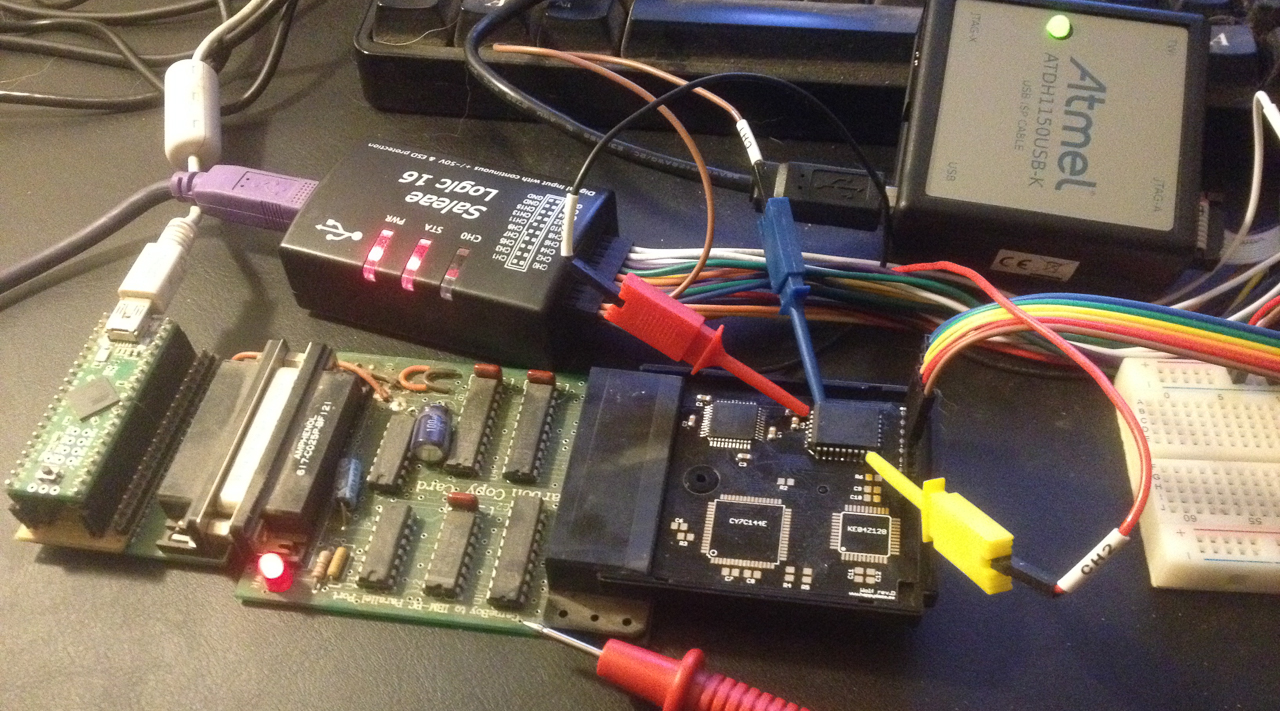
debugging CPLD + ROM on the new rev.D board
CPLD
Even though the game has been finished for quite some time now, I decided to start on a new revision of the board.
The plan is to replace the MBC1 chip with a small CPLD. After some research I decided to go for the ATF1502 since it’s one of the few 5V chips still in production.
Apart from the learning experience, another very nice benefit is that I will not need to cannibalise working Gameboy games for MBC chips if I can just make my own ![]()
I always had in mind of maybe attempting this project, or something similar, in an NES cartridge in the future and I expect needing a CPLD for that anyways.
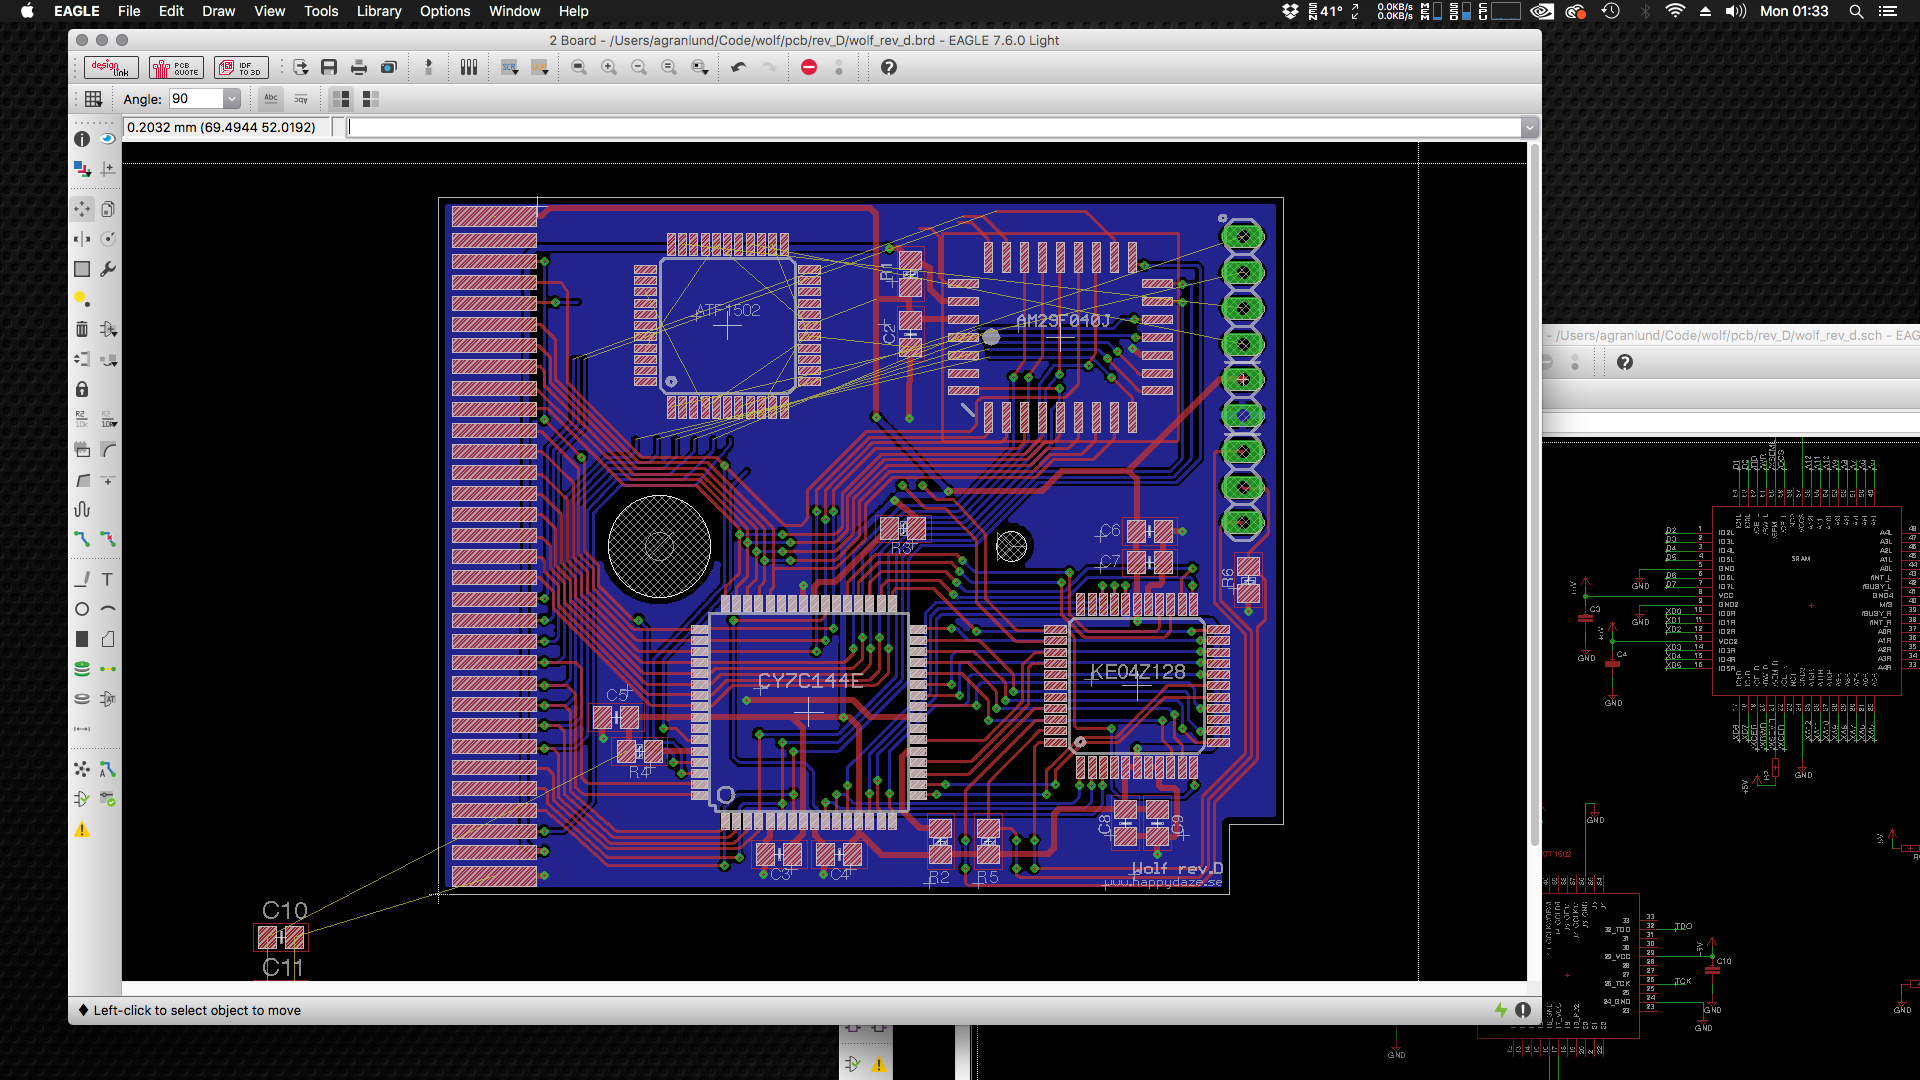
Rev.D work in progress. Cutting and re-routing traces to make room for ATF1502.
RAM and ROM usage
The KE04 ROM is almost full while the Z80 ROM has plenty of free space so there is the possibility of putting the compressed map data inside the Z80 ROM instead, and let the Z80 decompress the current map into KE04 RAM (via SRAM).
That would free up a whopping 23Kb from KE04 ROM!
In theory, this would make it possible to easily fit the maps for all 6 episodes.
However, as I am getting less and less time for working on this project, plus being more than happy with having just the shareware episode I will probably leave it as it is now and remember this idea for potentially future projects with this cartridge.

Gameboy tiles & palette


The sound of Music
Added music, and fixed several smaller issues.
- Added music during gameplay
The game is pretty much feature complete at this point!
Next step is to play through from start to finish looking for any additional bugs, and then to record a long-play video of the entire game.
Password system
Implemented a password system for saving progress. The password is displayed in between levels like in the SNES version.
Back from holidays!
Added Elevator, Victory and Game Over screens.
Some reasoning behind the hardware choices:
I had a few questions on why I chose this particular MCU, and if the cartridge could run more advanced games etc ![]()
Originally I wanted to use a CPLD instead of salvaging an MBC1 from an existing game, and I was reluctant to using dual-port sram, but taking it one step at a time helps actually getting anything done at all – perhaps for the next revision!
While it would be easy to stick a beefier MCU in there it would take away too much of the point of the project for me. And, for me, a Wolfenstein game felt like a realistic/fun software project to go with the hardware.
Anyways… I had this wish list for the MCU:
– Designed for low power consumption
ARM Cortex-M0/M0+ seemed to fit the bill quite nicely. While it can be configured to run all the way up to 48Mhz it’s no powerhouse compared to other ARM chips as it is specifically designed to be very simple and having the lowest power consumption possible. It does close to 45 MIPS @ 48Mhz.
The better M chips are generally faster, have more advanced instructions, some even floating point, but those really felt like overkill.
So, narrowing the search for 5V devices resulted in two contenders: KE series from NXP and SAMC series from Atmel.
(*) Bit banding:
I am glad I picked an MCU with bit banding, I use it for:
The texture cache is used to hold the source texture which will be drawn to the framebuffer. Every time a texture is needed it is copied or decompressed from ROM into the texture cache region of bit-banding RAM.
This ended up being much longer than I expected!
Made a few more cartridges:
Good for practicing SMD soldering, it’s a lot easier now than what it was when I began this project!
One of the carts is going to be a gift and one is for me to permanently have Wolfenstein on.
Work in progress game logic and AI:
Implemented most of the game logic, and basic AI which still needs some tweaking.
With 3 enemy types, and the 10 levels from Episode 1, I am starting to reach the limit on how much more I can put on the ROM.
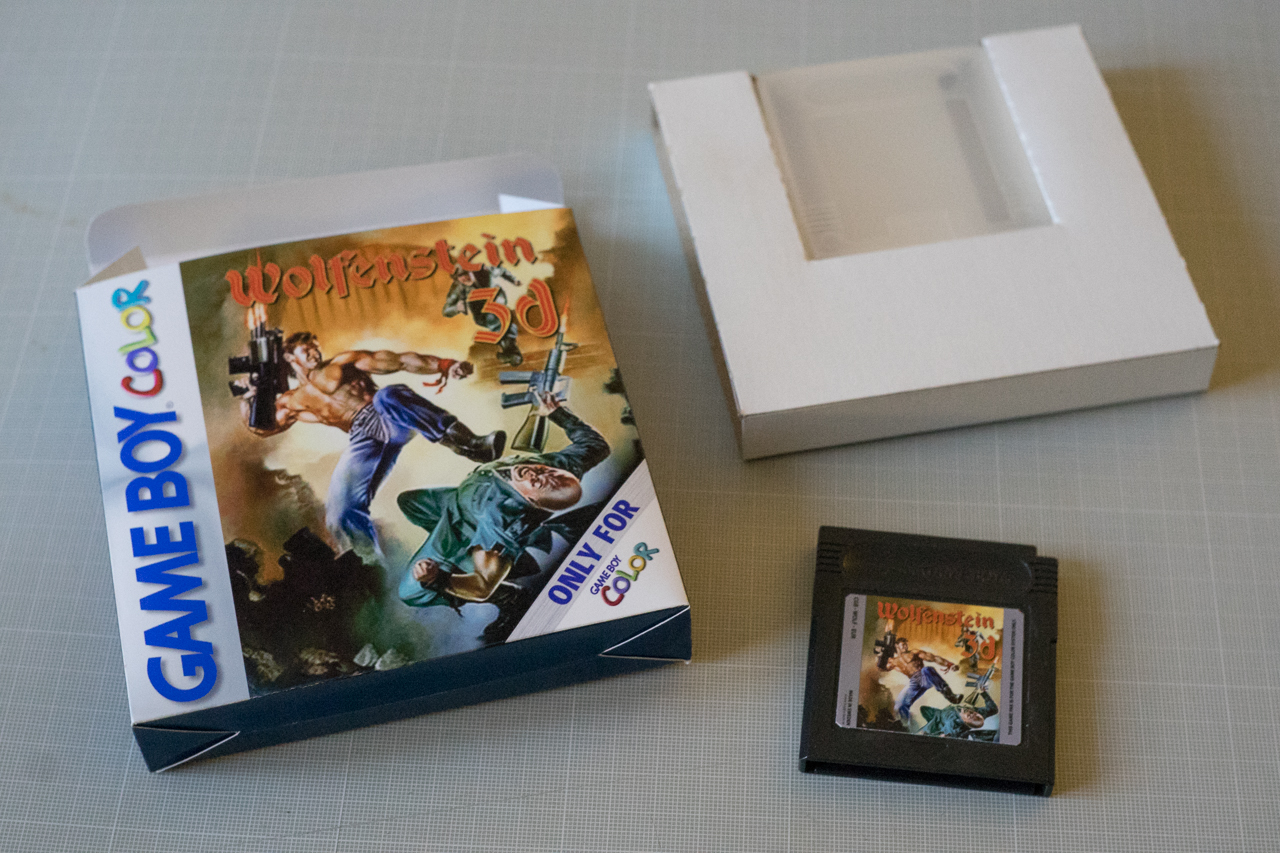
Made a box and a sticker for the cartridge:

Added a few features to wolfenstein game.
– Collision against walls and objects
Next step is probably going to be interactions with doors & secret walls.
Memory stats:
Refactored the map converter to reduce memory overhead.
Some progress on the raycaster test:
Made some tools for converting the original Wolfenstein3D maps.
Raycaster test with sprites and colors:
Frame overview:
Started documenting the technical bits, mostly so I don’t forget.

Experimenting with colors:
The Gameboy has a clunky way of handling colors. Especially if you try to do anything other than rendering tiles.
Simple work-in-progress raycaster test on Rev.C cartridge:
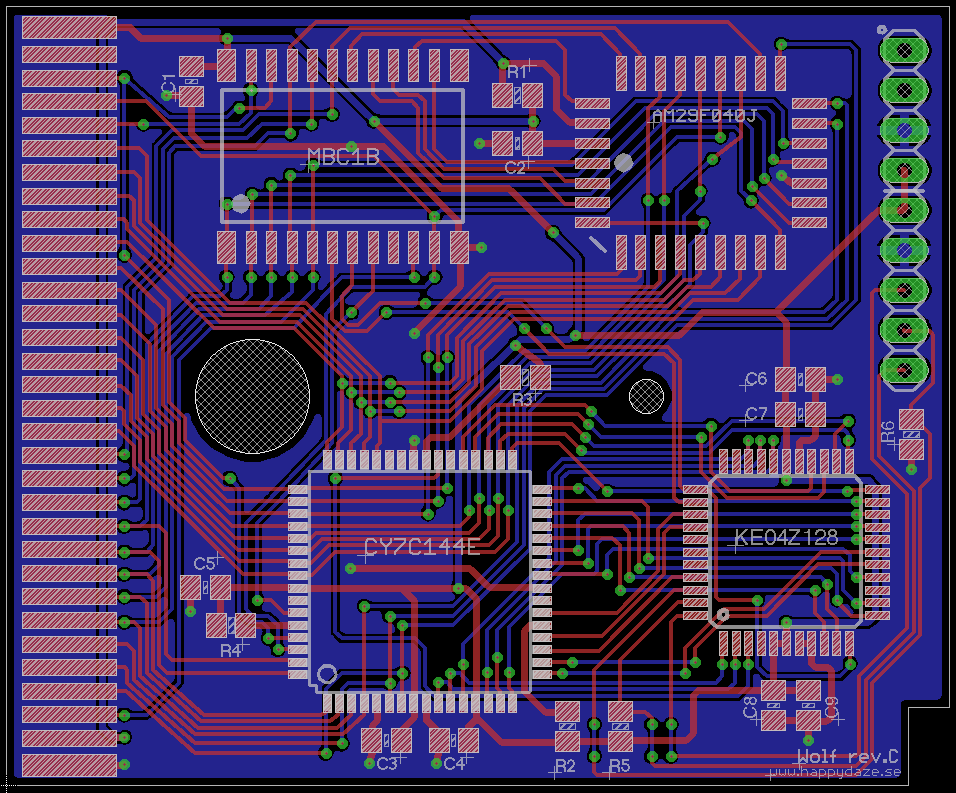
Cartridge Rev.C:
New PCB’s arrived in the mail!
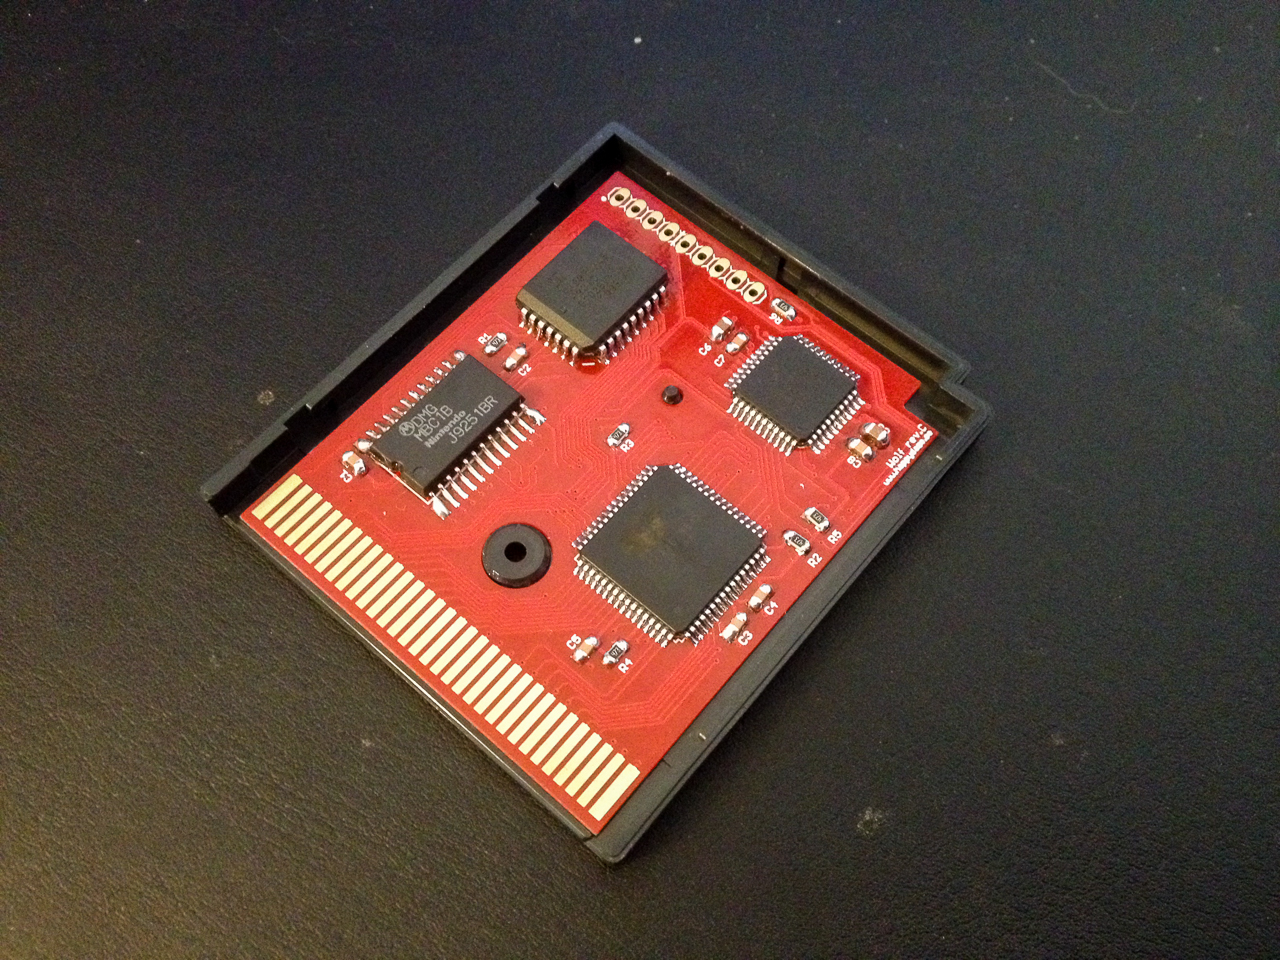
Populated Rev.C board
First test of image generation:
The coprocessor needs about 2ms to convert the framebuffer to tiles and transfer it to sram.
The Gameboy can only DMA 128 tiles to VRAM per VBlank, so we need to run at 30 fps to get a maximum of 256 tiles.
It is possible to cover the entire screen by rendering the image in half height and double it to normal size by manipulating the scroll-y register in the HBlank interrupt. That would result in only 180 tiles for the entire screen at the expense of halving the vertical resolution.
New board ordered
Rev.C designed and PCBs ordered from Elecrow.
co-processor
I will try to use the KE04 from NXP as a co-processor.
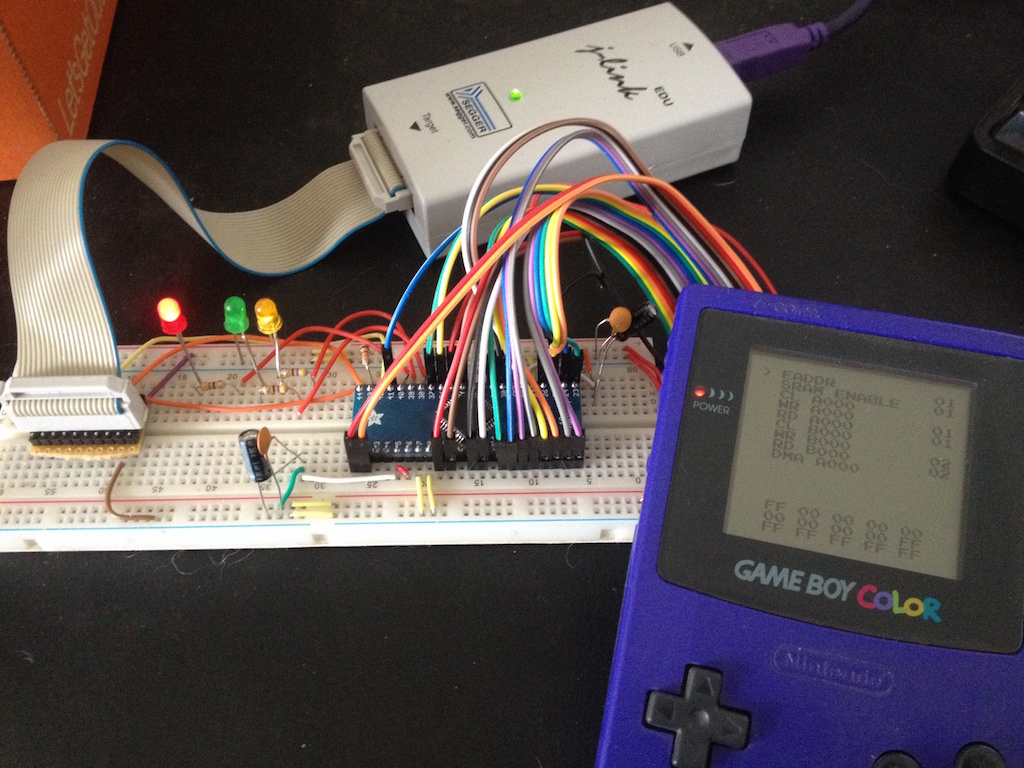
KE04 up and running. It reads/writes the dual port sram and reacts to EA0-EA1 pins. Everything powered by the Gameboy batteries.
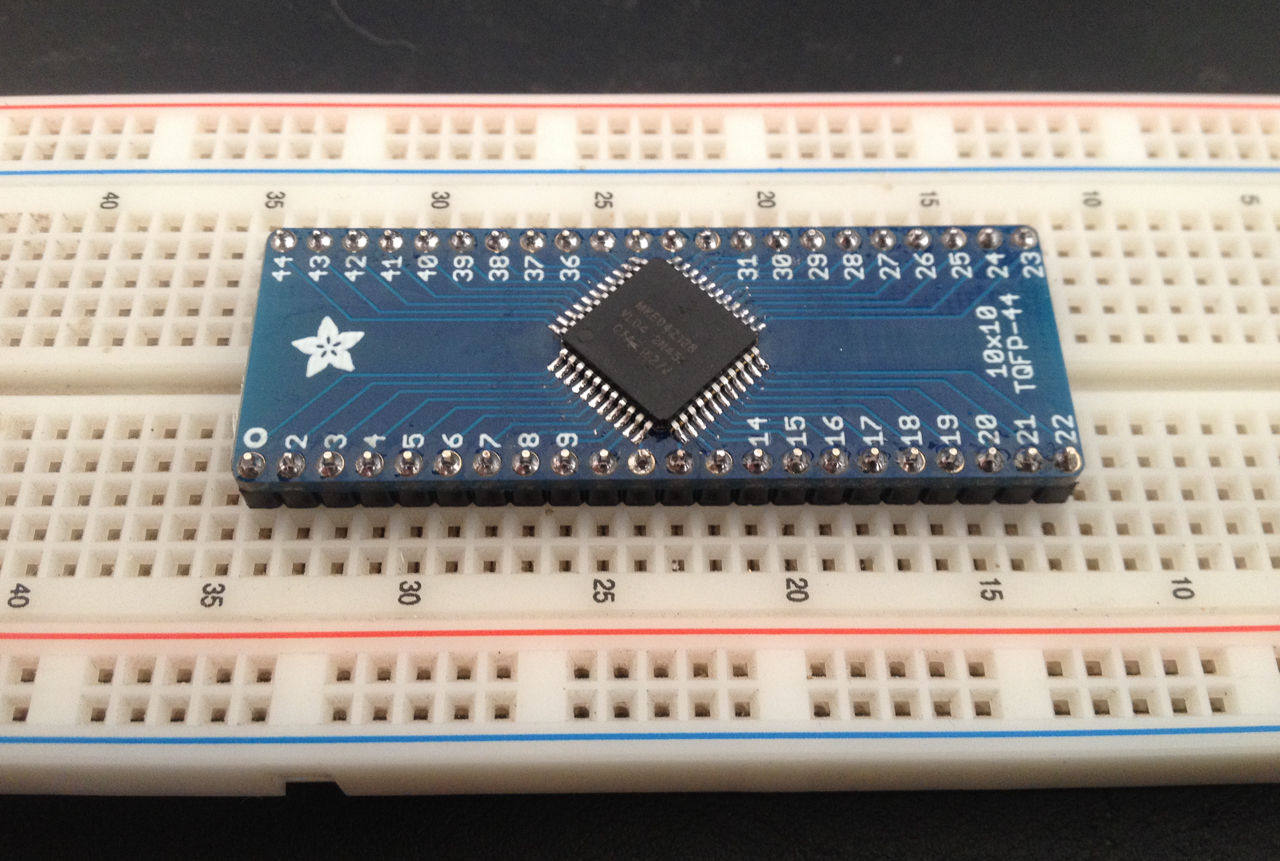
KE04 soldered to breakout board for prototyping
Testing the rev.B cartridge
Wrote a simple program for testing cart sram read/write/dma.
Second eeprom programmer
I had a C3 flashcart programmer from Jeff Frohwein lying around since some 20-ish years ago.
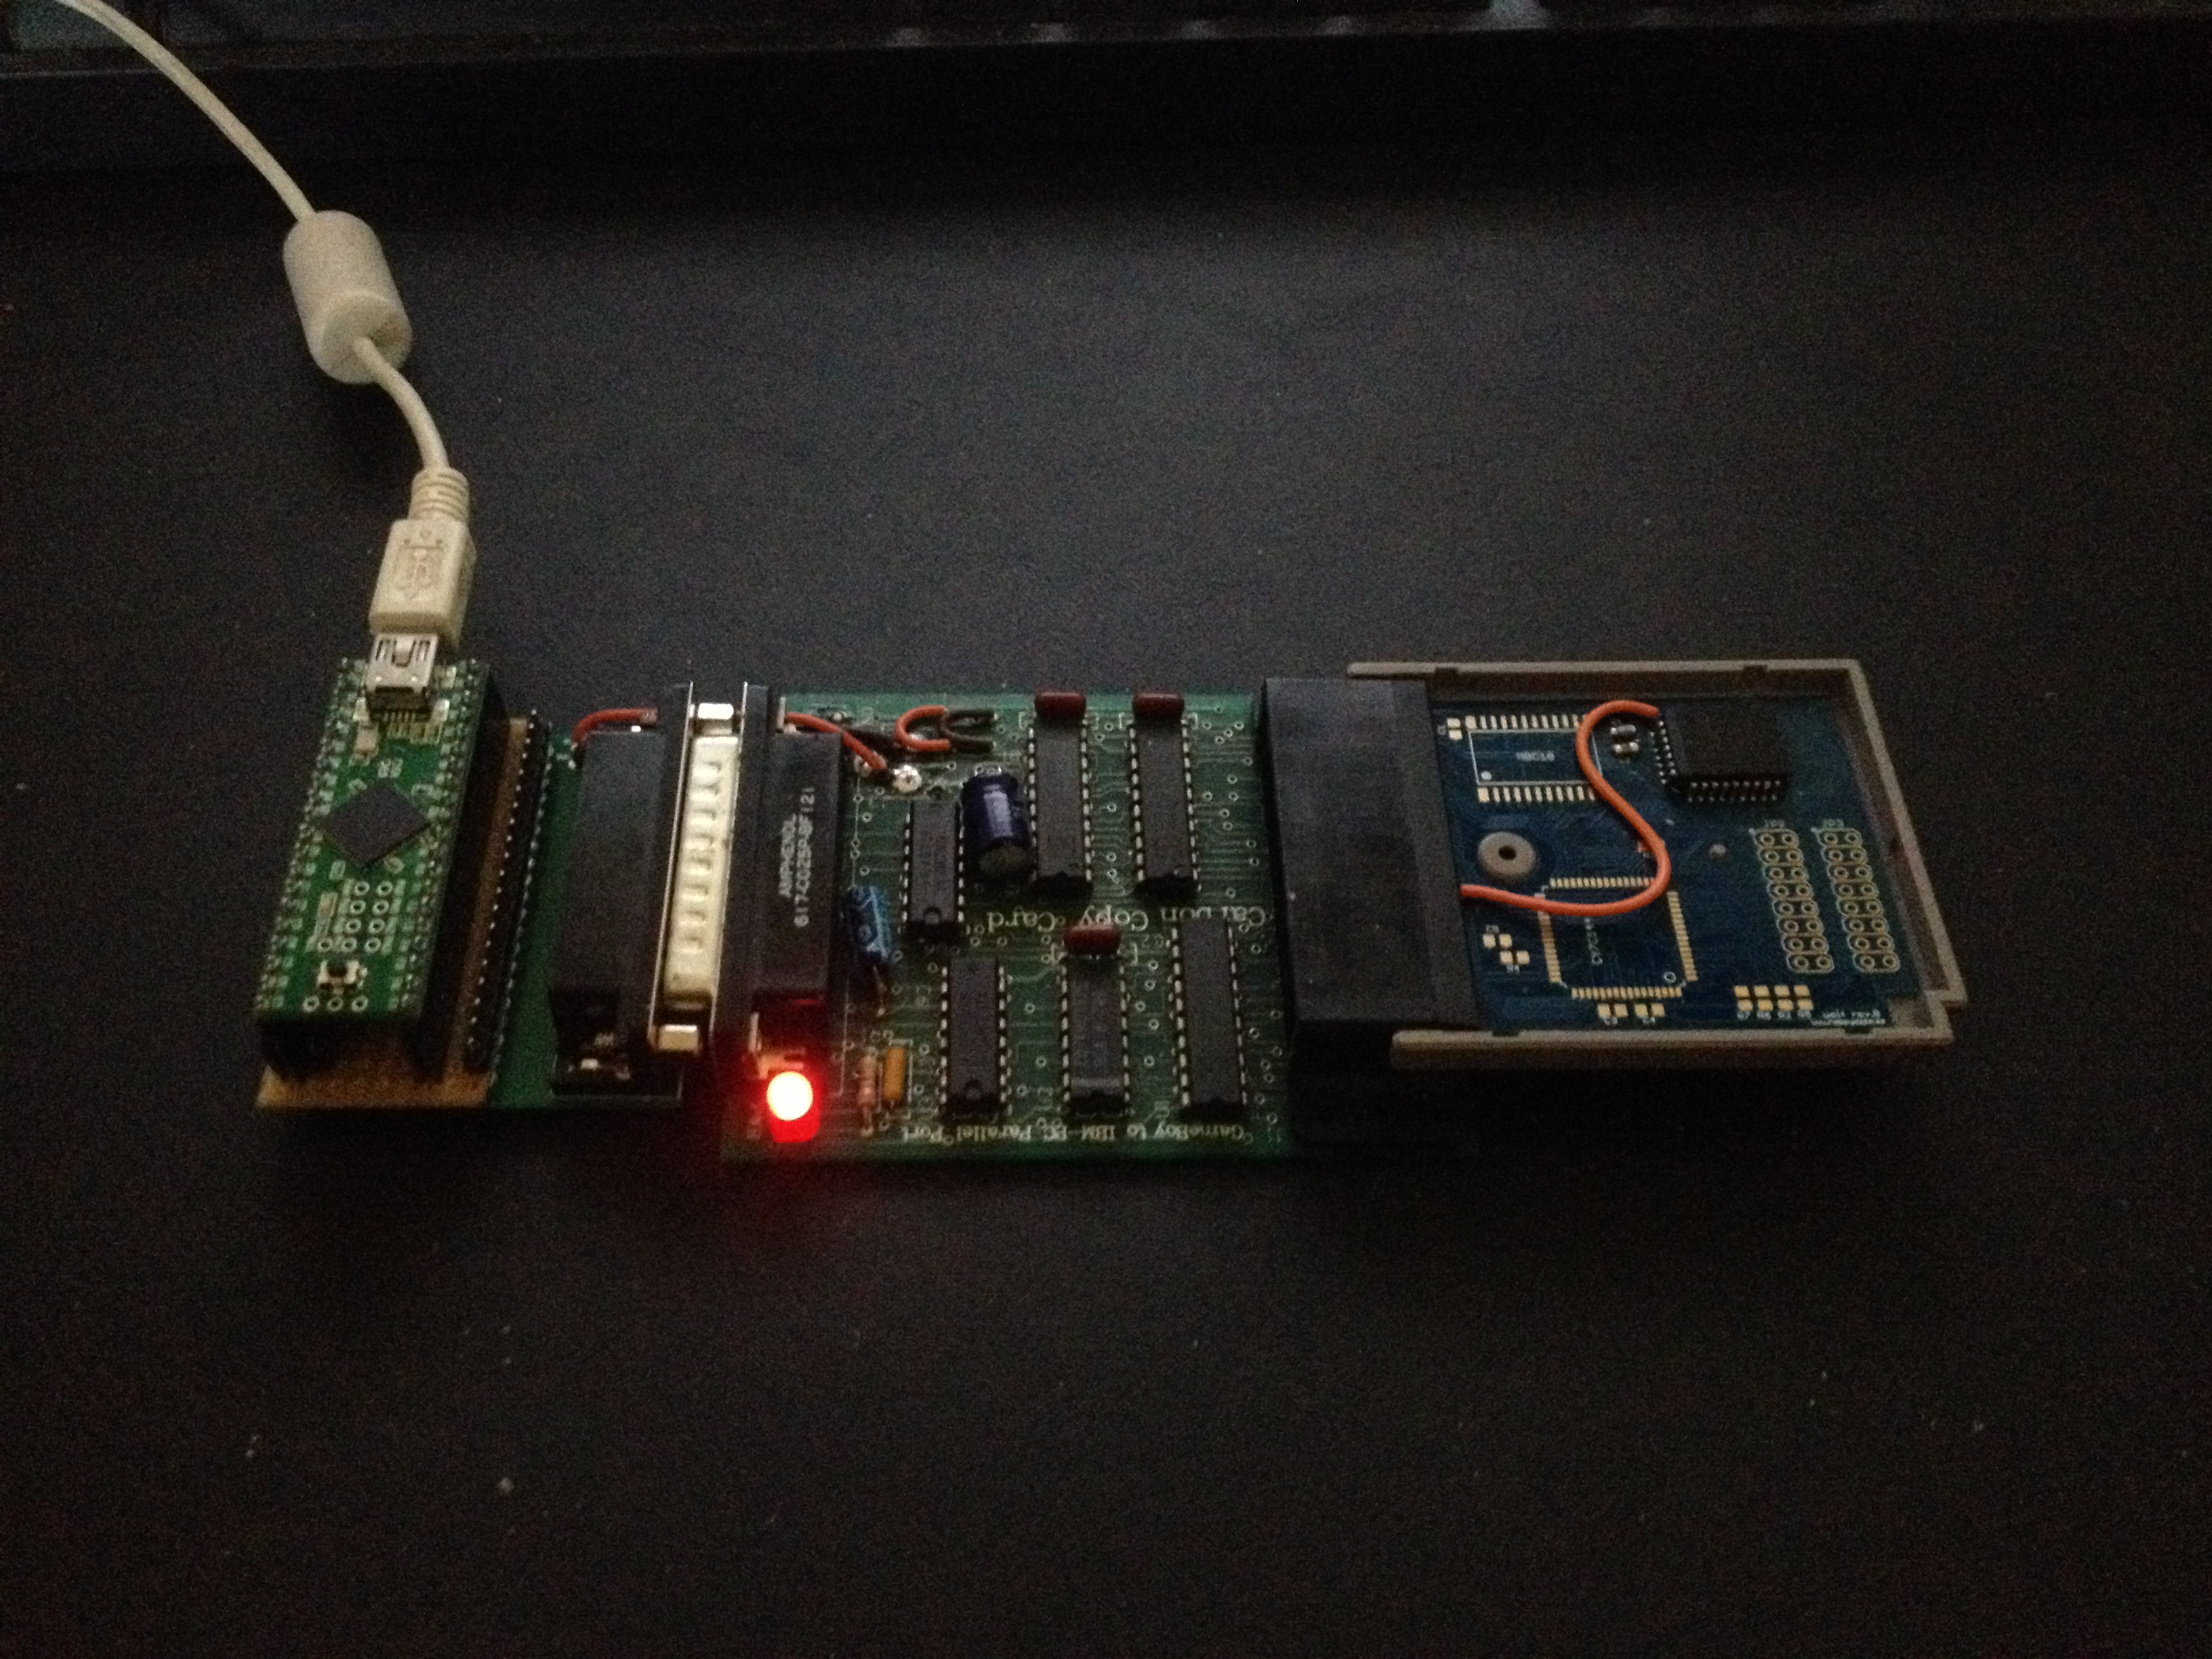
C3 programmer + Teensy++
Second prototype cartridge
Contains:
Since OSHPark only offer PCBs of 1.6mm thickness I had to look elsewhere for thinner PCBs.
I heard good things about Elecrow and they did not disapoint. Super fast turn around time – The PCBs arrived at my home in Sweden almost exactly 1 week after placing the order (I selected DHL for shipping).

wolf rev.B fully populated

wolf rev.b
First EEprom programmer
Made an eeprom programmer using a Teensy++.
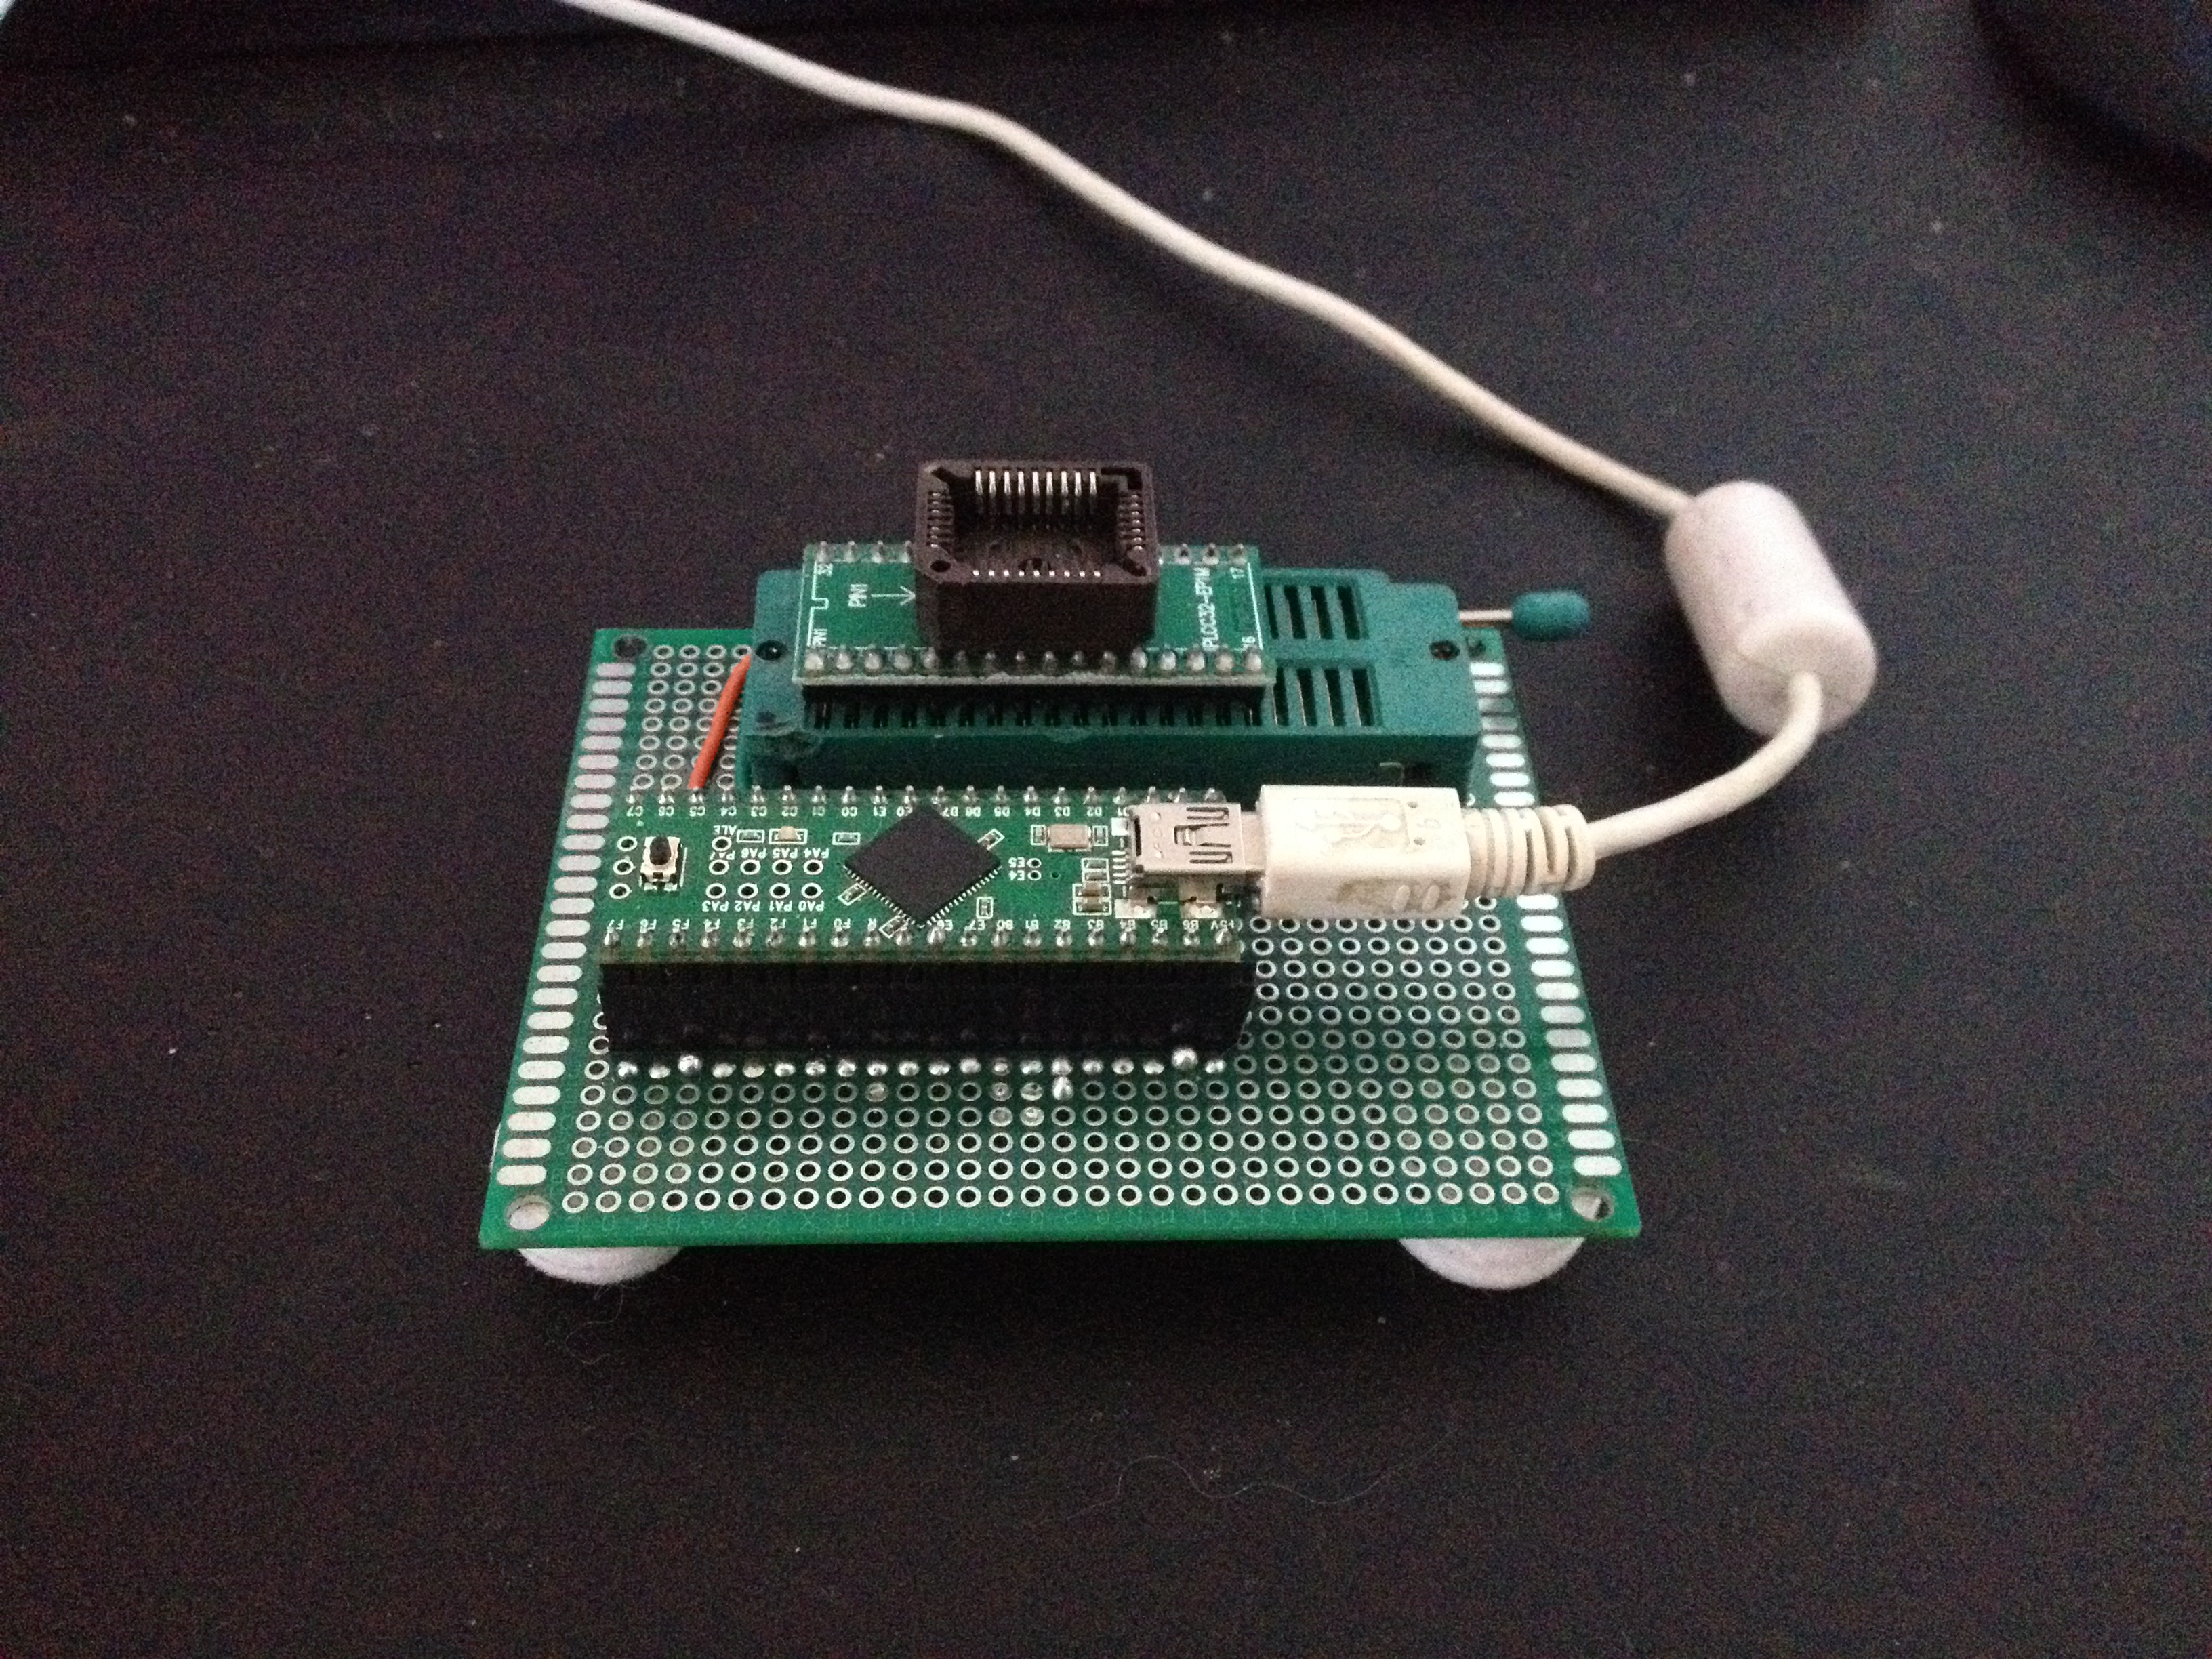
am29f040 programmer

AM29F040 Programmer test
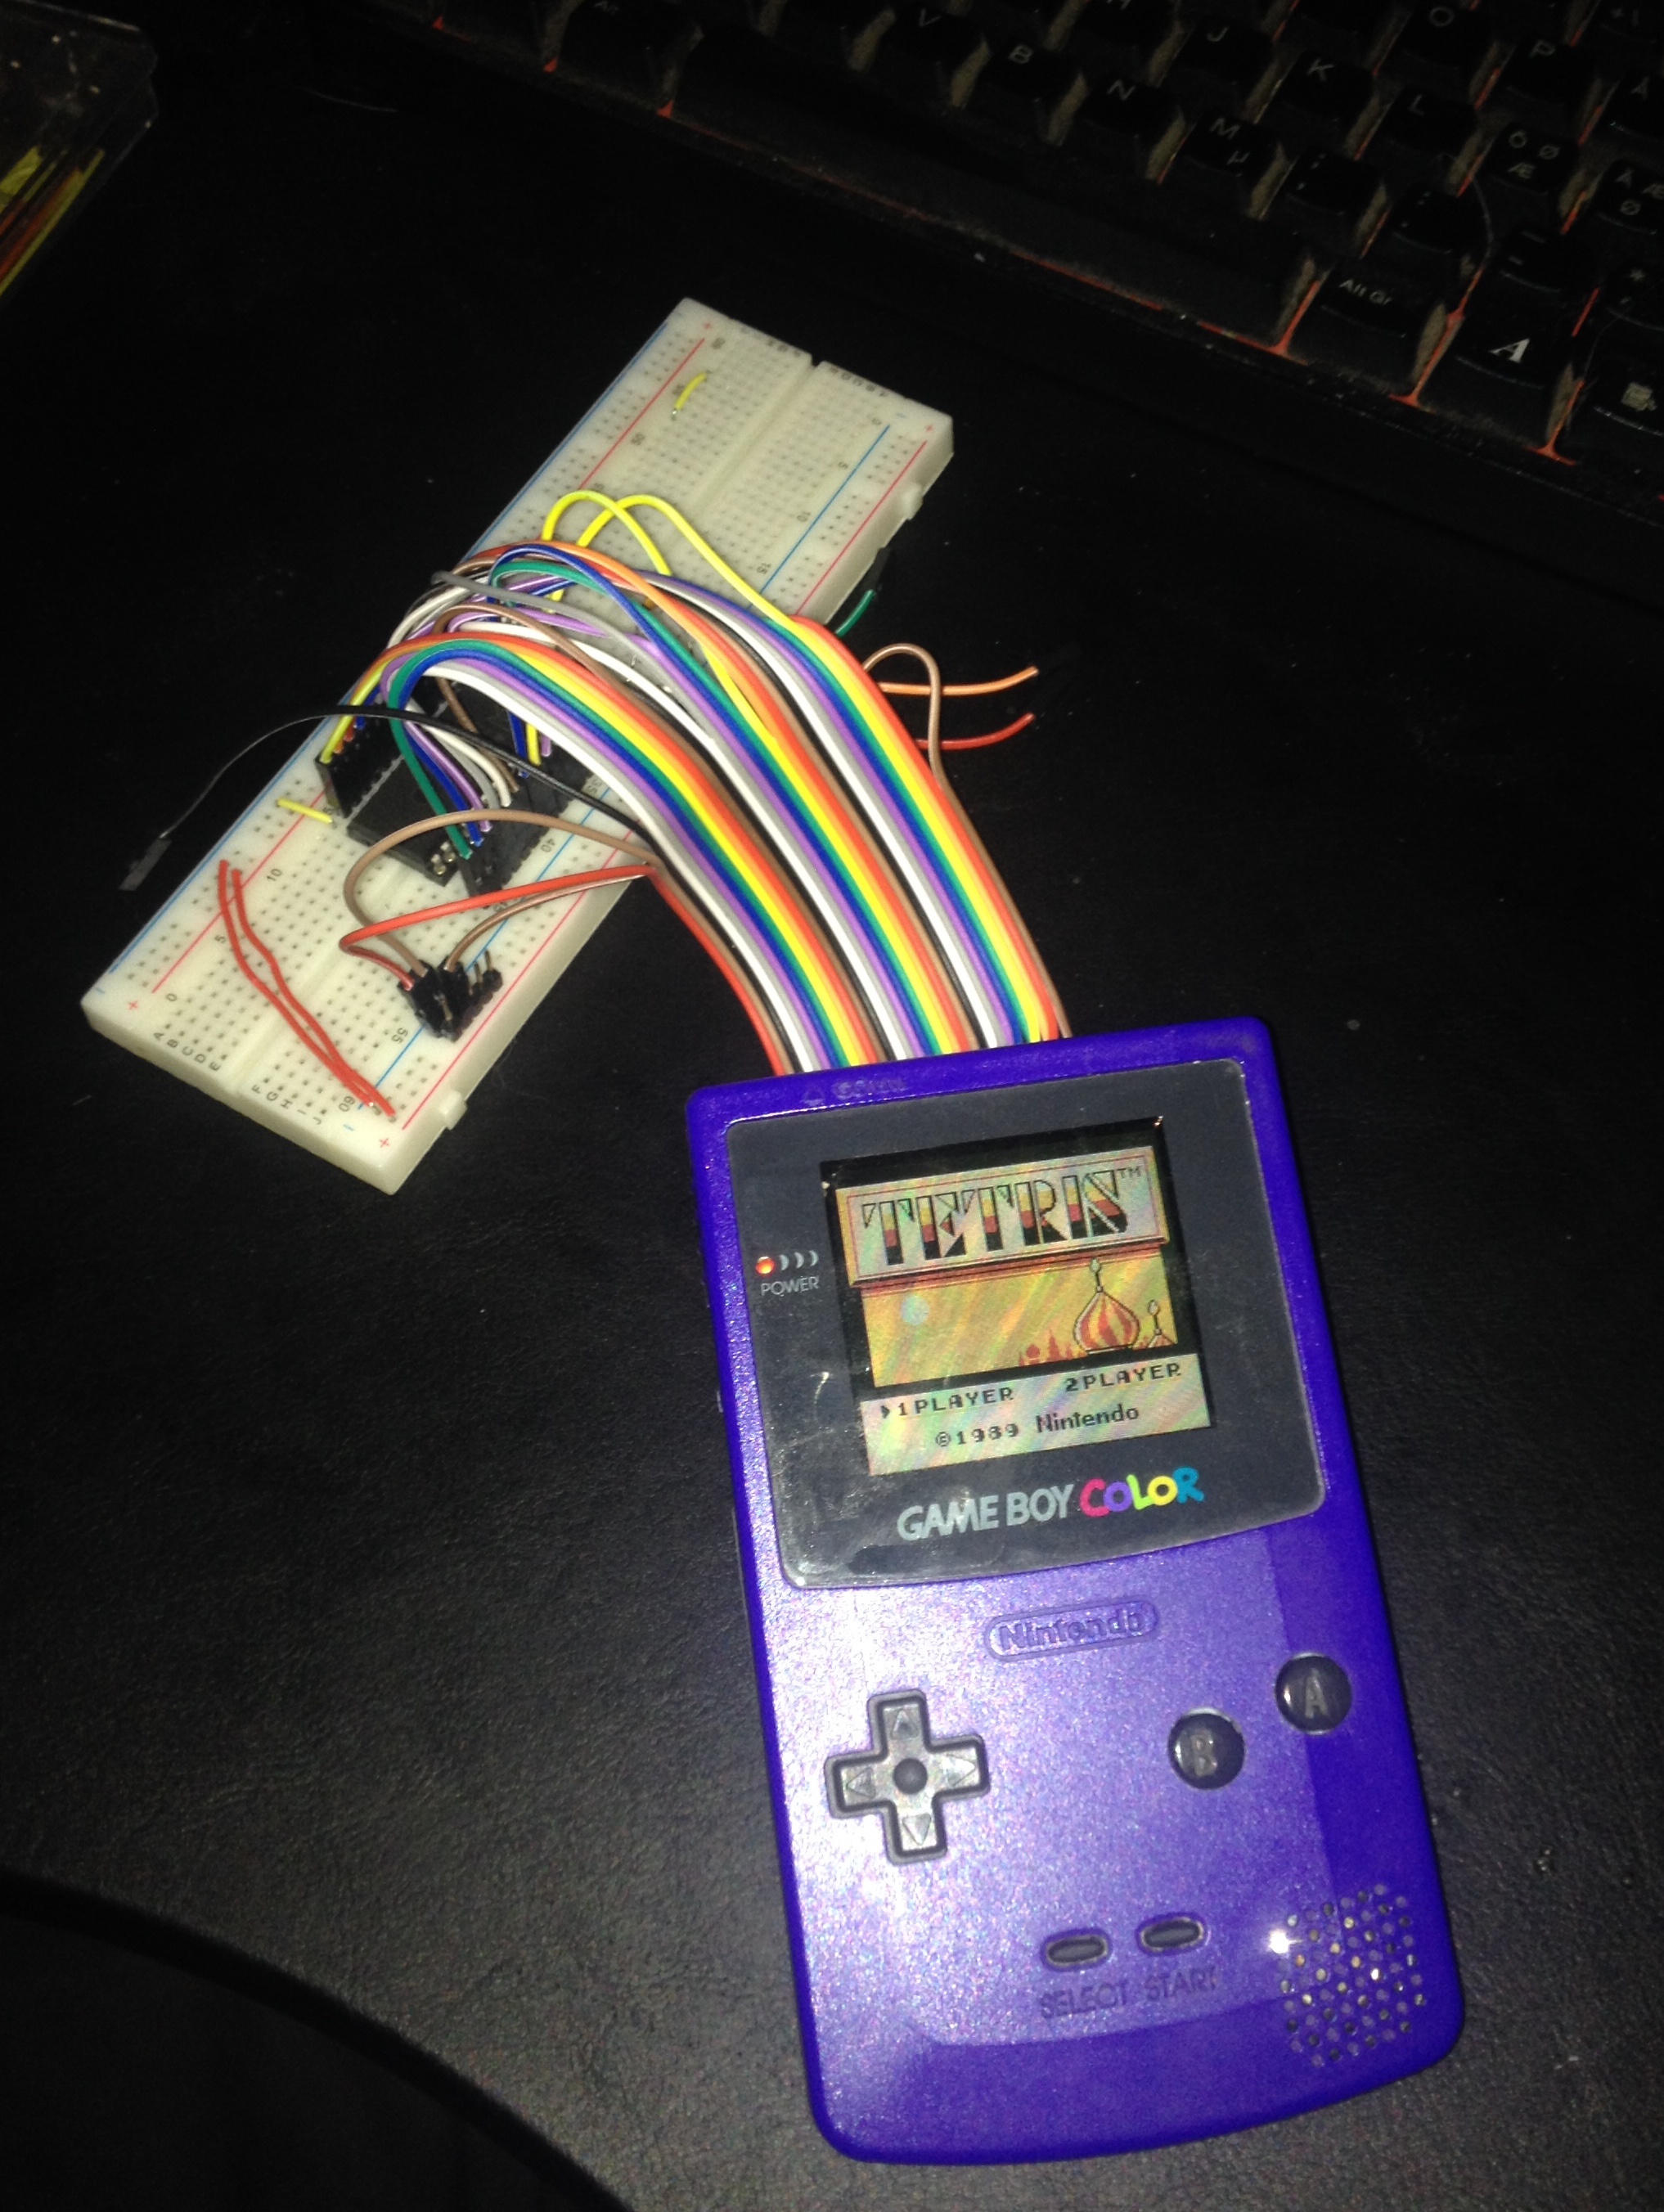
Running Tetris from AM29F040 EEprom
Baby steps.
A Gameboy IO breakout cartridge. Breaks out the cart connector and MBC chip to pin headers. Designed in Eagle and manufactured by Oshpark.
Breakout cart
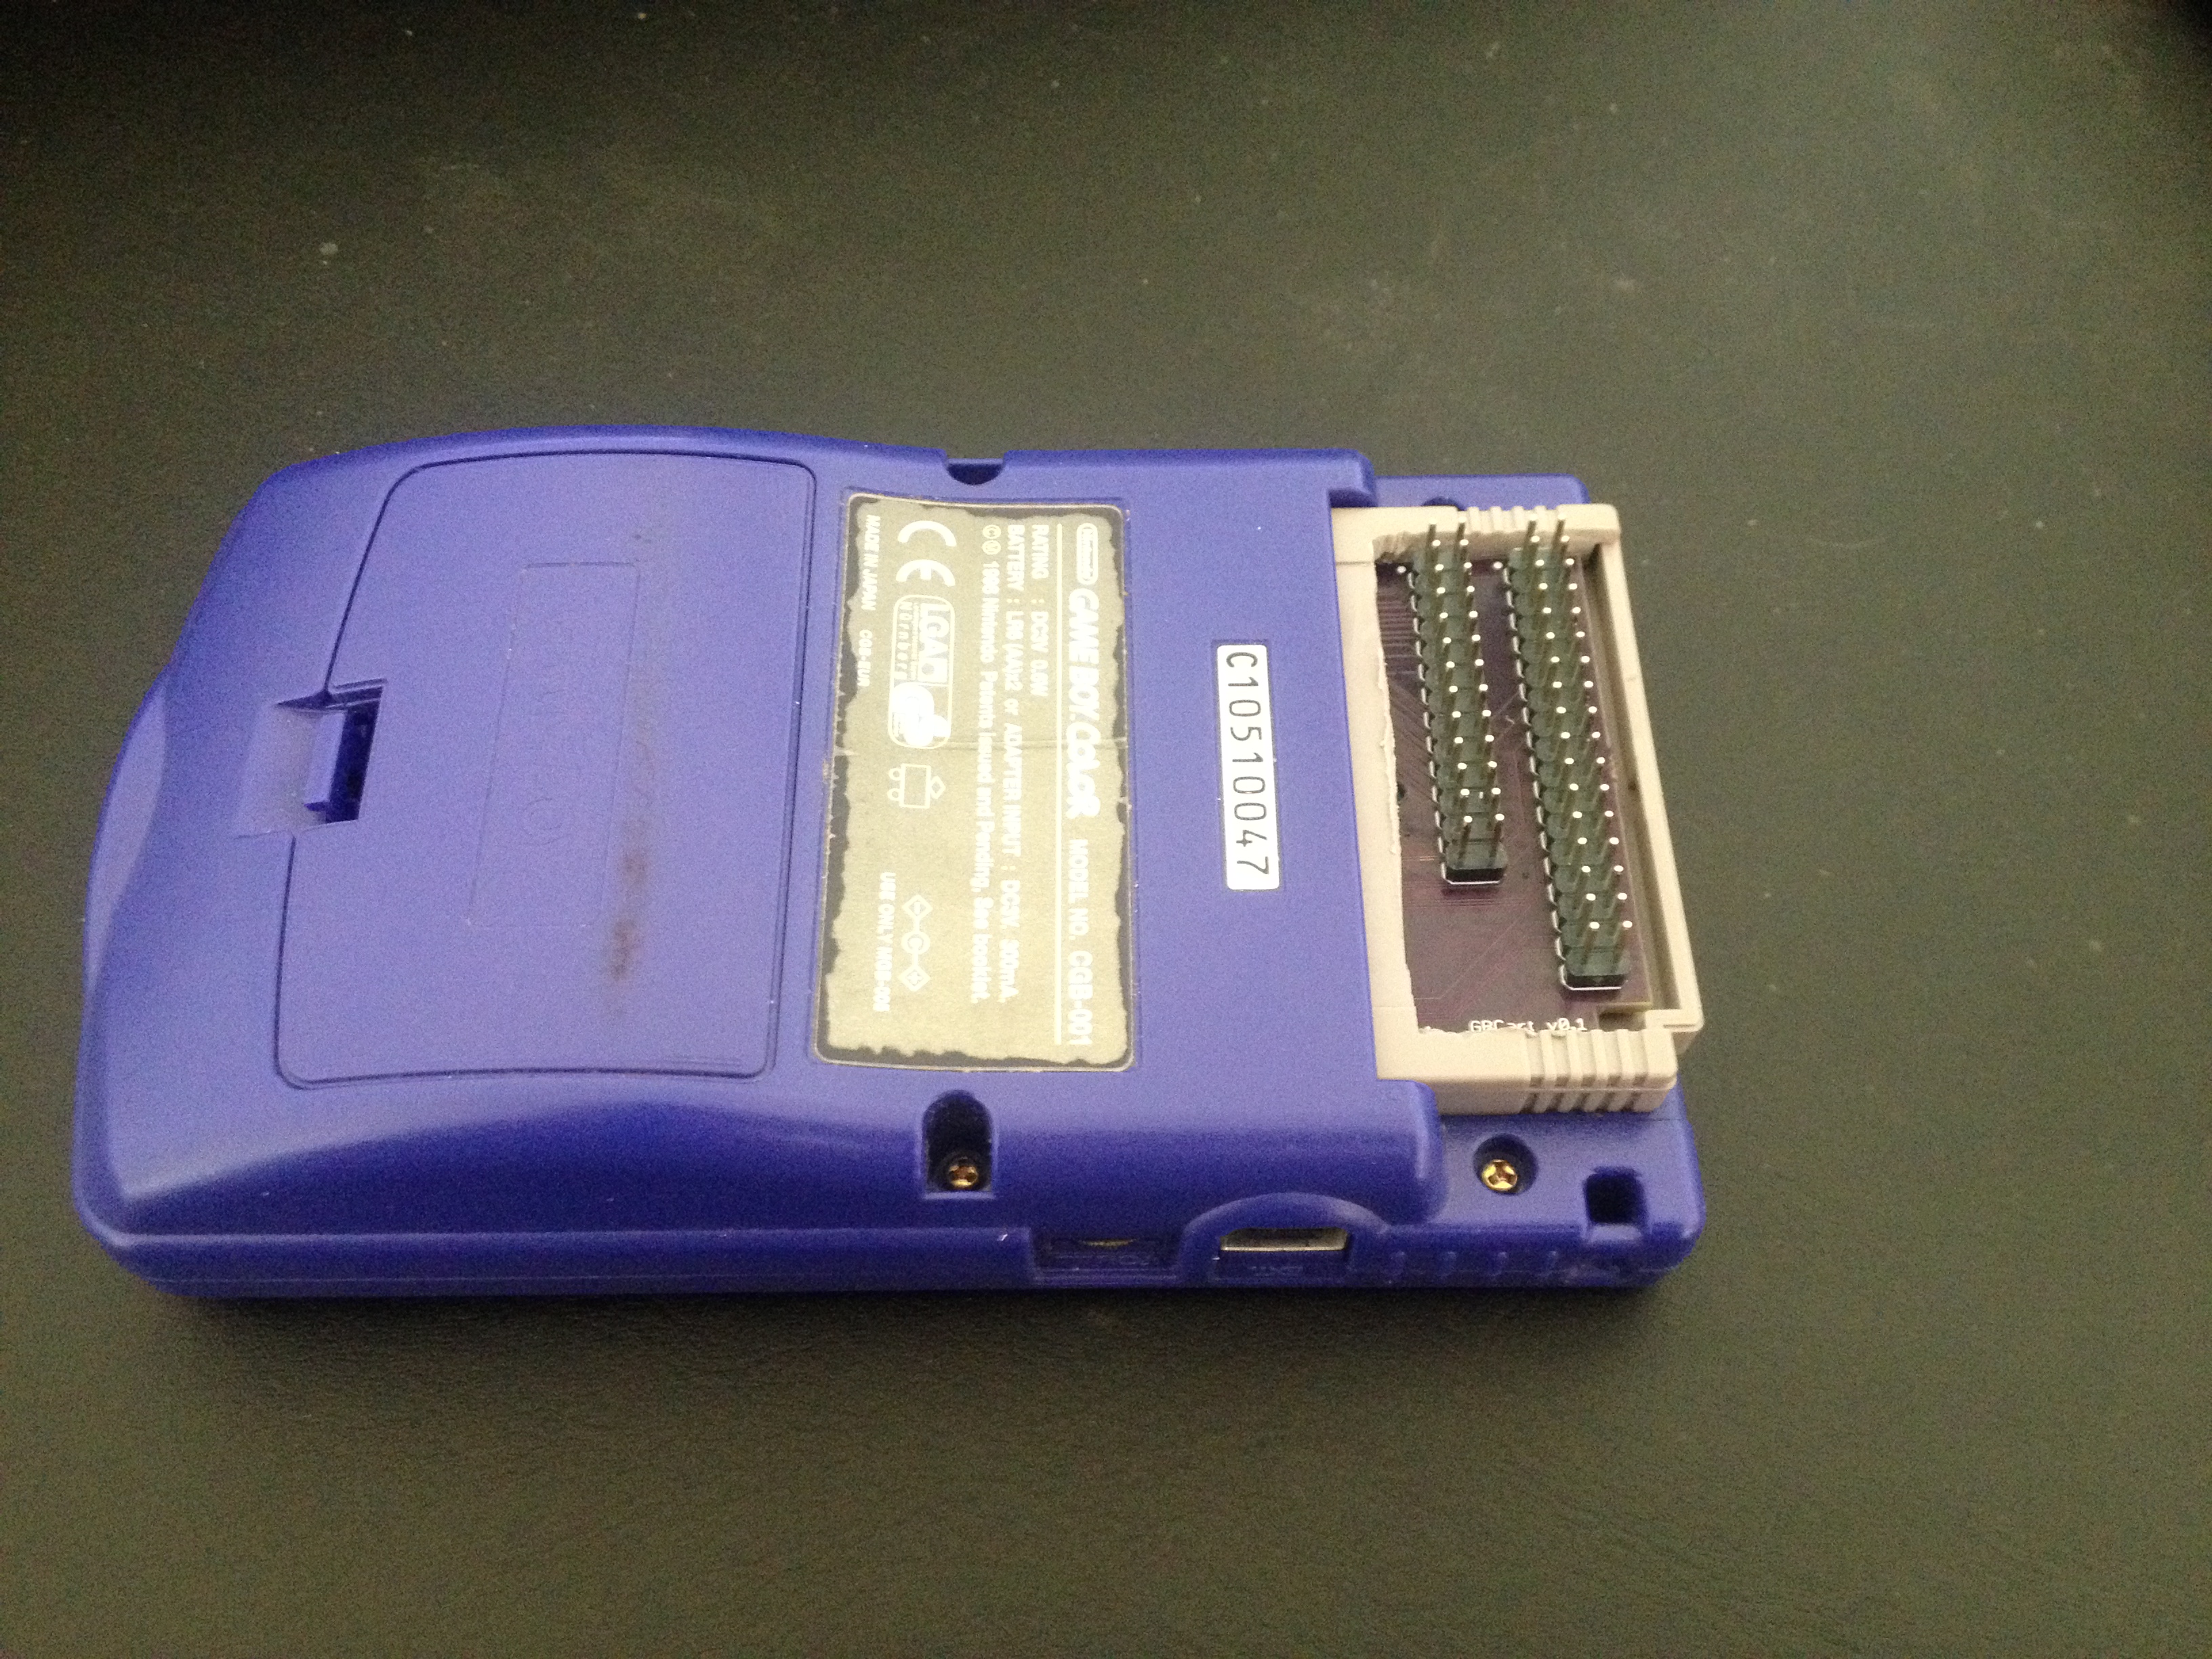
Breakout cart